
A cluttered workspace doesn’t just look unprofessional—it slows you down. Nowhere is this more evident than under your desk, where a tangle of power cords, USB cables, monitor leads, and headphone wires can turn into what some call a “cable octopus.” Untangling them every time you move your chair or plug in a device becomes frustrating and time-consuming. The good news? You don’t need expensive cable management kits to fix it. With a few smart choices from your local dollar store, you can create a clean, durable, and functional cable organization system that stands the test of time.
The key isn’t just buying cheap organizers—it’s selecting the right dollar store items that are built to last and using them strategically. This guide walks through exactly how to do that, with real-world tested methods, practical tips, and long-term solutions anyone can implement in under an hour.
Why Dollar Store Solutions Work (When Done Right)
Dollar stores get a bad reputation for selling flimsy products, but not all items are created equal. Many dollar store brands source their goods from the same manufacturers as big-box retailers—just without the branding markup. For cable management, this means you can find surprisingly sturdy zip ties, adhesive hooks, plastic clips, and cord reels if you know what to look for.
The trick is to prioritize function over form. Instead of decorative boxes that crack after a month, focus on thick-gauge plastics, strong adhesives, and reinforced stitching. These materials may not win design awards, but they’ll keep your cables organized for years, not weeks.
“Most people underestimate how much small organizational changes impact productivity. A tidy desk can save 10–15 minutes per day in search time.” — Jordan Lee, Workspace Efficiency Consultant
Essential Dollar Store Items That Last
Not every dollar store item is worth your time. Here’s a curated list of tools proven to deliver lasting results when used correctly:
- Heavy-duty zip ties (6–8 inches): Look for ones with textured grips and double-locking tabs. These resist loosening and can handle thick bundles.
- Over-the-edge cable clips: Choose rubber-lined or silicone-edged clips that won’t scratch your desk and maintain grip over time.
- Adhesive-backed plastic hooks: Opt for those labeled “extra strength” or “industrial hold.” Test the adhesive by peeling back a corner—it should feel thick and tacky.
- Cable spools or cord winders: Useful for extension cords or longer cables you only use occasionally.
- Plastic twist ties with coated wire: Reusable and adjustable, ideal for grouping irregularly shaped cables.
- Small plastic bins or containers: Perfect for hiding power strips or storing extra cables neatly.
Step-by-Step Guide to Organizing Cables Under Your Desk
Follow this timeline-based process to transform your chaotic cable setup into a streamlined system using only dollar store supplies.
- Unplug and remove everything (10 minutes): Start with a blank slate. Unplug all devices and pull everything out from under the desk. Lay cables on the floor so you can see each one clearly.
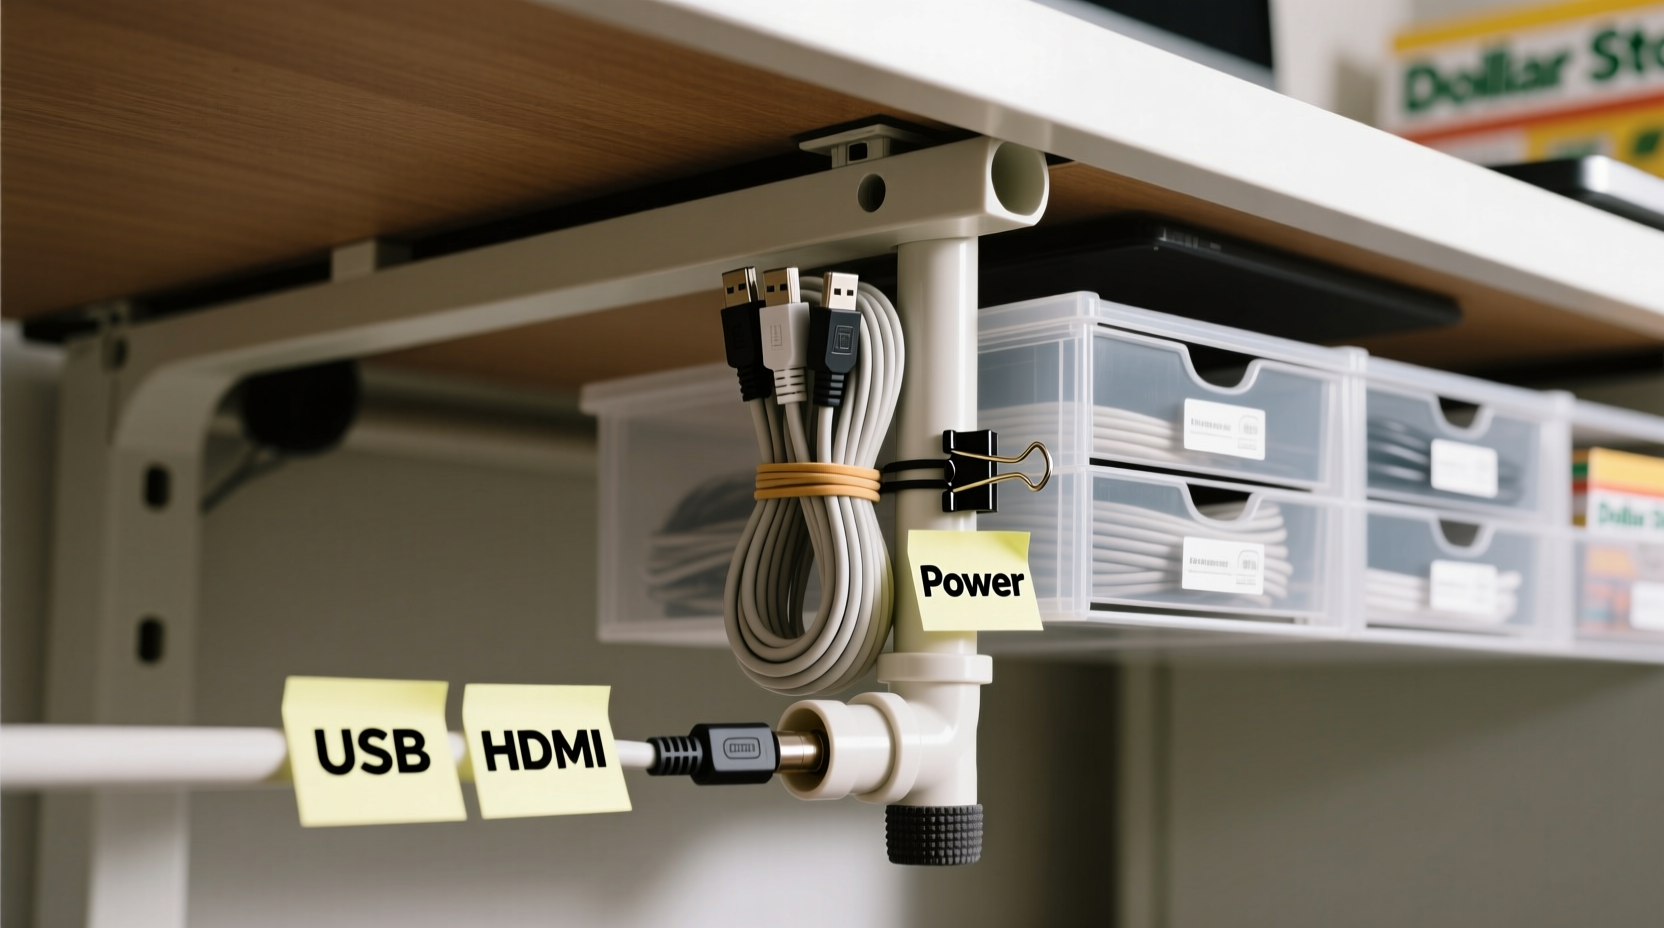
- Label each cable (15 minutes): Use masking tape and a pen to label both ends of every cable. Write simple identifiers like “Monitor,” “Laptop Charger,” or “Printer.” This prevents confusion later.
- Sort by function and frequency (5 minutes): Group cables into categories: daily use (e.g., laptop, monitor), occasional (e.g., phone charger), and rarely used (e.g., projector). This determines how accessible they should be.
- Shorten slack with zip ties (20 minutes): Bundle excess length using heavy-duty zip ties. Don’t cut them yet—leave room for adjustments. Loop coiled sections neatly and secure them with a second tie.
- Route cables along desk edges (10 minutes): Use over-the-edge clips to guide cables along the back or side of your desk. Space them every 6–8 inches to prevent sagging.
- Anchor power strips with hooks (5 minutes): Attach adhesive hooks underneath the desk and loop bungee cords or zip ties around the power strip to keep it from dangling.
- Store extras in bins (5 minutes): Place spare cables, adapters, or dongles in a small plastic container taped or hooked under the desk for quick access.
- Final test and adjust (5 minutes): Plug everything back in, check connections, and ensure no tension on any wires. Trim excess zip tie tails with scissors.
Total time: About 75 minutes. Once set up, maintenance takes less than five minutes a month.
Do’s and Don’ts: Smart Cable Management Practices
| Do’s | Don’ts |
|---|---|
| Use rubber-lined edge clips to protect desk surfaces | Don’t use metal staples or nails—they damage cables |
| Leave slight slack at connection points to prevent strain | Don’t overtighten zip ties—this can crush insulation |
| Label cables with removable tape for future changes | Don’t bundle power and data cables tightly together—they can interfere |
| Check adhesive strength monthly and reapply if needed | Don’t ignore frayed or damaged wires—replace immediately |
| Group similar cables (e.g., USB, HDMI) separately | Don’t let cables drape onto the floor where they can get stepped on |
Real Example: Transforming a Home Office in One Evening
Sarah, a freelance graphic designer in Austin, was struggling with constant tripping hazards and lost productivity due to tangled cables under her standing desk. Her setup included a dual-monitor rig, drawing tablet, external hard drive, laptop dock, and multiple chargers. Every time she switched to standing mode, cables would snag and disconnect.
She visited her local dollar store and bought six over-the-edge clips ($1), a pack of 20 heavy-duty zip ties ($1), two adhesive hooks ($1), and a small plastic bin ($1). In under 90 minutes, she:
- Labeled all cables with colored tape
- Bundled monitor and USB cables separately
- Used clips to route cords along the back edge of her desk
- Secured her power strip with a zip tie looped through an adhesive hook
- Stored backup cables and dongles in the bin under the desk
Three months later, none of the adhesive hooks had fallen, and the zip ties showed no signs of cracking. Sarah reported saving nearly 20 minutes per week from not troubleshooting loose connections or untangling cords. “It looked so professional,” she said, “my clients complimented my workspace during video calls.”
Maximizing Longevity: How to Make Dollar Store Items Last
The reason many dollar store purchases fail early is improper use—not poor quality. Extend the lifespan of your cable organizers with these strategies:
- Avoid direct sunlight: UV rays degrade plastic over time. Keep your desk away from windows or use blinds during peak hours.
- Don’t overload hooks: Even strong adhesive hooks have limits. Use multiple hooks spaced apart for heavier loads like power strips.
- Inspect quarterly: Check for loose clips, worn zip ties, or adhesive failure. Replace only what’s necessary.
- Use twist ties for temporary changes: When testing new devices, avoid permanent zip ties. Coated wire twist ties allow easy reconfiguration.
- Keep dust-free: Wipe down clips and bins every few months with a dry cloth. Dust buildup weakens adhesives over time.
“The best organizational systems aren’t the fanciest—they’re the ones you actually maintain. Simplicity wins every time.” — Maria Tran, Ergonomic Design Specialist
Quick Checklist: Your Dollar Store Cable Organization Plan
Before heading to the store or starting your project, run through this checklist:
- ☐ Unplugged all devices and cleared the area under your desk
- ☐ Identified which cables are essential vs. optional
- ☐ Chosen durable dollar store items (thick zip ties, rubber-lined clips, strong hooks)
- ☐ Labeled both ends of each cable for easy identification
- ☐ Planned cable routing path (along back edge or side of desk)
- ☐ Secured power strip to prevent dangling
- ☐ Stored spare cables in a labeled bin
- ☐ Tested all connections after reassembly
Frequently Asked Questions
Can I reuse zip ties from the dollar store?
No, standard zip ties are single-use. However, some dollar stores carry reusable versions with release tabs. Alternatively, use plastic-coated twist ties for reusability.
What if the adhesive hooks fall off?
Clean the surface with rubbing alcohol before applying. Press firmly for 30 seconds. For extra hold, add a small dot of hot glue under the hook base—still keeps costs low.
Are there fire risks with bundling cables?
Only if done incorrectly. Avoid wrapping power cables too tightly or covering them with fabric. Leave space for airflow, especially around transformers and power bricks.
Conclusion: A Cleaner Desk Is Within Reach
Organizing cables under your desk doesn’t require a high budget or technical skills. By choosing the right dollar store items—thick zip ties, reinforced clips, strong adhesive hooks—and installing them with care, you can create a system that stays neat, functional, and durable for years. The benefits go beyond aesthetics: fewer distractions, faster troubleshooting, and a more professional workspace that supports your daily workflow.
You don’t need perfection—just consistency. Spend one evening decluttering, labeling, and routing your cables properly. Use the checklist, follow the steps, and learn from real examples like Sarah’s. Small actions lead to lasting results.


 浙公网安备
33010002000092号
浙公网安备
33010002000092号 浙B2-20120091-4
Comments
No comments yet. Why don't you start the discussion?