
In a world where nearly every room has at least five cords tangled behind furniture, cable clutter is more than an eyesore—it’s a daily frustration. From charging cables to HDMI and power adapters, managing them without spending money on expensive organizers can feel impossible. But what if the solution was already in your recycling bin? Toilet paper rolls, often discarded after use, can be transformed into efficient, low-cost cable management tools. This guide reveals practical ways to repurpose these simple cardboard tubes to declutter your workspace, entertainment center, or travel bag—all while reducing waste.
Why Toilet Paper Rolls Work for Cable Organization
At first glance, a toilet paper roll might seem too flimsy for serious organization. However, its cylindrical shape, lightweight structure, and abundance make it ideal for wrapping and storing small to medium-length cords. Unlike plastic sleeves or branded cable ties, toilet paper rolls are biodegradable, readily available, and completely free. When used correctly, they prevent tangling, reduce strain on connectors, and keep similar cables grouped together.
The key lies in understanding how cables tangle: loose ends loop around each other when stored haphazardly. By winding them neatly around a central core—like a toilet paper roll—you maintain consistent tension and orientation. This method also protects delicate wires from kinks that can lead to internal damage over time.
“Simple solutions often outperform complex ones when it comes to home organization. A toilet paper roll gives just enough structure to prevent knots without adding bulk.” — Jordan Lee, Sustainable Living Consultant
Step-by-Step Guide: Organizing Cables with Toilet Paper Rolls
Transforming used toilet paper rolls into functional cable spools takes less than five minutes per roll. Follow this detailed process to get organized quickly and efficiently.
- Collect and clean empty rolls. Gather at least five to ten used toilet paper cores. Wipe them down with a dry cloth to remove dust or residue.
- Categorize your cables. Sort them by type: phone chargers, USB cords, headphones, extension cables, etc. Labeling now saves confusion later.
- Cut a notch (optional). Use scissors to cut a small U-shaped notch on one rim of the roll. This helps secure the cable end during winding.
- Begin winding. Start with the connector end, feeding it through the center of the roll and securing it in the notch if present. Wind the cord evenly around the tube in a single direction.
- Label each roll. Use a marker or sticker to write the cable type directly on the roll. For example: “iPhone Charger” or “Laptop HDMI.”
- Store vertically or horizontally. Place labeled rolls in a drawer, basket, or shoebox divider. Vertical storage saves space and improves visibility.
This system works best for shorter cables under 6 feet. Longer cords may require larger cores like paper towel rolls, but the same principles apply.
Pro Technique: The Over-Under Method
To avoid introducing twists while winding, use the over-under technique:
- Hold the connector in one hand.
- With the other hand, alternate looping the cable over and under as you wrap it around the roll.
- This cancels out rotational forces, preventing the cord from curling when unwound.
Different Ways to Use Toilet Paper Rolls for Cable Management
Beyond basic winding, there are creative variations to suit different needs and environments. These adaptations increase durability and usability without added cost.
1. Drawer Divider System
Convert a shallow drawer into a cable station by arranging multiple wrapped rolls side by side. Stand them upright and group by function—e.g., all phone accessories in one row, computer peripherals in another. For extra stability, place rolls inside a divided container like a cutlery tray.
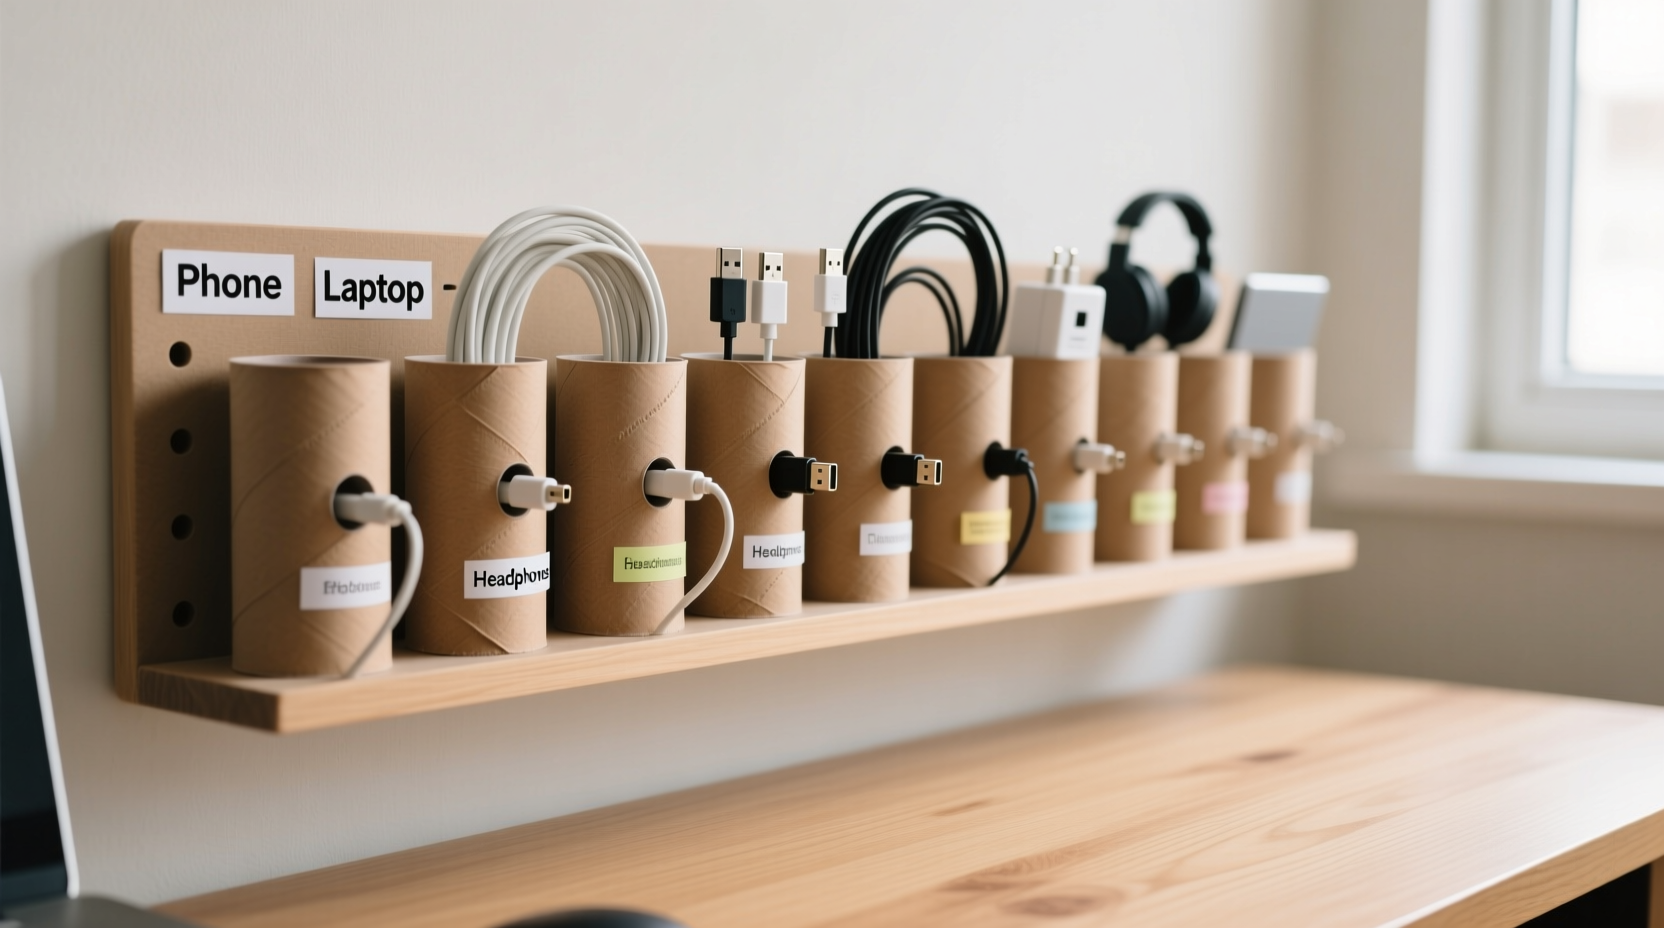
2. Wall-Mounted Cord Station
Attach several labeled rolls to a small wooden board using hot glue or double-sided tape. Mount the board inside a cabinet door or closet wall. This keeps frequently used cables accessible yet hidden from view.
3. Travel-Friendly Roll Pouches
Wrap each cable around its roll, then slide the entire bundle into a resealable plastic bag or fabric pouch. Label the outside of the bag for quick identification. Ideal for backpacks or carry-ons.
4. Reinforced Sturdy Sleeves
For heavier cables (like thicker power cords), reinforce the roll by lining it with duct tape or gluing two rolls together end-to-end. This increases structural integrity and prevents collapse during winding.
5. Color-Coded Identification
Paint or wrap rolls with colored paper or washi tape based on device type: blue for Apple devices, red for Android, green for audio gear. Visual coding speeds up retrieval and reduces mismatches.
| Use Case | Solution | Benefit |
|---|---|---|
| Home Office Desk | Vertical roll storage in a mug | Keeps desk surface clear; easy access |
| Kitchen Appliances | Label rolls for blender, toaster, mixer cords | Prevents tangles behind counters |
| Entertainment Center | Wall-mounted board with HDMI, AV cables | Reduces mess behind TV stand |
| Travel Kit | Rolls inside ziplock bags | Compact, protected, identifiable |
| Children’s Devices | Color-coded rolls with stickers | Teaches kids organization habits |
Avoiding Common Mistakes
While toilet paper rolls are effective, improper use can reduce their lifespan or cause new problems. Avoid these pitfalls to maximize results.
- Over-tightening cables: Excessive pressure can damage internal wiring. Wind loosely enough that the cord doesn’t kink.
- Mixing incompatible cables: Don’t combine high-voltage cords (like hairdryer wires) with sensitive electronics unless necessary. Heat transfer and electromagnetic interference are concerns.
- Storing in damp areas: Cardboard absorbs moisture. Keep rolls in dry spaces to prevent mold and weakening.
- Using damaged rolls: Discard any that are crushed or split. They won’t hold shape and may snag wires.
- Skipping labels: Unmarked rolls defeat the purpose. Always identify contents clearly.
Mini Case Study: Transforming a Home Office Setup
Mark, a freelance graphic designer working from his apartment, struggled with a chaotic desk setup. Behind his monitor sat a knot of seven cables: laptop charger, mouse, external hard drive, headset, phone dock, camera battery charger, and tablet cable. Every morning, he wasted time untangling them.
He decided to try the toilet paper roll method. After collecting ten clean rolls, he categorized and wound each cable individually, labeling them with colored markers. He stored the rolls upright in a ceramic cup next to his desk.
Within a week, Mark reported faster setup times, reduced stress, and even inspired his roommate to adopt the system. “It’s not just about looks,” he said. “I’ve noticed fewer frayed ends since I stopped yanking cords apart.”
Checklist: Your DIY Cable Organization Project
Follow this checklist to complete your own cable organization project using toilet paper rolls:
- ☐ Collect 5–10 clean toilet paper rolls
- ☐ Gather all loose cables needing organization
- ☐ Sort cables by type and length
- ☐ Cut notches in rolls (optional)
- ☐ Wind each cable neatly using the over-under method
- ☐ Label each roll clearly with device name or color code
- ☐ Choose a storage location (drawer, box, wall mount)
- ☐ Test retrieval speed and adjust layout if needed
- ☐ Share the idea with family or roommates
- ☐ Reassess monthly for wear or new additions
Frequently Asked Questions
Can I use paper towel rolls instead?
Absolutely. Paper towel rolls are longer and better suited for extended cables like Ethernet or extension cords. Simply cut them to desired lengths using scissors or a utility knife.
How long do toilet paper roll organizers last?
With proper care, they can last 6–12 months. Replace them if they become soft, torn, or difficult to wind. In dry environments, some users report using the same rolls for over a year.
Are there fire safety concerns with cardboard and electronics?
No significant risk exists under normal conditions. Cardboard only ignites above 400°F (204°C), far higher than operating temperatures of typical household cables. Just ensure adequate ventilation and avoid covering active power strips.
Conclusion: Small Changes, Big Impact
Organizing cables doesn’t require expensive kits or hours of effort. With nothing more than recycled toilet paper rolls, a few minutes of attention, and a bit of creativity, you can eliminate one of modern life’s most persistent annoyances. Beyond convenience, this method promotes sustainability by giving waste materials a second life. It’s a perfect example of how simplicity, when applied thoughtfully, leads to lasting order.
Start today: collect your empty rolls, gather those tangled cords, and wrap your way to a cleaner, calmer space. Once you see the difference, you might wonder why you didn’t try it sooner.


 浙公网安备
33010002000092号
浙公网安备
33010002000092号 浙B2-20120091-4
Comments
No comments yet. Why don't you start the discussion?