
Charging cables are essential in modern life, yet they often end up tangled, mismatched, or scattered across desks, drawers, and nightstands. The frustration of untangling a knot of cords or plugging in the wrong charger is common—but entirely avoidable. A simple, effective solution lies in organizing cables by both length and device type using labeled clips. This method not only reduces clutter but also saves time, prevents damage to cords, and improves daily efficiency. With the right tools and a systematic approach, anyone can transform a chaotic cable situation into an orderly, functional system.
Why Cable Organization Matters
Mismanaged charging cables do more than create visual clutter—they impact productivity, safety, and even device longevity. Loose cords on the floor pose tripping hazards. Overstretched or tightly wound cables degrade faster due to strain on internal wiring. Using the wrong charger—especially one with incorrect voltage or amperage—can harm devices over time. Additionally, searching for the right cable wastes minutes every day, which adds up over weeks and months.
Proper organization addresses these issues at their root. When each cable has a designated place and clear identification, it becomes easier to access, store, and maintain. Labeling ensures compatibility, while sorting by length prevents unnecessary slack or tension when in use. This level of control is especially valuable in shared spaces like home offices, family rooms, or workstations used by multiple people.
Choosing the Right Labeled Clips
The foundation of this system is the clip—a small but powerful organizational tool. Not all clips are created equal, and selecting the right ones depends on your environment, usage frequency, and storage space.
Common types include:
- Adhesive-backed clips: Ideal for desks, walls, or bedside tables. They’re easy to install and remove without damage if high-quality.
- Cable management rings: Mounted via screws or adhesive, these hold multiple cables securely and allow quick access.
- Modular label clips: Designed with built-in slots for labels, these let you write or print identifiers directly on the clip.
- Magnetic clips: Useful for metal surfaces like filing cabinets or refrigerators, offering flexible placement options.
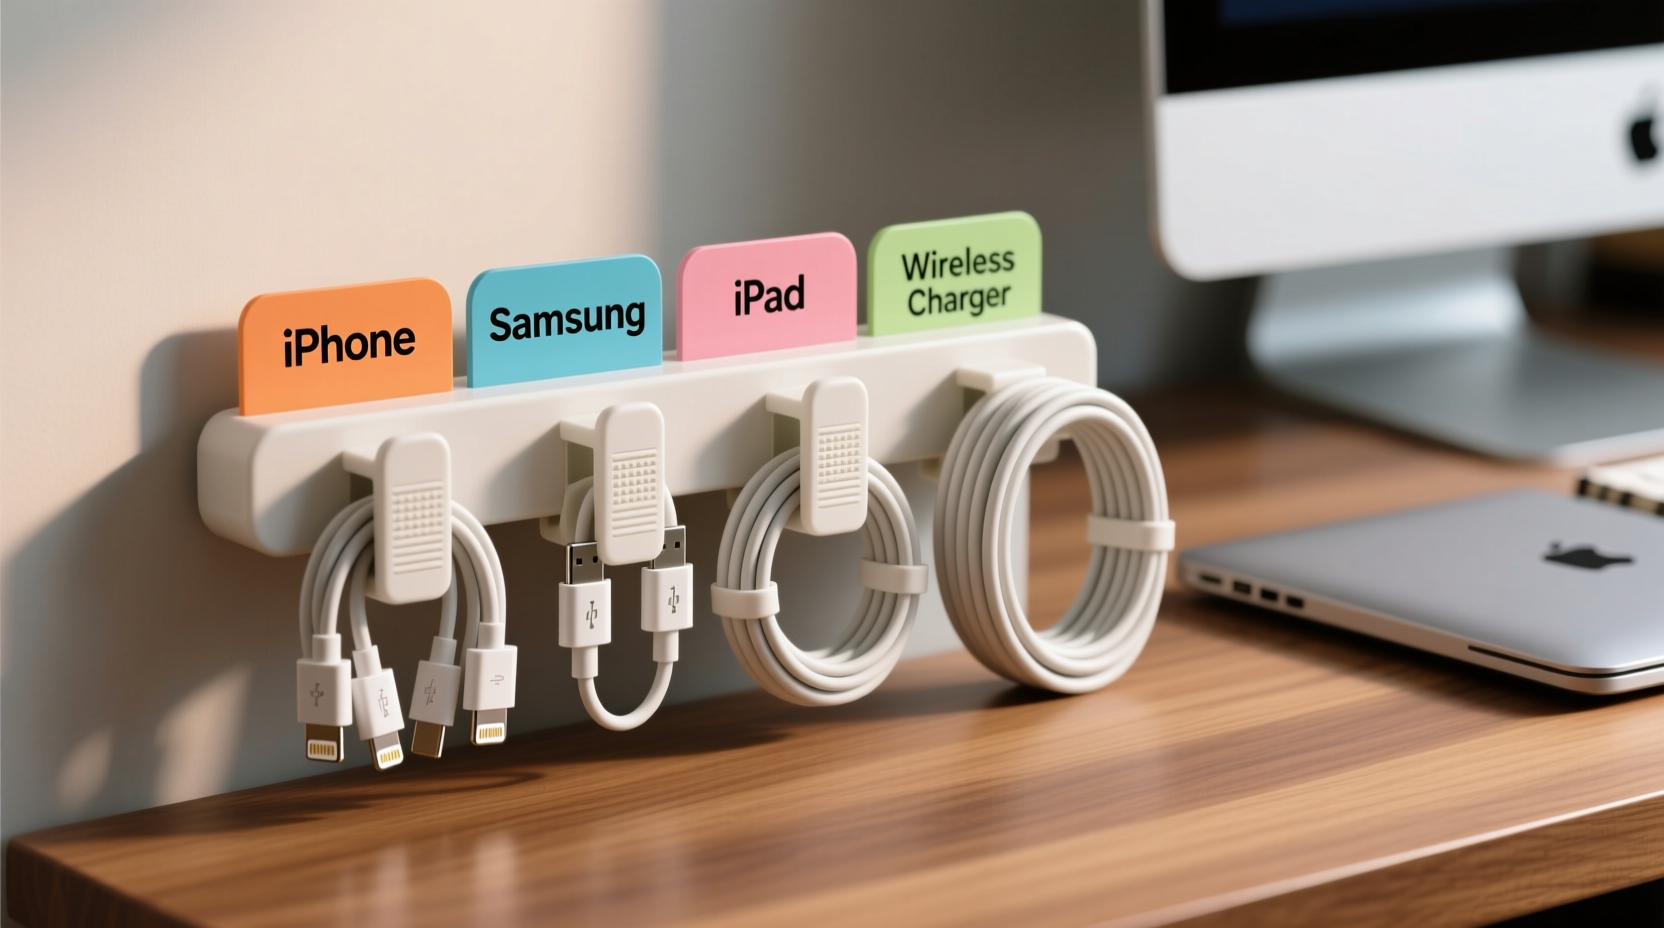
For labeling, consider waterproof vinyl stickers, reusable dry-erase labels, or printed inserts that slide into clip holders. Labels should be concise but descriptive—such as “iPhone 15 – 3ft” or “iPad Pro – 6ft.” This eliminates guesswork and ensures anyone in the household or office can find the correct cable instantly.
“Labeling isn’t just about neatness—it’s about usability. A well-labeled cable system reduces errors and increases efficiency.” — David Lin, Tech Workspace Consultant
Step-by-Step Guide to Organizing Cables
Follow this structured process to implement a durable, scalable cable organization system tailored to your needs.
- Gather and sort all cables. Collect every charging cable from drawers, bags, and corners. Lay them out on a flat surface.
- Identify each device. Match each cable to its corresponding device—phone, tablet, smartwatch, laptop, etc. Note the manufacturer and model.
- Measure cable lengths. Use a tape measure to determine the exact length from plug to connector. Group cables into categories: short (1–3 ft), medium (4–5 ft), long (6+ ft).
- Test functionality. Plug each cable into its device and a power source to confirm it charges properly. Discard frayed, slow-charging, or non-functional cables.
- Select mounting locations. Choose accessible spots near outlets or workspaces where cables are frequently used. Avoid high-traffic floor areas.
- Install labeled clips. Attach clips to chosen surfaces, spacing them according to cable size and device priority. Heavily used devices should have clips within easy reach.
- Assign and label each cable. Place one cable per clip and attach a label indicating device type and length. Use consistent formatting for clarity.
- Coil excess neatly. Use figure-eight wraps or Velcro ties to manage slack without kinking. Store extra length below or beside the clip.
- Document the setup. Take a photo or sketch a layout map, especially useful in shared environments or when adding new cables later.
- Maintain monthly. Inspect cables for wear, re-tighten loose clips, and update labels as devices change.
Optimizing by Length and Device Type
Sorting cables solely by device isn't enough. Length plays a crucial role in usability. A 10-foot cable might be perfect for reaching a distant outlet, but it creates messy loops when used at a desk. Conversely, a 1-foot cable may strain when stretched from a wall charger to a bed.
Here’s how to match length to function:
| Length | Ideal For | Avoid Using For |
|---|---|---|
| 1–3 feet | Bedside charging, car adapters, portable battery packs | Desks far from outlets, shared tables |
| 4–5 feet | Office desks, kitchen counters, study areas | Tight spaces with no slack room |
| 6+ feet | Floor outlets, multi-device stations, living rooms | Wall-mounted setups with close proximity |
By pairing device-specific clips with appropriate lengths, you eliminate the temptation to misuse cables. For instance, a labeled clip marked “Samsung Watch – 3ft” installed near a bedroom nightstand ensures the right cable is always available without cluttering the space.
Real-World Example: The Home Office Upgrade
Sarah, a freelance graphic designer, worked from a small home office shared with her partner. Their desk had four devices—two phones, a tablet, and a laptop—each with different chargers. Cables were stored in a drawer, leading to daily tangles and confusion. After implementing labeled clips, she mounted six adhesive clips along the back edge of her desk: two short-length USB-C clips for phones, one medium for the tablet, and a long one for the laptop. Each was labeled clearly with device name and length. She added color-coded dots for quick recognition. Within a week, setup time dropped from two minutes of rummaging to five seconds of grabbing. Her partner adopted the same system, and they reported fewer accidental unplugs and damaged cords.
Checklist: Build Your Cable Organization System
Use this checklist to ensure no step is missed during implementation:
- ☐ Collect all charging cables in one location
- ☐ Identify and group by device type (e.g., iPhone, Pixel, MacBook)
- ☐ Measure and categorize by length (short, medium, long)
- ☐ Test each cable for performance and discard faulty ones
- ☐ Choose appropriate labeled clips based on surface and usage
- ☐ Install clips near power sources or primary use zones
- ☐ Label each clip with device and length (e.g., “AirPods – 2ft”)
- ☐ Coil and secure excess cable neatly beneath or beside the clip
- ☐ Add visual cues like colors or icons for faster recognition
- ☐ Schedule monthly maintenance checks
Common Mistakes to Avoid
Even well-intentioned organization efforts can go off track. Here are frequent pitfalls and how to avoid them:
- Overcrowding one clip: Never stack multiple cables in a single holder. It defeats the purpose of quick access and increases wear.
- Poor label durability: Handwritten masking tape fades. Use laminated, printed, or erasable plastic labels instead.
- Ignoring future needs: Leave space for new devices. Install extra clips or reserve zones for upcoming gadgets.
- Mounting on unstable surfaces: Ensure walls or desks can support adhesive strength, especially with frequent pulling.
- Using incompatible clips: Some clips are too narrow for thicker cables like MagSafe or ruggedized USB-C cords. Measure cable diameter before purchasing.
FAQ: Frequently Asked Questions
Can I reuse labeled clips if I upgrade my phone?
Yes. Most labeled clips are designed for reusability. Simply update the label with the new device name and continue using the same mount. If using adhesive clips, check their grip strength after removal and reapply if needed.
What’s the best way to label cables if I’m not tech-savvy?
Start simple: use a permanent marker on masking tape wrapped around the clip base. For better results, try pre-cut label stickers or printable templates from free online tools like Canva. Write clearly and include both device and length.
Are there alternatives to wall-mounted clips?
Yes. Consider desktop cable organizers with labeled compartments, magnetic cable holders, or adhesive pouches that hold both cable and tag. The key is visibility and consistency—not necessarily mounting style.
Final Thoughts and Call to Action
Organizing charging cables by length and device using labeled clips is more than a tidying task—it’s an investment in daily efficiency, device care, and mental clarity. A few hours spent setting up this system can save countless minutes over months and extend the life of expensive electronics. Whether you're managing a personal workspace or coordinating tech in a busy household, clarity and consistency make all the difference.
The tools are inexpensive, the process is straightforward, and the benefits are immediate. Start today: pull out that drawer of tangled cords, grab some labeled clips, and build a system that works for your lifestyle. Once it’s done, you’ll wonder why you waited so long.


 浙公网安备
33010002000092号
浙公网安备
33010002000092号 浙B2-20120091-4
Comments
No comments yet. Why don't you start the discussion?