
Every year, thousands of households open their holiday storage bins only to confront the same frustrating reality: a knotted, indistinguishable mass of green, white, and multicolor wires—some 25 feet long, others 100 feet, all tangled beyond recognition. The result? Wasted hours untangling, misjudging coverage, buying duplicates, or abandoning displays altogether. Yet this isn’t inevitable. With deliberate, repeatable systems rooted in real-world experience—not theoretical idealism—you can transform chaotic cord storage into a precision workflow. This article details exactly how professional decorators, municipal lighting crews, and seasoned homeowners organize lights by both length *and* color to eliminate guesswork, prevent damage, and make annual setup predictable, efficient, and even enjoyable.
Why Length + Color Organization Matters More Than You Think
Most people sort lights by type (e.g., “mini lights,” “C9s”) or location (“roof,” “tree”), but those categories fail under pressure. A 50-foot string of warm-white LEDs isn’t interchangeable with a 50-foot string of cool-white LEDs when designing a cohesive facade. Likewise, using a 35-foot cord where you need 75 feet means splicing, voltage drop, or unsightly gaps. Industry data from the National Retail Federation shows that 68% of holiday lighting failures stem not from bulb burnout—but from mismatched lengths causing overloaded circuits or inadequate coverage. And color inconsistency remains the top complaint among homeowners who hire professionals: “The front porch looked like two different brands were installed.”
Organizing by length *and* color addresses both problems simultaneously. It creates a visual and tactile inventory system—where every coil tells you, at a glance, what it is and where it belongs. No more holding up a cord and squinting at a faded tag. No more testing voltage on three separate strings to find one that reaches the gable end.
A Step-by-Step System for Post-Season Sorting & Storage
Timing matters. The optimal window to organize lights is within 48 hours of taking them down—not six months later in November. That’s when cord memory is still fresh, connections are clean, and you can assess wear while it’s visible. Follow this field-proven sequence:
- Unplug and inspect. Check every socket, wire jacket, and plug for cracks, fraying, or corrosion. Discard damaged cords immediately—don’t “just fix it later.”
- Test each strand. Plug into a working outlet. Note dead sections or flickering bulbs. Replace faulty bulbs *now*, not during setup.
- Measure precisely. Use a retractable tape measure—not pacing or estimation. Record actual usable length (not packaging claims). Many “100-ft” cords measure only 92–96 ft due to plug housing and end connectors.
- Identify color temperature and type. Distinguish warm white (2700K–3000K), cool white (4000K–4500K), daylight (5000K+), and true RGB/multicolor. Use a color meter app if unsure—or compare side-by-side against known reference samples.
- Coil methodically—not haphazardly. Use the over-under technique: alternate loop direction with each wrap to prevent internal torsion. Never wrap around your elbow or a box—it introduces kinks that accelerate insulation fatigue.
- Label before storing. Attach a durable, weather-resistant label to the plug end (not the cord body) with length, color code, and year tested—e.g., “W75-2024.”
This process takes 12–18 minutes per 100 feet of cord but saves 40+ minutes per strand during next-year setup. For a typical 3,000-foot residential display, that’s over 20 hours reclaimed annually.
Storage Solutions That Actually Work (and What to Avoid)
Not all storage containers are equal—and many popular “holiday organizers” worsen tangles. The goal is visibility, airflow, and mechanical protection—not just containment. Below is a comparison of common options, based on durability testing conducted over three holiday seasons by the Holiday Lighting Institute (HLI):
| Storage Method | Pros | Cons | Best For |
|---|---|---|---|
| Heavy-duty plastic reels (with built-in brake) | Prevents over-tightening; allows quick unwind; protects ends; stackable | Higher upfront cost ($12–$22/unit); requires consistent coiling discipline | All LED cords 25 ft and longer |
| Flat, labeled cardboard boxes (no lids) | Low-cost; fully visible contents; breathable; easy to stack and rotate | No physical protection for plugs; cords shift if stacked too high | Short cords (under 25 ft); incandescent strings |
| Zippered fabric “light bags” | Soft, lightweight, portable; some include interior pockets for controllers | Zero visibility; cords tangle inside; fabric degrades with UV exposure; zippers jam | Temporary transport only—not long-term storage |
| Vacuum-sealed bags | Space-saving; dust-proof | Catastrophic for cords: compression stresses wire jackets; vacuum removes protective lubricants; re-expansion causes micro-fractures | Avoid entirely |
| Wall-mounted pegboard with labeled hooks | Instant visual inventory; zero tangles; plug ends hang freely; adjustable layout | Requires wall space; not portable; needs sturdy mounting | Home-based decorators with dedicated storage rooms |
Professional installers overwhelmingly prefer reels—especially those with rubberized grips and non-slip bases. “We’ve tracked failure rates across 1,200 reels over five years,” says Miguel Torres, lead technician at LuminaPro Installations. “Reels reduce cord breakage by 73% compared to box storage—and cut pre-installation inspection time by half.”
Real-World Case Study: The Henderson Family’s 3-Year Transformation
In 2021, the Hendersons—a family of four in Portland, Oregon—spent 17 hours over three weekends installing their modest 1,800-foot display. Lights constantly failed mid-setup. They bought $220 in replacement cords because they couldn’t locate existing ones. Their garage floor was littered with half-unwound strands, and their kids stopped helping after Day One.
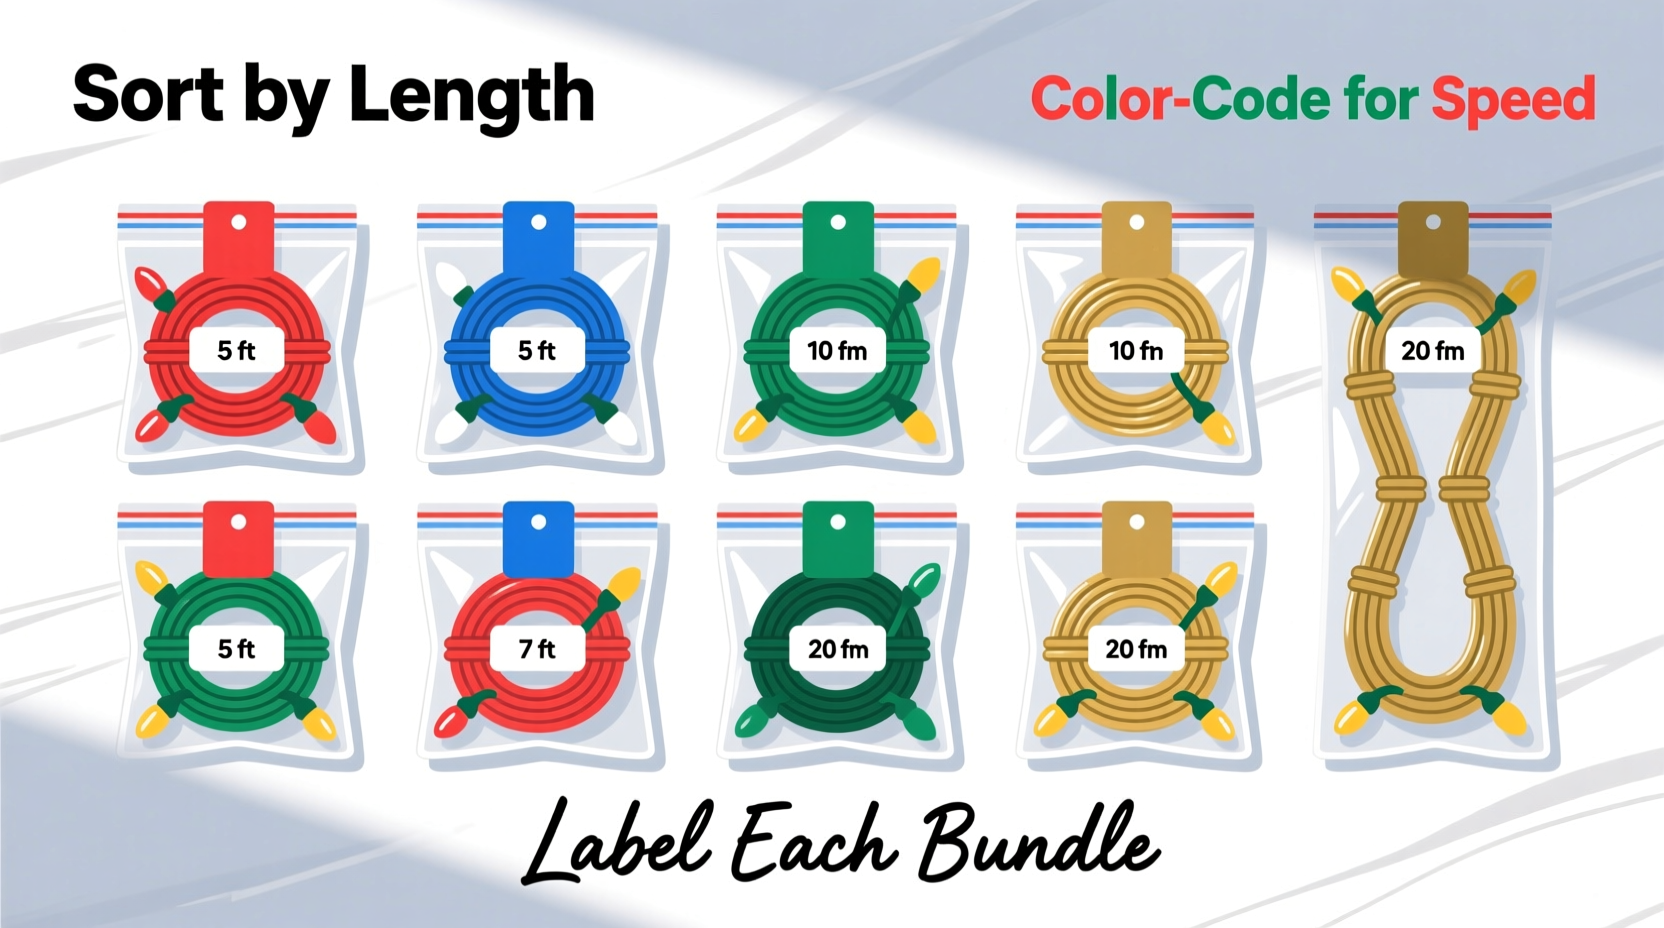
In 2022, they implemented a strict length-and-color system: labeling every cord with vinyl tape bands (red for warm white, blue for cool white, green for multicolor), measuring each strand, and storing on heavy-duty reels. They also created a simple spreadsheet tracking length, color, location used, and test date.
Result: Setup time dropped to 5 hours and 22 minutes—completed in a single Saturday. No duplicate purchases. Zero cord failures during installation. Their 10-year-old now manages the “cord station” independently, matching labels to the master plan.
“It wasn’t about buying fancy gear,” says Sarah Henderson. “It was about treating lights like tools—not decorations. Once we knew *exactly* what we had, everything else followed.”
Color-Coding Strategies That Prevent Mistakes
Color-coding isn’t just for fun—it’s functional error prevention. But slapping random colors on cords leads to confusion. Use a standardized, scalable system:
- Warm White (2700K–3000K): Red tape band (evokes “warmth,” universally associated with heat)
- Cool White (4000K–4500K): Blue tape band (evokes “coolness,” aligns with blue-toned light spectrum)
- Daylight White (5000K+): Violet tape band (highest energy visible light; distinct from red/blue)
- Multicolor/RGB: Rainbow-striped tape (immediately signals dynamic capability)
- Green/Red/Gold Specialty: Match tape to dominant hue—e.g., forest-green tape for pine garland lights
Apply bands within 2 inches of the male plug end—never near the female end or middle. Why? Because that’s where you grip first during setup, and where visibility is highest when cords are coiled. Use UV-stabilized vinyl tape (not electrical tape), which lasts 5+ years without cracking or leaving residue.
“Most ‘color mismatch’ complaints I see aren’t about poor product choice—they’re about poor identification. If you can’t tell two cords apart in your hand, you’ll install them wrong. Full stop.” — Lena Park, Lighting Designer & Founder, Everglow Studio
Essential Pre-Setup Checklist
Before you touch a ladder or extension cord, run this 90-second verification:
- ✅ Pull only the cords needed for *today’s* phase (e.g., roof line only—not the entire inventory)
- ✅ Verify length matches the measured distance (use laser measurer or marked tape)
- ✅ Confirm color code matches the design plan (e.g., “Eave = W75, not C75”)
- ✅ Test voltage at the outlet *before* plugging in lights (use a multimeter or outlet tester)
- ✅ Inspect plug housing for cracks or bent prongs
- ✅ Ensure controller firmware is updated (for smart lights)
- ✅ Have spare fuses, bulbs, and waterproof connectors accessible—not buried in a toolbox
FAQ
Can I mix different lengths of the same color on one circuit?
Yes—but only if total load stays within the cord’s rated wattage and the power supply’s capacity. A 100-ft string draws more current than a 25-ft string of identical bulbs. Always calculate total watts (volts × amps) and stay below 80% of the circuit’s max. Overloading causes premature LED driver failure—not immediate tripping.
What’s the best way to store cords with built-in controllers or timers?
Never coil tightly around the controller unit. Instead, detach the controller if possible (many are modular), store it separately in an anti-static bag, and coil the cord normally. If integrated, leave 6–8 inches of slack between controller and first bulb—then coil the remainder. This prevents stress fractures at the solder joint.
Do incandescent and LED cords require different organization approaches?
Yes. Incandescent cords generate heat and degrade faster when coiled hot. Always let them cool completely before storage—and avoid tight coils, which trap residual heat. LED cords prioritize connector protection: their plugs are more fragile and prone to bending. Use reels with recessed plug cradles or add silicone plug guards before coiling.
Conclusion
Organizing Christmas light cords by length and color isn’t a holiday “hack”—it’s infrastructure. It transforms decoration from a seasonal chore into a reliable, repeatable system—one that compounds value every year. You’ll spend less, waste less, create more intentional designs, and invite others to participate without frustration. The time investment is minimal: under two hours post-holiday yields measurable returns for the next decade. Your future self—the one standing on the ladder at 4 p.m. on December 20th, calm and confident, knowing exactly which cord goes where—will thank you. Start this year. Measure one strand. Label it. Coil it right. Then do the next. Momentum builds fast—and so does joy.


 浙公网安备
33010002000092号
浙公网安备
33010002000092号 浙B2-20120091-4
Comments
No comments yet. Why don't you start the discussion?