
Every holiday season, millions of homes transform into dazzling displays of color and cheer—powered by strands of Christmas lights. But when the decorations come down, too many people face the same frustration: tangled wires, broken bulbs, and missing connectors. The result? Hours wasted untangling and testing lights the following year. The good news is that a little effort at takedown time can save hours during setup. With smart organization, proper tools, and consistent habits, you can store your Christmas lights in a way that makes next year’s decorating fast, easy, and stress-free.
Why Proper Storage Matters
Christmas lights are delicate. Even minor damage—like a single broken bulb or frayed wire—can render an entire strand unusable. Exposure to moisture, extreme temperatures, and physical stress during storage accelerates wear. Poorly coiled wires develop kinks and tangles that are not only annoying but also increase the risk of electrical faults.
Beyond functionality, disorganized storage leads to inefficiency. Searching through boxes for working strands eats up valuable time during the busiest season of the year. A well-structured system eliminates guesswork and reduces setup from a weekend chore to a few manageable hours.
“Proper storage isn’t just about saving space—it’s about preserving performance. Lights stored correctly can last 5–10 years longer than those tossed into bins.” — Daniel Reeves, Holiday Lighting Technician with 18 years of experience
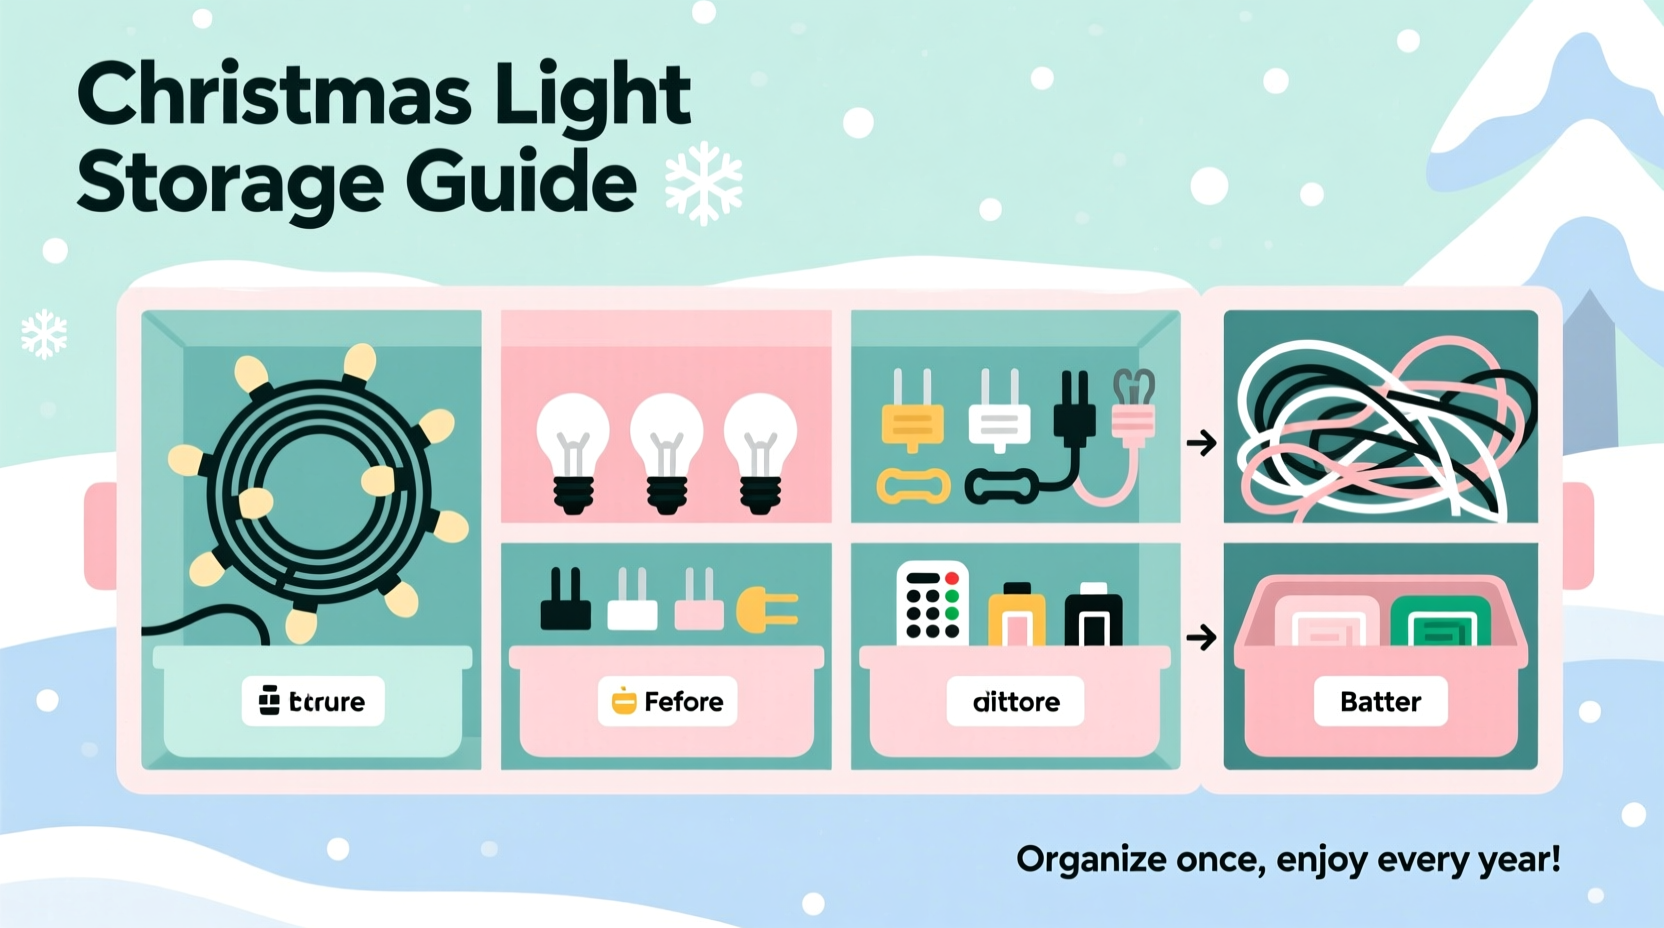
Step-by-Step Guide to Organized Light Storage
The key to efficient Christmas light storage lies in a repeatable process. Follow these steps immediately after taking down your lights to ensure they’re ready for next season.
- Test Each Strand: Before storing, plug in every set of lights to check for dark sections, flickering, or complete failures. Label non-working strands for repair or replacement.
- Clean Gently: Wipe down each strand with a dry microfiber cloth to remove dust and residue. For outdoor lights exposed to rain or snow, use a slightly damp cloth followed by thorough drying.
- Inspect for Damage: Look for cracked sockets, exposed wires, or bent plugs. Discard or repair damaged sets to avoid fire hazards.
- Group by Type and Length: Separate lights by category—mini lights, C7/C9 bulbs, net lights, icicle strands, etc.—and further divide by length and color (warm white, cool white, multicolor).
- Coil Carefully: Use the over-under method (described below) to prevent twists and tension buildup.
- Label Everything: Attach durable tags indicating light type, length, color, and location used (e.g., “Front Roof – 50ft Warm White”)
- Store in Protective Containers: Place each coiled strand in a compartmentalized bin, wrap reel, or labeled bag before boxing.
The Over-Under Coiling Method
This professional technique prevents twist-induced tangles and keeps strands smooth. Here’s how it works:
- Hold one end of the strand in your non-dominant hand.
- With your dominant hand, make a loop using an overhand motion (palm up).
- Next, make a second loop using an underhand motion (palm down).
- Alternate over and under with each loop—this cancels out rotational tension.
- After every few loops, secure the bundle with a reusable zip tie or soft velcro strap.
This method ensures that when you unspool the lights, they feed out smoothly without twisting or knotting—a game-changer for long strands.
Choosing the Right Storage Solutions
Not all storage methods are created equal. The wrong container can crush delicate wires or trap moisture. Below is a comparison of popular options based on protection, accessibility, cost, and space efficiency.
| Solution | Protection | Accessibility | Cost | Best For |
|---|---|---|---|---|
| Paper Towel/Cardboard Tubes | Low | Medium | $ | Short indoor strands; budget option |
| Plastic Wrap Reels (DIY) | Medium | High | $$ | Durable reuse; customizable size |
| Specialty Light Saver Reels | High | High | $$$ | Frequent decorators; large collections |
| Compartmentalized Storage Bins | Medium-High | Medium | $$ | Mixed types; organized households |
| Velcro-Striped Bags | Medium | High | $$ | Easy access; stackable storage |
For most homeowners, a hybrid approach works best: use wrap reels for long outdoor strands and compartmentalized bins for smaller indoor sets. Avoid sealing lights in airtight plastic unless they are completely dry—trapped moisture encourages mold and corrosion.
DIY Wrap Reel Tutorial
You can make effective storage reels from inexpensive materials:
- Gather two pieces of 6\"x6\" plywood or MDF board and a 1\"-diameter wooden dowel (12\" long).
- Drill a hole in the center of each board to fit the dowel snugly.
- Slide the dowel through one board, add spacers (optional, for wider coils), then insert the second board.
- Secure ends with washers and screws or wood glue.
- Wrap lights around the exposed dowel section, using the boards as guards against crushing.
Label the side of the reel with permanent marker or attach a weatherproof tag. These reels stack neatly and protect both the lights and other stored items.
Real Example: The Johnson Family’s Transformation
The Johnsons in Portland, Oregon, decorate their home annually with over 1,200 feet of lights. In past years, setup took nearly three full days—much of it spent untangling cords and replacing failed strands. After a particularly frustrating December, they decided to overhaul their storage system.
They invested in six DIY wrap reels and two large compartmentalized bins. During takedown, they tested every strand, repaired what they could, and discarded 30% of old lights that were beyond saving. Each strand was coiled using the over-under method, labeled, and stored by zone (roof, porch, tree, yard).
The following November, setup took just 10 hours. They knew exactly which lights went where, and none required untangling. “It felt like we got our holidays back,” said Sarah Johnson. “We actually enjoyed decorating instead of dreading it.”
Checklist: End-of-Season Light Organization
Use this checklist to ensure no step is missed when storing your Christmas lights:
- ✅ Test all light strands for functionality
- ✅ Replace burned-out bulbs or fuses
- ✅ Clean lights gently with a dry or slightly damp cloth
- ✅ Inspect wires and sockets for damage
- ✅ Group lights by type, color, length, and location
- ✅ Coil each strand using the over-under method
- ✅ Secure coils with soft ties or velcro straps
- ✅ Label each strand with detailed tags
- ✅ Store in appropriate containers (reels, bins, or bags)
- ✅ Keep storage area cool, dry, and rodent-free
- ✅ Maintain an inventory list (optional but helpful)
Avoid Common Storage Mistakes
Even well-intentioned efforts can go wrong if common pitfalls aren’t avoided. Steer clear of these errors:
- Tying knots – Never tie lights in knots. Use loose loops secured with soft ties instead.
- Using twist ties – Metal or hard plastic ties can cut into insulation over time.
- Storing while damp – Moisture causes corrosion and mold, especially in enclosed containers.
- Mixing types – Storing different light styles together increases confusion and damage risk.
- Ignoring voltage compatibility – Don’t mix low-voltage and line-voltage lights in the same area.
- Over-packing bins – Crushing lights leads to broken sockets and internal wire breaks.
Also, keep lights away from areas prone to temperature swings, such as attics or uninsulated garages, unless climate-controlled. Extreme heat degrades insulation, while cold makes plastics brittle.
FAQ: Your Christmas Light Storage Questions Answered
Can I store Christmas lights in vacuum-sealed bags?
No. While vacuum bags save space, they compress delicate wires and can damage sockets. They also trap moisture if lights aren’t perfectly dry, increasing the risk of corrosion. Use breathable, rigid containers instead.
How do I fix a strand with half the lights out?
This usually indicates a faulty shunt or broken circuit. For incandescent lights, try wiggling each bulb to reseat it—sometimes a poor connection is the culprit. If that fails, use a light tester to identify the dead bulb. LED strands often fail due to a single bad diode or driver issue, which may require replacing the entire section.
Should I keep original packaging?
Only if it’s sturdy and designed for long-term storage. Most original boxes are flimsy and degrade over time. It’s better to transfer lights to durable, labeled containers and recycle the packaging.
Final Thoughts: Invest Time Now, Reap Joy Later
The holiday season should be about celebration, not struggle. By dedicating a few focused hours to organizing your Christmas light storage, you’re not just protecting equipment—you’re reclaiming time, reducing stress, and enhancing the joy of decorating. Next year, instead of wrestling with knots and testing dead strands, you’ll be able to focus on what matters: sharing warmth, creating memories, and watching your home glow with effortless brilliance.
Start today. Gather your tools, sort your lights, and build a system that lasts. Whether you use DIY reels, specialty organizers, or a simple labeling strategy, consistency is the real secret. Once the routine is established, maintaining it becomes second nature—and your future self will thank you every holiday season.


 浙公网安备
33010002000092号
浙公网安备
33010002000092号 浙B2-20120091-4
Comments
No comments yet. Why don't you start the discussion?