
Every modern household has them: a growing collection of cords, cables, and chargers for smartphones, tablets, laptops, headphones, smartwatches, and more. Left unchecked, these essential accessories quickly turn into a chaotic mess inside drawers—tangled, frayed, and frustrating to untangle every time you need one. The good news is that with thoughtful organization, you can transform that jumbled drawer into a functional, accessible system. This guide walks you through practical, sustainable methods to keep your cords neatly stored, tangle-free, and ready for use.
Why Cord Chaos Happens (And Why It Matters)
Cords tangle not by accident, but due to physics and disorganization. When multiple cables are tossed loosely into a confined space, even minor movement causes them to loop around each other. Over time, friction and pressure lead to knots that are difficult to undo. Beyond the annoyance, tangled cords can suffer internal wire damage, reduce charging efficiency, and shorten device lifespans.
According to Dr. Sarah Lin, an industrial designer specializing in consumer electronics storage:
“Cable management isn’t just about aesthetics—it’s about preserving functionality. A well-organized cord is less likely to fray or break, which means fewer replacements and less electronic waste.” — Dr. Sarah Lin, Industrial Designer
Beyond durability, an organized drawer saves time. Imagine needing a charger in a hurry—only to spend five minutes unraveling a knot. Efficient storage eliminates this daily frustration.
Step-by-Step Guide to Tangle-Free Drawer Organization
Transforming a messy drawer into a streamlined hub requires a systematic approach. Follow these steps to create a lasting solution.
- Empty and assess: Remove everything from the drawer. Lay out all cords, chargers, adapters, and accessories on a flat surface.
- Declutter ruthlessly: Identify broken, outdated, or unused items. Discard frayed cables, old proprietary chargers, and duplicates you no longer need.
- Categorize by function: Group similar items together—phone chargers, laptop cables, audio cords, power strips, etc.
- Measure your drawer: Note the interior dimensions. This helps determine what organizational tools will fit.
- Choose a labeling system: Use tags, colored tape, or labels so you can identify cords at a glance.
- Select storage solutions: Based on space and cable types, pick organizers that prevent movement and separation.
- Install and test: Arrange items, close the drawer, and open it several times to ensure nothing shifts or tangles.
Best Storage Solutions for Cords in Drawers
Not all organizers work equally well. The right choice depends on your drawer size, frequency of access, and types of cables. Below are proven solutions ranked by effectiveness.
| Solution | Best For | Pros | Cons |
|---|---|---|---|
| Adjustable divider trays | Mixed-use drawers with various cable sizes | Customizable compartments; keeps items separated | May not fit oddly shaped cords |
| Velcro cable ties | Long cords like HDMI or Ethernet | Reusable, adjustable, prevents slack | Can leave marks if too tight |
| Fabric cable sleeves | Bundling multiple thin cords (e.g., travel kits) | Soft, expandable, tangle-resistant | Less rigid protection |
| 3D-printed or modular organizers | Tech-heavy households | Precise fit; scalable design | Requires upfront investment |
| Cardboard toilet paper roll dividers | DIY budget solutions | Free, eco-friendly, easy to make | Not durable long-term |
For most users, a combination of adjustable dividers and Velcro ties offers the best balance of accessibility and order. Place frequently used items near the front and seasonal or backup cables toward the back.
Smart Wrapping Techniques to Prevent Tangles
How you coil a cord determines whether it stays neat or becomes a knotted mess. Avoid the common “wrap-around-elbow” method, which introduces twists and stress points. Instead, adopt professional-grade wrapping techniques.
The Over-Under Method
This technique alternates loop direction to cancel out twist buildup. Ideal for longer cables like extension cords or Ethernet.
- Hold the cord in one hand.
- Create a loop by bringing the cord over your fingers.
- Next loop: bring the cord under your fingers.
- Alternate with each loop—over, under, over, under.
- Secure with a reusable tie when finished.
The Figure-Eight Wrap
Commonly used by audio engineers, this method minimizes memory in the cord.
- Lay the cord flat and form a figure-eight pattern.
- Continue until all length is used.
- Fasten gently with a fabric strap.
The Rolled-Up Booklet Style
Perfect for short cords like USB-C or headphone cables.
- Hold one end in place.
- Roll the cord tightly into a small spiral.
- Use a rubber band or magnetic clip to hold it closed.
Real Example: From Chaos to Clarity in One Weekend
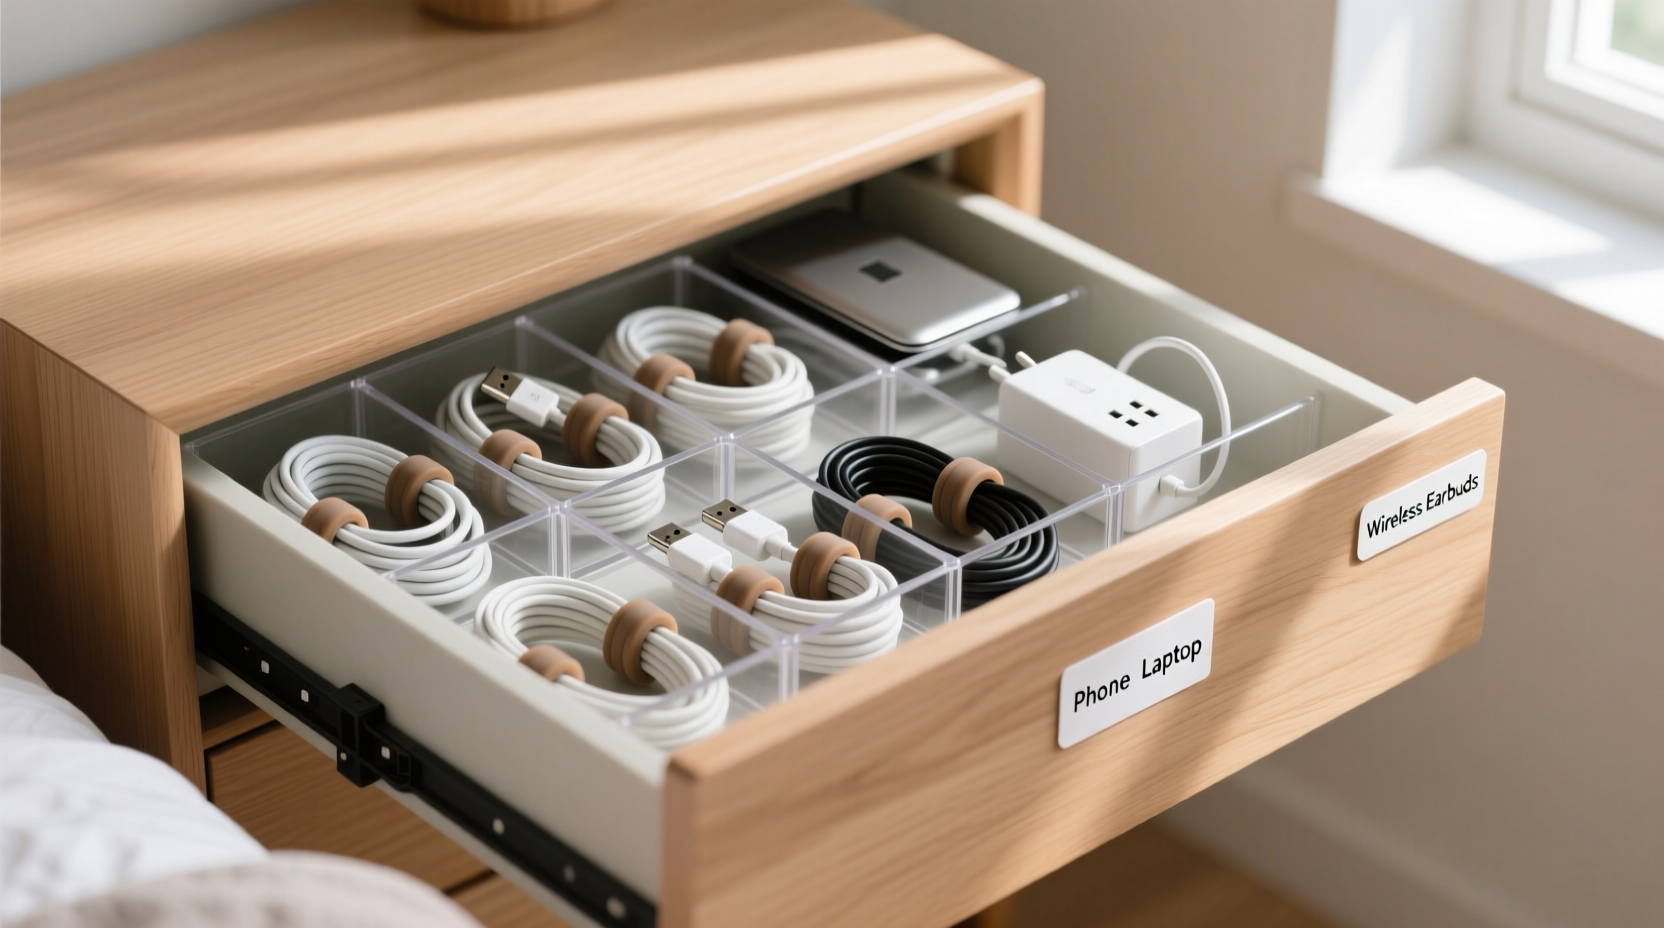
Mark, a remote worker in Austin, had a bedside drawer overflowing with at least 15 different cords—two laptop chargers, four phone cables, earbuds, a tablet charger, and spare adapters. Every morning, he wasted time untangling his work setup. After reading about cable management, he spent a Sunday afternoon reorganizing.
He began by discarding three damaged USB cables and an obsolete AC adapter. He then purchased a $12 adjustable acrylic organizer and labeled each section: “Work,” “Personal,” “Travel Spares.” Using the over-under method, he coiled each cable and placed them in designated slots. He added a small Velcro strip to bundle his frequently used trio: laptop charger, monitor cable, and Ethernet.
The result? Mark now opens his drawer and finds exactly what he needs in seconds. His partner noticed the change immediately and adopted the same system for the kitchen drawer holding appliance cords. “It’s not just cleaner,” Mark said. “I’ve stopped replacing frayed cables every few months.”
Dos and Don’ts of Cord Storage
To reinforce best practices, here’s a clear comparison of effective versus harmful habits.
| Do | Don't |
|---|---|
| Use soft ties like Velcro or fabric straps | Use metal twist ties or tight rubber bands |
| Store cables loosely coiled, not stretched tight | Compress cords under heavy objects |
| Label each cord with its purpose or device | Assume you’ll remember which cable is which |
| Keep connectors in protective caps when not in use | Leave USB or charging ports exposed to dust |
| Use drawer dividers to separate categories | Throw all cords into one pile |
One often-overlooked rule: avoid extreme temperatures. Heat degrades plastic insulation, while cold makes cables brittle. Store cords in climate-controlled areas, not in garages or sun-exposed drawers.
FAQ: Common Questions About Cord Organization
How do I label cords without damaging them?
Use adhesive-backed cloth labels, heat-shrink tags, or write gently on masking tape wrapped around the plug end. Avoid permanent markers directly on plastic, as they can degrade insulation over time.
What’s the best way to store international travel adapters and cords?
Designate a dedicated pouch or small box within the drawer. Bundle region-specific cables together and label them by country. Consider a foldable travel organizer with mesh pockets for compact access.
Can I use magnetic closures for cord storage?
Yes, but cautiously. Magnetic clips are great for quick access, but strong magnets may interfere with certain devices or credit cards stored nearby. Opt for low-strength neodymium magnets designed for cables.
Checklist: Your Cord Organization Action Plan
- ✅ Empty your drawer completely
- ✅ Discard broken or obsolete cords
- ✅ Group cables by type and frequency of use
- ✅ Measure drawer dimensions for organizer fit
- ✅ Choose a wrapping method (over-under, figure-eight, etc.)
- ✅ Invest in adjustable dividers or trays
- ✅ Label each cord clearly
- ✅ Test drawer operation after setup
- ✅ Reassess every 3–6 months
Conclusion: A Small Change With Big Daily Impact
Organizing cords and chargers in a drawer might seem like a minor chore, but its benefits ripple through your daily life. No more wasted mornings fighting knots. No more buying replacements due to preventable damage. Just clean, efficient access to the tools you rely on every day.
The systems outlined here require minimal investment but deliver lasting results. Whether you’re a tech enthusiast, a busy parent, or someone who values a tidy home, taking control of your cables is a step toward greater order and peace of mind.


 浙公网安备
33010002000092号
浙公网安备
33010002000092号 浙B2-20120091-4
Comments
No comments yet. Why don't you start the discussion?