
A cluttered desk doesn’t just look unprofessional—it slows you down. While most people focus on organizing their desktops, the real chaos often hides underneath: a jungle of tangled cords, mismatched adapters, and forgotten chargers. The good news? You don’t need zip ties, cable trays, or power tools to fix it. With smart techniques and everyday items, you can transform that mess into a streamlined, functional setup in under 30 minutes.
This guide walks through proven, tool-free strategies used by home office organizers, remote workers, and minimalist designers. Whether you’re working from a compact apartment desk or managing multiple monitors in a dedicated study, these methods are scalable, affordable, and sustainable.
Why Cord Chaos Matters More Than You Think
Cable clutter isn't just an eyesore. Studies show that visual disarray increases cognitive load and reduces focus. A 2022 University of California study found that employees in tidy workspaces completed tasks 27% faster than those surrounded by clutter. Under-desk tangles also pose practical risks: accidental unplugs, overheating from poor airflow, and difficulty troubleshooting when something goes wrong.
Yet many people avoid fixing the problem because they assume it requires drilling, buying expensive kits, or technical know-how. That’s a myth. You can achieve a professional-grade cord management system using only what you already have at home.
“Most cord issues stem from poor routing, not lack of hardware. A few strategic loops and anchors make all the difference.” — Daniel Reyes, Home Office Design Consultant
Step-by-Step Guide: Transform Your Under-Desk Area in 5 Stages
Follow this sequence to systematically eliminate cord chaos without a single tool.
Stage 1: Unplug and Audit Everything
Begin by turning off and unplugging every device under your desk. This includes your computer, monitor, speakers, printer, lamp, phone charger, and any USB hubs. Lay each cord out fully so you can see its length and condition.
Create three piles:
- Essential – Used daily (e.g., laptop charger, monitor cable)
- Occasional – Used weekly or less (e.g., printer, external hard drive)
- Obsolete – No longer needed (old chargers, broken cables)
Discard anything frayed, exposed, or incompatible with current devices. Recycle old electronics responsibly.
Stage 2: Group Cords by Function and Destination
Instead of treating each cord individually, think in bundles. Group them based on where they go and what they power:
| Group | Cords Included | Anchor Point |
|---|---|---|
| Main Workstation | Laptop charger, monitor, keyboard/mouse USB | Near power strip |
| Audio/Visual | Speakers, webcam, headset | Back of desk |
| Peripherals | Printer, scanner, external drive | Floor or side edge |
| Mobile Devices | Phone, tablet, smartwatch chargers | Front edge (easy access) |
Keeping related cords together minimizes cross-routing and makes future changes easier.
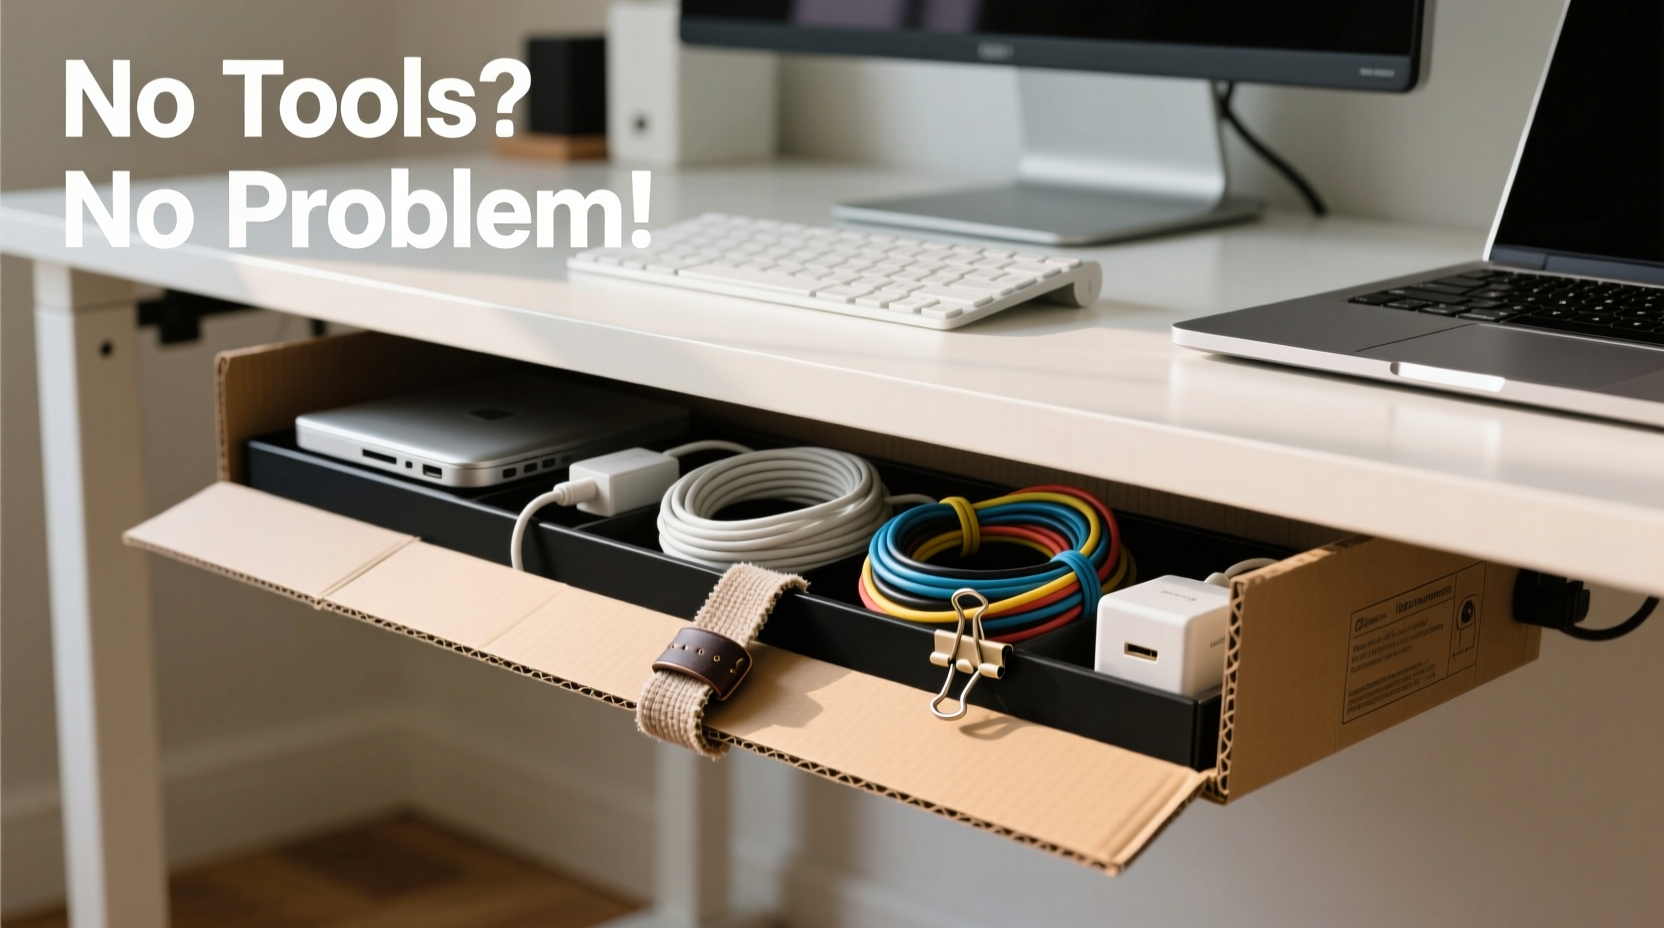
Stage 3: Use Everyday Items as Anchors and Loops
You don’t need specialty clips. Common household objects work just as well:
- Rubber bands – Wrap around grouped cords to keep them bunched.
- Hair ties or scrunchies – Stretchy and reusable; ideal for thick bundles.
- Old bread tags – Slide onto cords and clip excess length into loops.
- Paperclips – Straighten one end and hook it over the desk edge to hold a cord in place.
- Clothespins – Clip to the back of your desk to suspend lightweight cords.
To create anchor points without adhesive or screws, try this trick: loop a rubber band through the gap between your desk surface and drawer slide (if present), then use it to hold cords in place. This is especially effective for desks with metal frames.
Stage 4: Route Smartly to Prevent Tangles
How you route cords determines long-term tidiness. Follow these principles:
- Start from the outlet – Route everything outward from the power source, not inward.
- Avoid crossing paths – Never let one bundle pass over another.
- Use natural curves – Allow gentle bends instead of sharp kinks to extend cord life.
- Leave slack strategically – Keep 6–8 inches of extra length near devices for easy unplugging.
If your desk has a rear cutout or grommet hole, feed major bundles through it. Use a toilet paper tube or cardboard roll as a sleeve to protect cords and maintain organization.
Stage 5: Maintain Accessibility Without Sacrificing Order
A perfectly organized desk is useless if you can’t access your phone charger without untangling five cords. Designate one “quick access” bundle—usually for mobile devices—and route it along the front or side edge.
Use a binder clip with the metal arm clipped to the desk edge and the open side holding the charging cables. This keeps them visible and within reach while preventing them from slipping under the desk.
Real Example: How Sarah Cleared Her Home Office in 25 Minutes
Sarah, a freelance graphic designer in Portland, worked from a secondhand IKEA desk crammed with six cords—all tangled beneath her dual monitors. She avoided cleaning it for months, fearing she’d lose track of which plug went where.
Using the method above, she unplugged everything, labeled each cord with masking tape, and grouped them into two bundles: primary (monitor, laptop, USB hub) and secondary (lamp, speaker, phone charger). She used two old hair ties to bind each group and anchored them with bent paperclips hooked over the desk lip.
The entire process took 25 minutes. Now, she swaps devices easily, and clients compliment her “studio-level” setup during video calls. Most importantly, she hasn’t accidentally unplugged her monitor since.
Do’s and Don’ts of Tool-Free Cord Management
| Do | Don’t |
|---|---|
| Label cords before reconnecting | Wrap cords too tightly (causes internal damage) |
| Use stretchy ties like fabric hair bands | Use duct tape (leaves residue, looks messy) |
| Leave service loops for adjustments | Run cords across floor traffic areas |
| Check cord condition during audit | Bundle hot-running cords (like power bricks) |
| Reassess monthly for new clutter | Ignore ventilation around transformers |
Following these guidelines ensures your system stays functional and safe over time.
Expert Tips for Long-Term Success
Professional organizers rely on habits, not hardware. These insider practices keep cords tidy for months—even years.
- Adopt the “One In, One Out” rule: When you bring a new device home, retire an old one. This prevents gradual accumulation.
- Go wireless when possible: Bluetooth keyboards, mice, and speakers reduce physical connections.
- Color-code with colored tape: Assign red to audio, blue to internet, green to power. Instant visual sorting.
- Use furniture to your advantage: Desks with modesty panels or drawers offer natural cord channels.
“Organization isn’t about perfection—it’s about creating systems that survive daily use. If it takes more than 10 seconds to fix, it won’t last.” — Lila Tran, Productivity Coach
Quick Checklist: Your No-Tools Cord Cleanup Plan
Print or bookmark this checklist for fast reference:
- Unplug all under-desk devices
- Sort cords into Essential, Occasional, Obsolete
- Discard damaged or unused cables
- Label each essential cord
- Group by function (workstation, audio, peripherals, etc.)
- Secure bundles with hair ties, rubber bands, or bread tags
- Route from outlet outward, avoiding crossings
- Anchoring with paperclips, clothespins, or binder clips
- Keep quick-access cords near the front edge
- Test all connections and adjust slack
- Set a monthly reminder to review and re-tidy
Frequently Asked Questions
Can I really organize cords without spending money?
Absolutely. Most households already have rubber bands, tape, paperclips, or old cords that can be repurposed. The key is using what you have creatively. Even socks cut into strips can serve as soft cable ties.
What if my desk has no anchor points?
No problem. Use adhesive-free solutions like reusable mounting putty (commonly sold for hanging posters) to secure lightweight clips or cups. Loop cords through binder clips clamped to the desk edge—they don’t require holes or glue.
How often should I reorganize under my desk?
Perform a full reset every 3–6 months. However, do a quick 2-minute tidy weekly. If you add a new device, reevaluate your layout immediately to prevent cascading clutter.
Final Thoughts: A Clean Desk Is a Productive Mindset
Organizing cords without tools proves that simplicity often beats complexity. You don’t need a gadget for every problem. Sometimes, a hair tie and a moment of attention are enough to create lasting order.
Your workspace reflects your thinking. When cords are managed intentionally, distractions fade. Troubleshooting becomes faster. And your environment feels intentional, not chaotic.
The best part? This system evolves with you. Add a new monitor? Just create a new bundle. Switch to wireless headphones? Remove a cord and enjoy the space it leaves behind.


 浙公网安备
33010002000092号
浙公网安备
33010002000092号 浙B2-20120091-4
Comments
No comments yet. Why don't you start the discussion?