
Digital photos capture life’s most meaningful moments—birthdays, vacations, quiet family dinners. Yet, too many of us let them scatter across phones, laptops, and forgotten drives. Without a clear system, finding that one picture from last summer can feel impossible. Worse, a single device failure could erase years of memories forever.
The good news: organizing your digital photos doesn’t require technical expertise or hours of effort. With a consistent, simple system, you can protect your memories, find any photo in seconds, and stop worrying about losing them. This guide walks through a proven method used by photographers and digital organizers to bring clarity and security to personal photo collections.
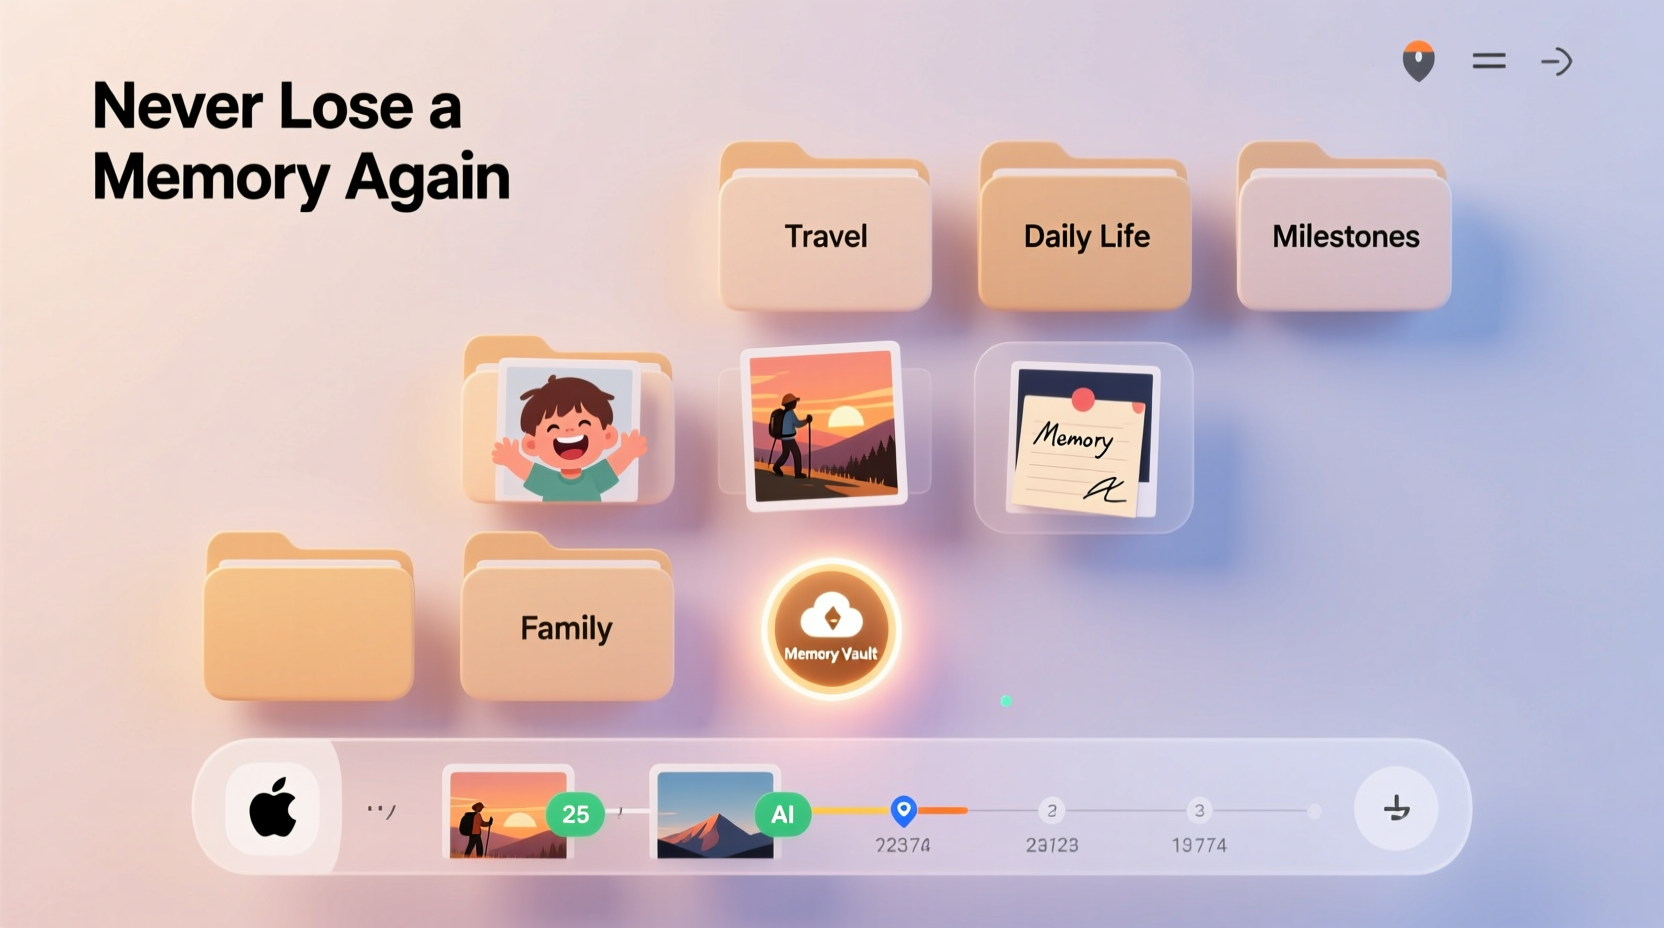
Why Most People Lose Their Photos (And How to Avoid It)
Most photo chaos begins with convenience. We snap pictures on our phones, maybe glance at them later, and assume they’re “safe” because they’re digital. But digital files are fragile. Phones break. Hard drives fail. Cloud accounts get deleted. And without organization, even intact photos become lost in a sea of thousands.
A 2023 Digital Preservation Survey found that 67% of adults have lost irreplaceable photos due to poor backup habits or disorganized storage. The root cause? A lack of routine. People don’t know when—or how—to sort, back up, and archive their images.
“Digital photos aren’t safe just because they exist online. Safety comes from structure, redundancy, and intention.” — Dr. Lisa Tran, Digital Archivist & Author of *Preserving the Pixel*
Creating a reliable photo organization system isn’t about perfection—it’s about consistency. The goal isn’t to spend weekends sorting; it’s to build a habit that protects your memories long-term.
A Step-by-Step System to Organize Your Photos Forever
This five-part system is designed for real people with busy lives. It uses free or low-cost tools, requires minimal time per week, and scales whether you have 500 or 50,000 photos.
Step 1: Gather All Your Photos in One Place
Start by collecting every photo you care about. Check:
- Your current smartphone(s)
- Old phones or tablets
- Laptops and desktop computers
- External hard drives
- USB sticks
- Cloud services (Google Photos, iCloud, Dropbox, etc.)
Create a temporary folder called “Photos_To_Sort” on your main computer. Copy everything into it. Don’t worry about duplicates yet—just get it all in one place. This may take a few hours if you have multiple sources, but it only needs to be done once.
Step 2: Delete the Obvious Junk
Before organizing, reduce clutter. Go through the “Photos_To_Sort” folder and delete:
- Blurry or failed shots
- Duplicate images (keep the best version)
- Screenshots not related to memories (e.g., receipts, error messages)
- Test photos (e.g., camera focus checks)
Be ruthless. You’ll save time later. Use your operating system’s built-in tools—Windows’ File Explorer or macOS’s Preview—to quickly scroll and delete. Aim to remove at least 20–30% of low-value files.
Step 3: Sort by Date Using a Consistent Naming System
Now, move photos into dated folders. The key is using a naming format that sorts chronologically. Use this pattern:
YYYY-MM-DD_EventDescriptionExamples:
- 2023-06-15_James_Birthday_Party
- 2024-01-01_New_Years_Eve_Fireworks
- 2022-08-10_Family_Vacation_Maine
Create these folders inside a main directory called “Personal_Photos”. Then, manually move batches of photos into the correct folder based on their timestamp. Most operating systems show photo dates automatically. If you're unsure, right-click > Properties > Details to see the capture date.
Why this works: The YYYY-MM-DD format ensures folders sort in perfect chronological order, even when viewed alphabetically. No more guessing whether “Summer Trip” was before or after “Aunt Linda’s Wedding.”
Step 4: Back Up Across Two Locations
One copy of your photos is not enough. Follow the 3-2-1 rule used by data professionals:
- 3 copies of your data (original + 2 backups)
- 2 different media types (e.g., computer + external drive)
- 1 offsite backup (e.g., cloud storage)
For most people, this means:
- Your primary computer (Copy 1)
- An external hard drive stored at home (Copy 2)
- A cloud service like Google Photos, iCloud, or Backblaze (Copy 3)
After organizing your photos into dated folders, plug in your external drive and copy the entire “Personal_Photos” folder. Then, upload the same folder to your chosen cloud service. Enable auto-sync so future additions are backed up automatically.
“Hard drives fail silently. Clouds can be hacked. Only redundancy guarantees safety.” — Mark Rivera, Data Recovery Specialist
Step 5: Maintain Weekly with a 15-Minute Routine
Set a recurring weekly reminder (e.g., Sunday evening). In 15 minutes:
- Transfer new photos from your phone to your computer
- Name and file them into the correct dated folder
- Delete obvious junk
- Verify your cloud sync is active
That’s it. Over time, this small habit prevents backlog and keeps your system running smoothly.
Do’s and Don’ts of Digital Photo Management
| Do | Don’t |
|---|---|
| Use consistent folder names with YYYY-MM-DD format | Name folders “Vacation,” “Summer,” or “Good Stuff” |
| Back up to both an external drive and cloud | Rely only on your phone or laptop for storage |
| Delete blurry/duplicate photos early | Keep every photo “just in case” |
| Label important people in cloud services that support tagging | Assume you’ll remember who’s in a photo 10 years later |
| Review and update backups quarterly | Set it and forget it—technology changes |
Real Example: How Sarah Saved Her Family’s Memories
Sarah, a mother of two from Portland, realized she hadn’t seen photos from her daughter’s first birthday in years. Her iPhone had crashed, and she’d never backed up the album. When she tried searching “Emma 1st birthday” across her devices, nothing came up reliably.
She decided to implement this system. Over one weekend, she gathered photos from old phones, her husband’s laptop, and a dusty USB drive. She deleted over 4,000 duplicate and low-quality images. Then, she created dated folders and rebuilt a complete timeline of the past five years.
She bought a $70 external hard drive and subscribed to Google One for automatic cloud backup. Now, every Sunday, she spends 10–15 minutes filing new photos. Last month, she easily found and printed a collage of Emma’s milestones for school. “I finally feel in control,” she said. “It’s like I got my memories back.”
Essential Tools and Software (Free & Paid)
You don’t need expensive software. Here are trusted tools that work across platforms:
- Google Photos – Free unlimited storage for high-quality uploads (not original quality). Great for facial recognition and search.
- iCloud Photos – Seamless for Apple users. Syncs across devices automatically.
- Backblaze Personal Backup – $7/month. Fully automatic, continuous backup of your entire drive, including photos.
- Adobe Lightroom (Free Version) – For basic editing and tagging. Stores edits in the cloud.
- FreeFileSync – Free open-source tool to mirror folders to external drives.
If you want advanced tagging or metadata control, consider Dammit (free) or PhotoPrism (self-hosted). But for most users, standard file folders plus cloud sync are sufficient—and more sustainable.
Frequently Asked Questions
What if I have thousands of unsorted photos? Where do I start?
Begin with the last 12 months. Organize recent photos first—they’re most likely to be meaningful and accessible. Then, work backward in chunks (e.g., one year per weekend). Prioritize events you care about: births, weddings, trips. Let older, less important photos wait.
Should I rename every photo file?
No. Focus on organizing folders, not individual files. Modern cameras and phones already embed dates in photo metadata. Renaming thousands of files is unnecessary and time-consuming. Trust the folder structure instead.
Is cloud storage really safe?
Reputable services like Google, Apple, and Backblaze use encryption and redundant servers to protect your data. They’re safer than a single hard drive. However, never rely on just one cloud provider. Combine cloud with a physical backup for true security.
Your Action Checklist
Follow this checklist to set up your photo system in under a week:
- ✅ Create a “Photos_To_Sort” folder and gather all photos from devices and clouds
- ✅ Delete blurry, duplicate, and irrelevant images
- ✅ Create a main “Personal_Photos” folder on your computer
- ✅ Sort images into dated subfolders using YYYY-MM-DD naming
- ✅ Buy an external hard drive (500GB–1TB recommended)
- ✅ Copy your organized photos to the drive
- ✅ Upload the same folder to a cloud service (Google Photos, iCloud, etc.)
- ✅ Set a weekly 15-minute calendar reminder to maintain the system
Conclusion: Protect What Matters Most
Your photos are more than data—they’re emotional landmarks. A child’s laugh, a sunset on a road trip, a quiet moment with someone you love. These deserve better than being buried in digital chaos or lost to a broken screen.
By following this simple system, you create a legacy. Future you will thank present you for taking a few hours to set things up. And one day, your children or grandchildren might look through those carefully preserved folders and say, “There they are. That’s how we were.”


 浙公网安备
33010002000092号
浙公网安备
33010002000092号 浙B2-20120091-4
Comments
No comments yet. Why don't you start the discussion?