
In an era where smartphones capture thousands of moments each year, managing digital photos has become a silent burden. While cloud services offer convenience, not everyone wants their memories stored on remote servers—due to privacy concerns, subscription costs, or simply a preference for full control over personal data. Organizing your photo library locally is not only possible but can be more secure and sustainable when done correctly. This guide walks through practical, proven methods to build a reliable, searchable, and future-proof photo archive—all without relying on the cloud.
Create a Logical Folder Structure
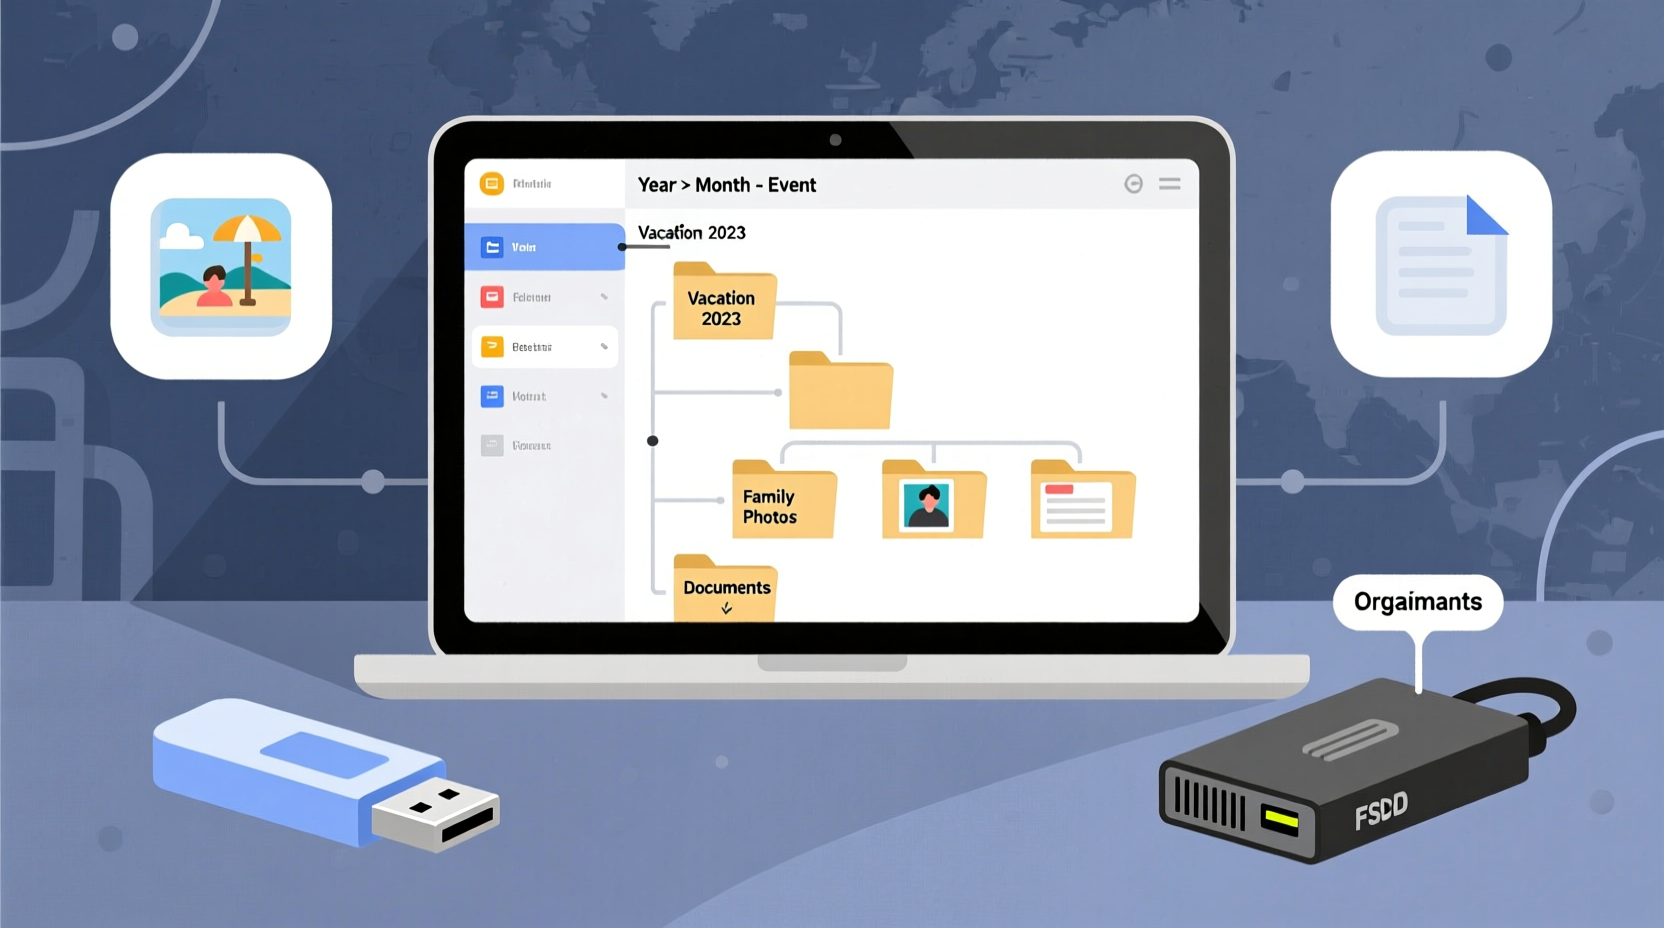
The foundation of any organized digital photo system is a consistent folder hierarchy. Without it, even the best naming conventions will fail over time. A well-designed structure makes navigation intuitive and minimizes confusion as your collection grows.
Start with a top-level directory such as Photos_Archive. Within that, use chronological and thematic subfolders. The most effective approach combines year, month, and event-based naming:
Photos_Archive/
├── 2023/
│   ├── 2023-05_May_Trip_to_Maine/
│   ├── 2023-08_Birthday_Party_Julia/
│   └── 2023-12_Christmas_Family_Gathering/
├── 2024/
│   ├── 2024-01_New_Years_Eve/
│   ├── 2024-06_Wedding_Sarah_Mike/
│   └── 2024-09_Vacation_Portugal/
└── Projects/
    ├── Scanned_Photos_Old_Albums/
    └── Edited_Collection_2023/
This format ensures files sort chronologically in any operating system. Using leading zeros (e.g., 01, 02) prevents misordering. Event names should be specific enough to distinguish from others but avoid overly long descriptions.
Implement a Consistent File Naming Convention
Folder structure organizes broad categories, but individual file names bring precision. Random strings like IMG_4827.jpg make searching difficult and lack context. Instead, adopt a standardized naming scheme that includes date, subject, and sequence.
A recommended format is:
YYYY-MM-DD_Description_Sequence.jpg (e.g.,
2024-07-15_Beach_Day_with_Liam_001.jpg)
This provides immediate information at a glance and supports sorting by name, which aligns with chronological order. For scanned physical photos, include origin details:
1985-06-12_Grandma_Helen_Beach_House_001.jpg
Use batch renaming tools like Bulk Rename Utility (Windows), Renamer (macOS), or Advanced Renamer to apply these changes efficiently across large sets.
Back Up Locally Using the 3-2-1 Rule
No organization system matters if your photos are lost to hardware failure, fire, or accidental deletion. The cornerstone of digital preservation is the 3-2-1 backup strategy:
- 3 copies of your data: one primary and two backups
- 2 different media types: e.g., internal drive + external HDD or SSD
- 1 off-site copy: stored in a separate physical location
For a cloud-free workflow, this translates into tangible actions:
- Store original photos on your main computer’s dedicated photo drive.
- Back up to an external hard drive kept nearby (e.g., on your desk or shelf).
- Keep a second external drive stored elsewhere—such as a safety deposit box, relative’s home, or locked cabinet in another building.
Rotate the off-site drive monthly or quarterly to ensure it stays current. Label drives clearly (e.g., “Backup – July 2024”) to track versions.
| Storage Type | Pros | Cons |
|---|---|---|
| External HDD | Affordable, high capacity, widely compatible | Mechanical parts prone to failure, sensitive to drops |
| SSD (Solid State) | Durable, fast access, shock-resistant | More expensive per GB |
| Network Attached Storage (NAS) | Centralized access, RAID redundancy, automated backups | Higher upfront cost, requires setup knowledge |
Use Metadata and Local Cataloging Tools
Folders and filenames help, but they don’t replace the power of metadata—information embedded within image files themselves. Tags, captions, dates, and GPS coordinates allow advanced search capabilities even without internet connectivity.
Desktop applications like DigiKam (open-source, cross-platform), Adobe Lightroom Classic (paid), or Photo Mechanic (fast tagging tool) let you add keywords, ratings, and descriptions locally. These programs create sidecar files (like .xmp) or maintain private databases on your machine—never uploading anything online.
For example, tag photos with people’s names, locations, or themes (“beach,” “winter holiday,” “graduation”). Later, you can search “Aunt Clara” or “Italy 2022” and retrieve relevant images instantly.
“Metadata is the invisible backbone of digital photo management. It turns chaos into clarity.” — Daniel Reeves, Digital Archivist & Preservation Consultant
If you prefer lightweight solutions, consider Microsoft PowerToys’ PowerRename or ExifTool (command-line utility) to read and write EXIF, IPTC, and XMP data directly into files.
Step-by-Step: Monthly Photo Organization Routine
Letting photos pile up leads to overwhelm. A short monthly ritual keeps your library current and manageable. Follow this timeline:
- Day 1–3: Import and Sort
Connect your phone or camera. Copy all new images to a temporary folder calledPending_Import_MMYYYY. Delete blurry, duplicate, or irrelevant shots immediately. - Day 4: Rename and Categorize
Apply your naming convention using batch tools. Move finalized files into the correct year/event folder underPhotos_Archive. - Day 5: Tag Key Photos
Open your cataloging software. Add tags for major events, people, or locations. Rate important images with stars (e.g., 4–5 stars). - Day 6: Backup
Copy the updated folders to both external drives. Verify transfer success by checking file counts and sizes. - Day 7: Archive Old Temp Files
Compress previous month’s pending folder into a ZIP file labeledArchive_Import_MMMYYYY.zipand store it in a logs directory. Delete raw temp files to free space.
This process takes under 90 minutes per month for average users and prevents backlog buildup.
Mini Case Study: Recovering a Family Legacy
Sarah, a librarian from Vermont, inherited over 800 undeveloped film negatives and shoeboxes of loose prints from her grandparents. Determined to preserve them, she set out to digitize everything without using cloud storage due to privacy concerns about facial recognition algorithms.
She began by scanning each photo at 600 DPI using a flatbed scanner with transparency adapter. Each scan was saved using the naming format: YYYY-MM-DD_Location_Subject_Sequence.tiff. She created a master folder Family_History_Archive, subdivided by decade and family branch.
Using DigiKam, she added metadata: names of people in each photo, relationships, historical context, and source (e.g., “from Grandma’s wedding album, page 7”). Backups were made to two 2TB external drives—one stored at her sister’s house three towns away.
Two years later, during a house fire that destroyed her home office, Sarah lost her main computer—but recovered every photo from the off-site drive. Her structured system allowed her to rebuild her library in under a week.
Common Mistakes to Avoid
Even careful organizers fall into traps that compromise long-term access. Watch for these pitfalls:
- Relying on a single drive: Hard drives fail silently. Never trust one copy.
- Using vague names: “Vacation.jpg” tells you nothing. Be descriptive.
- Ignoring metadata: Folders alone won’t scale beyond a few thousand images.
- Skipping verification: Assume transfers failed until confirmed. Checksums prevent corruption.
- Storing drives near heat or moisture: Basements and attics degrade electronics. Use climate-stable environments.
Local vs. Cloud: A Quick Comparison
| Factor | Local Storage | Cloud Storage |
|---|---|---|
| Cost Over Time | One-time purchase (drives) | Ongoing subscription fees |
| Privacy | Full control; no third-party access | Data may be scanned or shared per TOS |
| Accessibility | Limited to physical access or self-hosted server | Access from any device with internet |
| Durability Risk | Hardware failure, theft, environmental damage | Account lockout, service discontinuation |
| Search Capabilities | Depends on local software | AI-powered facial/object recognition |
While cloud services offer powerful search features, local systems win in privacy, long-term cost, and ownership. With proper tools, the gap in usability narrows significantly.
FAQ
Can I organize photos without installing special software?
Yes. You can rely entirely on folders, filenames, and manual backups using your operating system’s file explorer. However, adding free tools like DigiKam or ExifTool greatly enhances searchability and efficiency, especially as your collection grows past a few thousand images.
How often should I replace my backup drives?
Experts recommend replacing mechanical hard drives every 3–5 years, even if they appear functional. Solid-state drives can last longer (5–7 years), but all storage media degrade over time. Schedule replacements like you would smoke detector batteries.
What if my computer dies? Will I lose my photo catalog?
If you use software like Lightroom Classic, the catalog (which stores edits and metadata) is separate from your photos. Store the catalog file (.lrcat) on your backup drives too—or better, keep it on a third drive dedicated to catalogs. Alternatively, embed metadata into the image files themselves so information travels with the photo.
Essential Checklist for a Self-Hosted Photo System
- Choose a root folder name (e.g.,
Photos_Archive) - Create yearly subfolders with event-based naming
- Adopt a file naming standard: YYYY-MM-DD_Description_001
- Invest in two external drives (same capacity)
- Set up a monthly import and backup routine
- Select a local cataloging tool (DigiKam, Lightroom Classic, etc.)
- Add metadata: tags, titles, people, locations
- Store one backup off-site
- Verify file integrity after each copy
- Schedule annual review and drive health check
Conclusion
Organizing digital photos without cloud storage isn’t just feasible—it’s empowering. By taking full ownership of your visual history, you protect your privacy, reduce recurring costs, and build a resilient archive that can survive decades. The key lies in consistency: structured folders, disciplined naming, regular backups, and thoughtful metadata. Technology will change, but your system’s logic can endure.


 浙公网安备
33010002000092号
浙公网安备
33010002000092号 浙B2-20120091-4
Comments
No comments yet. Why don't you start the discussion?