
A cluttered pantry doesn’t just make meal prep harder—it can lead to wasted food, duplicated grocery purchases, and daily frustration. Many people assume that a well-organized pantry requires expensive clear containers and fancy labels. But the truth is, you don’t need clear bins or high-end supplies to create a functional, easy-to-navigate storage system. With smart organization techniques and low-cost labeling solutions, you can transform your pantry into an efficient hub—without spending much at all.
This guide focuses on practical, budget-friendly strategies that prioritize accessibility, sustainability, and long-term usability. Whether you're in a small apartment kitchen or managing a large family pantry, these methods are scalable and adaptable.
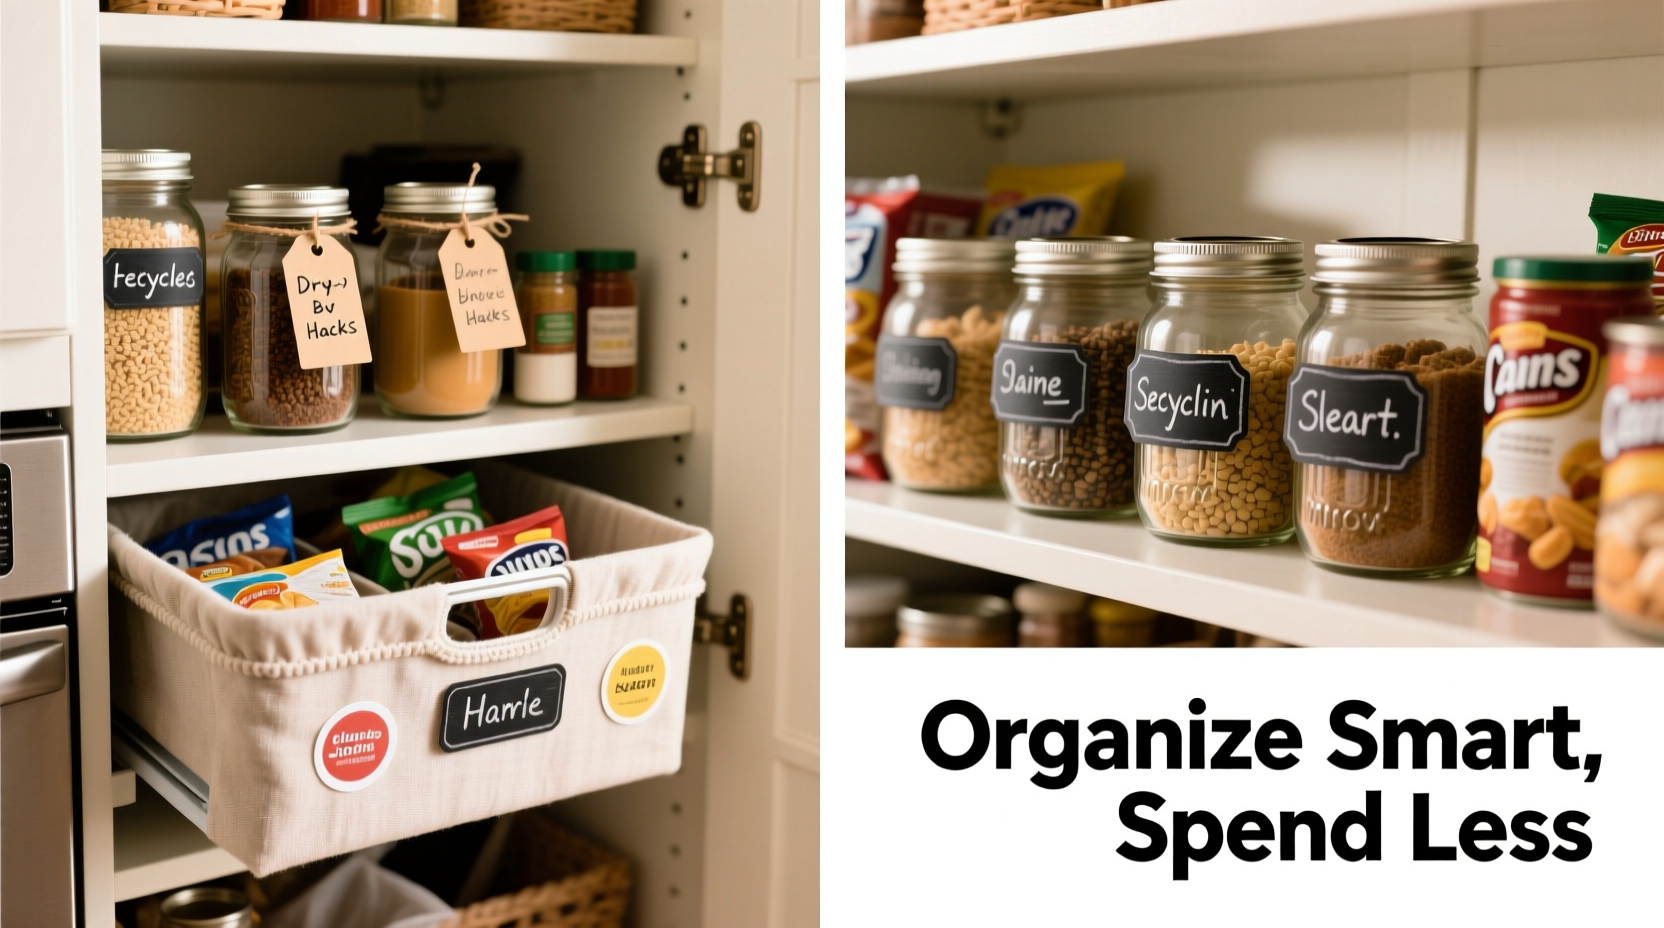
Why Clear Bins Aren’t Always Necessary
Clear containers have become synonymous with pantry organization thanks to their visual appeal and uniformity. However, they come with drawbacks: cost, storage inefficiency (due to shape mismatches), and environmental impact from excess plastic use. More importantly, clarity alone doesn't solve disorganization if items aren't properly labeled or grouped by category.
Instead of defaulting to clear bins, consider this alternative mindset: visibility through labeling, not transparency. A clearly marked bag of rice is just as identifiable as one inside a $15 container—if not more so, because it retains its original nutrition info and expiration date.
Affordable Labeling Hacks That Actually Work
Effective labeling doesn’t require a label maker or calligraphy skills. The goal is legibility, consistency, and durability. Below are five low-cost labeling methods tested in real kitchens:
- Washi Tape + Sharpie – Colorful washi tape sticks well to paper bags and cardboard boxes. Write contents and dates directly on the tape. It peels off cleanly for reuse and adds a cheerful touch.
- Paper Tags on String – Cut strips of cardstock, punch a hole, attach with twine around jars or sacks. Use a thick pen for readability. These can be reused across seasons.
- Chalkboard Paint Dots – Apply small circles of DIY chalkboard paint (mix acrylic paint with unsanded grout) onto lids or bags. Once dry, write with chalk and update as needed.
- Printer Labels on Parchment Paper – Print labels at home on parchment paper (heat-resistant and durable). Cut to size and tape them on bags. Laminating isn’t necessary—they resist moisture surprisingly well.
- Masking Tape & Pencil – For temporary labeling during rotation or bulk storage, masking tape works perfectly. Pencil stays readable even if smudged; plus, it’s erasable for changes.
The key is choosing materials already in your home or under $5 at dollar stores. Avoid over-investing in tools before testing what works for your routine.
Step-by-Step: Organize Your Pantry Without Clear Bins
Follow this seven-step process to build a streamlined pantry system using only affordable supplies:
- Empty Everything – Remove all items from shelves. This allows you to assess what you own, check expiration dates, and clean surfaces thoroughly.
- Categorize Items – Group like with like: baking goods, canned vegetables, pasta, snacks, etc. Be specific enough to avoid confusion—e.g., separate “baking chocolate” from “chocolate bars.”
- Use Original Packaging – Retain resealable bags and boxes where possible. Transfer only items prone to pests or spills (like flour or cereal).
- Label Immediately – As you return items, apply your chosen label method. Include name and best-by date for perishables.
- Stack Strategically – Place heavier items (canned goods) on lower shelves. Stack flat boxes vertically like files for visibility.
- Create Zones – Assign shelf areas by category: top shelf for spices, middle for grains, door for oils and sauces. Use shelf risers made from books or cardboard to double space.
- Maintain Monthly – Schedule a 10-minute weekly scan and a deeper monthly review to rotate stock and refresh labels.
Real Example: Maria’s Apartment Pantry Makeover
Maria lives in a studio apartment with a narrow overhead cabinet serving as her pantry. She initially bought clear containers but found they didn’t fit well and took up too much space. After reading about minimal-bin systems, she tried a new approach:
- Kept oats, sugar, and coffee in original bags
- Folded tops and secured with binder clips
- Labeled each with colored washi tape and bold marker
- Used two shoeboxes as dividers—one for tea, one for soup packets
The result? She saved $40 on containers, gained back six inches of shelf depth, and could see everything instantly. “I thought I needed matching jars,” she said, “but now I realize my system works better because it fits my actual space.”
Do’s and Don’ts of Budget Pantry Labeling
| Do | Don’t |
|---|---|
| Use consistent font size and color per category | Handwrite tiny labels that fade after a week |
| Update labels when contents change | Assume everyone knows what “misc dry goods” means |
| Store labels on the front edge of packages | Place labels on the bottom or side where they’re hidden |
| Group backups behind current stock (FIFO system) | Stack newer items in front, leading to expired leftovers |
| Use symbols (⭐ = favorite, 🔥 = spicy) for quick recognition | Rely solely on text for visual scanning |
“Organization isn’t about perfection—it’s about function. A label that costs pennies but tells you exactly what’s inside is worth more than a designer jar.” — Lena Patel, Home Efficiency Consultant
Budget-Friendly Alternatives to Store-Bought Organizers
You don’t need specialty products to keep things orderly. Repurpose common household items to act as dividers, risers, and sorting tools:
- Reusable shopping bags – Foldable canvas bags corral snacks or drink boxes neatly on deep shelves.
- Tupperware lids – Stand them upright to separate stacks of pancake mix, cornbread, or cake boxes.
- Oatmeal cans or tissue rolls – Cover with paper and use as upright can organizers or spice stands.
- Milk crates – Lightweight and modular, ideal for grouping canned soups or tomatoes.
- Old picture frames – Remove glass and hang on the inside of the pantry door to hold foil, parchment, or reusable wraps.
These alternatives reduce waste, eliminate extra spending, and often provide better customization than one-size-fits-all store bins.
Checklist: Pantry Organization on a Budget
Use this checklist to ensure no step is missed during your pantry overhaul:
- ☐ Remove all items from shelves
- ☐ Wipe down shelves and check for pests
- ☐ Sort into logical categories (baking, breakfast, canned, snacks, etc.)
- ☐ Discard expired or unidentifiable items
- ☐ Decide what needs transferring (if any)
- ☐ Choose a labeling method using existing supplies
- ☐ Label every item clearly with contents and date
- ☐ Arrange by zone and frequency of use
- ☐ Add repurposed organizers (boxes, cans, crates)
- ☐ Set a monthly reminder to reassess and restock
Frequently Asked Questions
Can I organize a pantry without spending any money?
Yes. Most effective pantry systems rely on strategy, not spending. Use existing bags, tape, paper, and containers. Repurpose toilet paper rolls, egg cartons, or old mugs as small-item holders. The biggest investment is time—not cash.
What if my family won’t read labels?
Make labels visual. Use colors associated with categories—green for healthy snacks, red for baking, blue for drinks. Add simple icons (🌾 for grains, 🍝 for pasta). Involve household members in creating labels so they feel ownership over the system.
How do I handle bulk purchases without clear bins?
Transfer bulk items into sturdy paper bags or reusable cotton sacks. Fold the top and secure with a clip. Label with purchase date and estimated use-by. Store heavier bulk items on lower shelves to prevent accidents.
Conclusion: Simplicity Scales Better Than Style
An organized pantry doesn’t have to mirror a Pinterest board. In fact, the most sustainable systems are often the simplest—built around real behavior, actual space constraints, and everyday affordability. By skipping expensive clear bins and embracing creative, low-cost labeling, you gain flexibility, reduce clutter, and build a system that actually lasts.
Start today with what you have. Label three commonly used items. Rearrange one shelf by category. Small actions compound into lasting change. When your system works without perfection, you’ve achieved true organization.


 浙公网安备
33010002000092号
浙公网安备
33010002000092号 浙B2-20120091-4
Comments
No comments yet. Why don't you start the discussion?