
Digital photos are precious. They capture moments that can't be recreated—birthdays, travel, quiet family dinners. But as the years pass, your photo library grows into a chaotic mess: duplicates, blurry shots, random screenshots, and forgotten folders buried in cloud storage. Without a system, finding a specific image becomes frustrating, if not impossible.
Organizing thousands of photos doesn’t have to be overwhelming. With a clear strategy and the right tools, you can transform your disorganized gallery into a well-structured, searchable archive. This guide walks you through a proven, step-by-step process using cloud-based solutions to sort, tag, back up, and preserve your memories—like a professional archivist would.
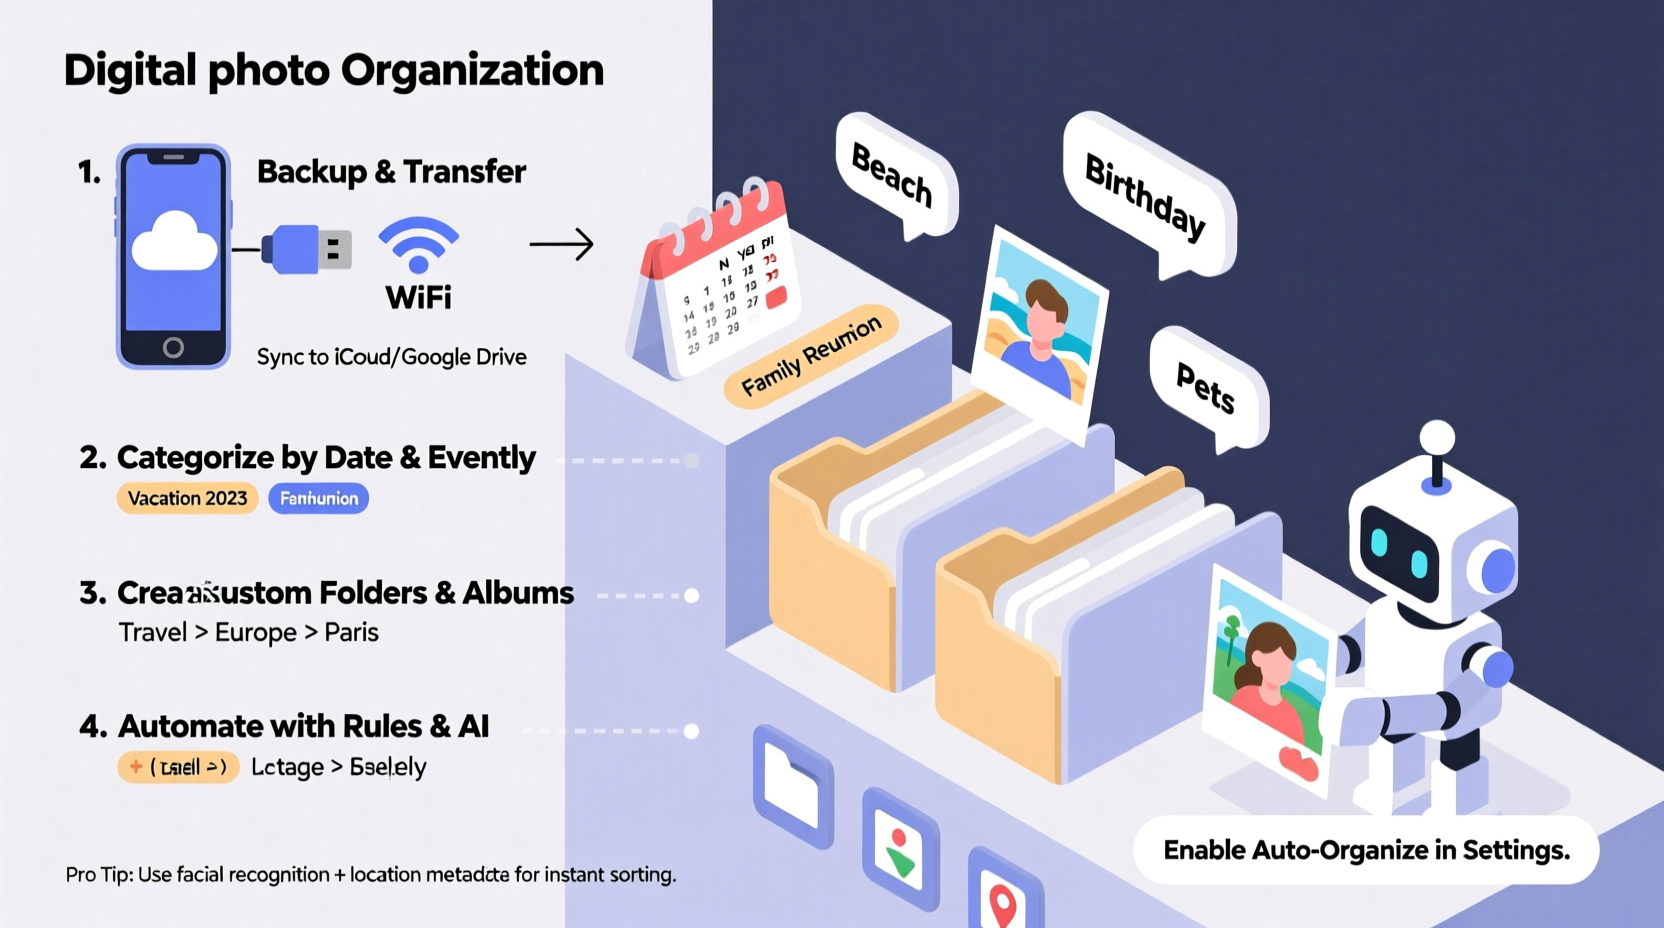
Step 1: Choose Your Cloud Platform Strategically
The foundation of any strong photo organization system is the right cloud service. Not all platforms are created equal when it comes to metadata support, search capabilities, folder structures, and cross-device syncing.
Top contenders include Google Photos, Apple iCloud Photos, Microsoft OneDrive, and Adobe Lightroom Cloud. Each has strengths depending on your ecosystem and needs.
| Platform | Best For | Search Strengths | Storage Limit (Free) |
|---|---|---|---|
| Google Photos | AI-powered search, Android users | Faces, locations, objects (e.g., “dog,” “beach”) | 15 GB shared across Gmail & Drive |
| iCloud Photos | Apple ecosystem users | People, places, scenes, Memories | 5 GB |
| OneDrive + Windows Photos | Windows/Office users | Basic tagging, OCR in documents | 5 GB |
| Adobe Lightroom Cloud | Photographers, editors | Keyword tags, ratings, custom metadata | 2 GB (paid plans for more) |
If you’re serious about long-term organization and future-proofing, consider combining platforms: use Google Photos or iCloud for daily access and AI search, and back up master files to OneDrive or Dropbox with consistent folder naming.
Step 2: Audit and Consolidate Your Existing Photos
Before organizing, gather every photo from every device and location. Most people have images scattered across smartphones, old hard drives, SD cards, email attachments, and multiple cloud accounts.
Start by connecting all devices to your chosen primary cloud service. Enable auto-upload on phones and tablets. Then manually import from external sources:
- Connect cameras or SD cards to your computer and transfer all media.
- Check desktop folders like “Downloads,” “Pictures,” and “Desktop.”
- Export albums from Facebook, WhatsApp, or messaging apps.
- Log into secondary cloud accounts (e.g., old Google account, Dropbox) and download or migrate content.
Once everything is in one place—your central cloud hub—deduplicate aggressively. Tools like Gemini Photos (iOS), Duplicate Photo Cleaner (Windows/Mac), or Google’s built-in duplicate finder can identify near-identical images, including edited versions and screenshots of originals.
“Most people keep 30% more photos than they realize due to duplicates and accidental re-saves.” — Sarah Lin, Digital Archivist at MemoryKeepers Inc.
Delete low-quality copies, but keep the highest-resolution version of each unique moment. This reduces clutter and saves storage costs.
Step 3: Implement a Logical Folder and Naming System
Even in the cloud, structure matters. While some services hide traditional folders (like Google Photos), you can still enforce order through album creation and file naming.
Adopt a consistent naming convention that includes date, location, and event. Use the ISO 8601 standard for dates (YYYY-MM-DD) so files sort chronologically:
2023-07-04_New_York_Fourth_of_July_Picnic2024-02-14_Valentine_Dinner_At_Home2022-12-25_Christmas_Family_Gathering_Mom's_House
Create top-level albums or folders by year, then subdivide by month or event:
Photos/
├── 2022/
│   ├── 2022-01_New_Year_Hike
│   ├── 2022-06_Summer_Road_Trip
│   └── 2022-12_Christmas
├── 2023/
│   ├── 2023-04_Bali_Vacation
│   ├── 2023-08_Niece's_Birthday
│   └── 2023-11_Fall_Harvest_Festival
└── 2024/
    ├── 2024-01_January_Daily_Shots
    └── 2024-03_Portland_Conference
This system ensures that even without AI, you can locate photos quickly. It also survives platform changes—if you switch from iCloud to Google later, your structure remains intact.
Step 4: Tag, Rate, and Describe for Long-Term Searchability
Folders get you partway. True professional organization requires metadata: tags, captions, star ratings, and geolocation.
Use these elements to make photos discoverable beyond just dates:
- People: Tag individuals in photos. Most cloud services do this automatically, but verify accuracy.
- Keywords: Add descriptive tags like “sunset,” “wedding,” “black-dog,” “Paris-trip.”
- Ratings: Use stars (1–5) to mark quality. Keep only 4- and 5-star images visible in curated views.
- Captions: Write brief context: “Emma’s first steps, taken in backyard after breakfast.”
- Location: Ensure GPS data is preserved during transfers. Manually add city names if needed.
In Adobe Lightroom or specialized tools like digiKam (open-source), you can batch-edit metadata across hundreds of files. Even basic tools like Google Photos allow you to search “Amsterdam canal boat ride summer 2023” and find relevant results if keywords align.
Step 5: Maintain a Routine Maintenance Schedule
Organization isn’t a one-time project—it’s an ongoing habit. Set up a monthly maintenance ritual to keep your library pristine.
📋 Monthly Photo Organization Checklist- ✅ Review and delete blurry, duplicate, or irrelevant shots from the past month.
- ✅ Create dated albums for major events or trips.
- ✅ Apply keywords and people tags to new photos.
- ✅ Verify cloud sync status across all devices.
- ✅ Back up raw originals to a secondary cloud or external drive.
- ✅ Update your master index spreadsheet (if used).
Treat this like financial budgeting: small, consistent effort prevents crisis later. Over time, your collection becomes not just organized, but intelligent—responsive to voice searches, timeline views, and memory prompts.
Real Example: How Mark Reclaimed 3 Years of Chaos
Mark, a freelance photographer and father of two, had over 28,000 photos spread across three phones, two laptops, and an old external drive. He hadn’t seen most of them since they were taken.
Over four weekends, he followed this guide: consolidated everything into Google Photos, deleted 9,000 duplicates and test shots, created yearly folders with event-based sub-albums, and tagged all family members. He enabled automatic backups and set a calendar reminder for the last Sunday of each month.
Today, when his daughter asks, “Daddy, show me when we fed the ducks last spring,” he says, “Hey Google, show me ducks with Lily April 2023,” and the photo appears instantly. His wife now uses the same system to plan birthday slideshows.
It wasn’t fast—but it was worth it.
Common Mistakes to Avoid
Even with good intentions, many people undermine their own efforts. Here’s what not to do:
| Don’t | Do Instead |
|---|---|
| Store photos only on your phone | Enable auto-upload to cloud immediately after taking |
| Use vague names like “IMG_1234” | Rename files with date-event format before importing |
| Depend entirely on facial recognition | Manually confirm tags and add names for infants/pets |
| Wait until you have thousands to start | Begin with last month’s photos and work backward gradually |
| Ignore backup redundancy | Follow the 3-2-1 rule: 3 copies, 2 media types, 1 offsite |
The 3-2-1 backup rule is critical. If your only copy is in Google Photos and your account gets hacked or deleted, you lose everything. Keep a second copy on a personal NAS, external drive, or alternate cloud like Dropbox or Backblaze.
FAQ: Your Top Questions Answered
How do I organize photos without spending hours on it?
Break the task into 30-minute sessions. Focus on one year, trip, or event at a time. Automate where possible: enable auto-sync, use AI tagging, and apply batch edits. Even 20 minutes a week adds up.
Should I edit photos before organizing?
No—organize first. Editing should come after sorting and culling. You’ll waste time enhancing photos you later decide to delete. Keep originals untouched, and store edited versions in separate folders (e.g., “2023-08_Tahoe_Trip_EDITED”).
What if I have old printed photos?
Scan them at 300 DPI minimum using a smartphone app like Google PhotoScan or a flatbed scanner. Name the files with “SCAN_YYYY-MM-DD_Description” and integrate them into your digital timeline. Store originals in acid-free sleeves.
Final Thoughts: Turn Chaos Into Legacy
Your photos are more than data—they’re your visual legacy. A well-organized library means your children can someday scroll through your life with clarity, not confusion. It means you can relive joy instantly, not after a frustrating search.
You don’t need fancy software or technical skills. You need consistency, a clear system, and the willingness to start. Pick one weekend to consolidate, create your first five labeled albums, and set up auto-backup. That’s the hardest part.
From there, maintain momentum with small weekly actions. In six months, you’ll wonder how you ever lived with digital chaos.


 浙公网安备
33010002000092号
浙公网安备
33010002000092号 浙B2-20120091-4
Comments
No comments yet. Why don't you start the discussion?