
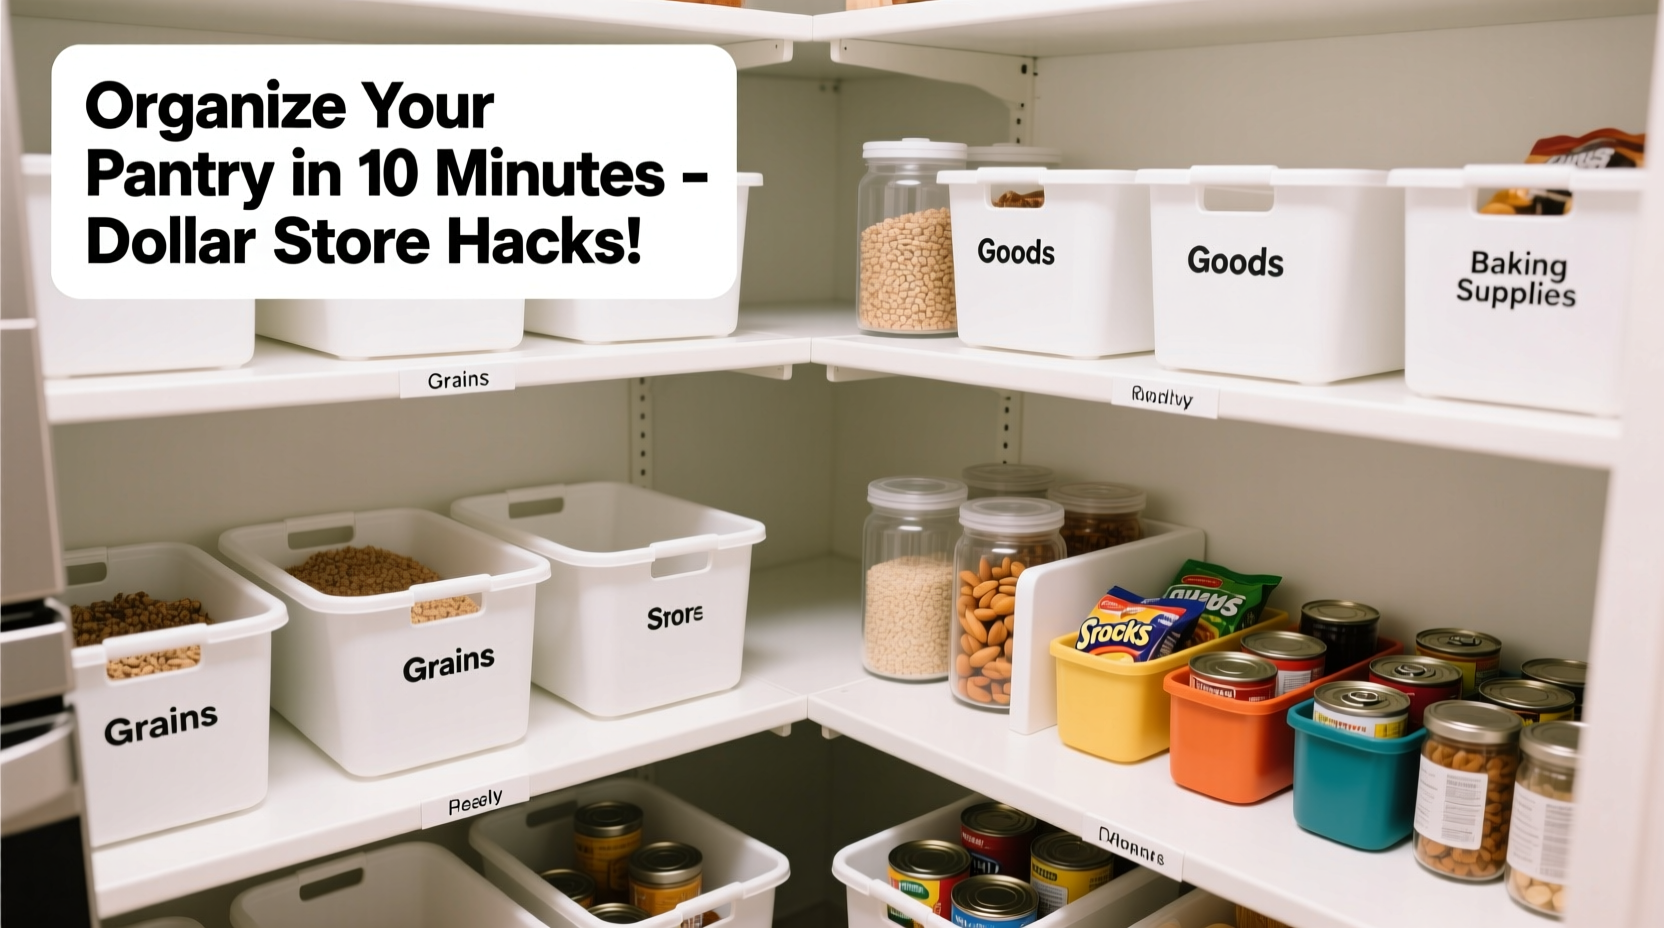
A cluttered pantry leads to wasted food, duplicated purchases, and daily frustration. Yet many people assume that organizing it requires expensive storage systems or custom cabinetry. The truth is, you can achieve a clean, functional pantry using affordable tools from the dollar store. With strategic planning and smart container choices, even the most chaotic shelves can be transformed into an efficient, visually pleasing space. This guide walks through how to assess your needs, choose the right containers, maximize shelf space, and maintain order—all on a budget.
Assess Your Pantry’s Current State
Before purchasing any containers, take inventory of what you currently have. Remove everything from your pantry and place items on a nearby counter or table. This step allows you to see exactly what you own, check expiration dates, and identify duplicates. As you sort, group similar items together: baking supplies, snacks, canned goods, pasta, cereals, and so on.
This process also reveals patterns in your storage challenges. Are bags spilling open? Are cans rolling around? Is visibility low due to opaque packaging? These observations will guide your container selection. For example, if cereal boxes are constantly spilling, airtight plastic bins with wide openings become a priority.
Selecting the Right Dollar Store Containers
Dollar stores offer a surprising variety of storage options. While not every product will meet long-term durability standards, many are perfectly suitable for pantry use when chosen wisely. Look for clear, BPA-free plastic containers with snug-fitting lids. Avoid flimsy materials that crack easily or lids that don’t seal properly.
Commonly available types include:
- Square and rectangular bins: Ideal for maximizing shelf space without wasted corners.
- Round canisters: Best for flour, sugar, or coffee; stackable if uniform in size.
- Small compartment trays: Useful for spices, tea bags, or seasoning packets.
- Stackable baskets: Great for holding snack bars, fruit cups, or small pouches.
- Label-friendly surfaces: Choose containers with flat fronts for easy labeling.
Bring a tape measure to the store. Knowing your shelf height and depth ensures containers fit without crowding. Also, consider weight—overfilling lightweight plastic may cause warping over time, especially with dense ingredients like rice or beans.
“Affordability doesn’t mean sacrificing function. Many dollar store containers perform just as well as high-end brands when used appropriately.” — Maria Tran, Home Organization Consultant
Step-by-Step: Organizing Your Pantry Using Dollar Store Supplies
Follow this timeline to systematically transform your pantry:
- Empty and clean (Day 1): Remove all contents. Wipe down shelves, vacuum crumbs, and let dry completely.
- Sort and purge (Day 1): Group like items and discard anything expired or unwanted.
- Plan zones (Day 1): Designate areas—e.g., baking zone, breakfast station, snacks, canned goods.
- Purchase containers (Day 2): Visit your local dollar store with measurements and a list of needed quantities.
- Transfer and label (Day 3): Pour dry goods into containers. Use masking tape or chalkboard labels for temporary identification.
- Arrange by frequency (Day 3): Place everyday items at eye level, less-used ones higher or lower.
- Finalize labels (Day 4): Replace temporary labels with permanent ones using a label maker or waterproof pen.
Allow flexibility during this process. You might discover that certain containers don’t work as expected—swap them out before finalizing placement.
Smart Labeling and Visibility Strategies
One of the biggest benefits of clear containers is instant visibility. But without proper labeling, confusion returns quickly. A well-labeled pantry saves time and reduces waste.
Use consistent labeling methods. Options include:
- Chalkboard stickers with white paint pen
- Printed labels from a home label maker
- Washi tape with handwritten names
- Masking tape and marker (temporary)
Include more than just the item name. Consider adding purchase or expiration dates, especially for bulk items. For families, add icons or color-coding for kids who can’t read yet—red for snacks, green for meals, etc.
| Label Type | Best For | Durability | Cost |
|---|---|---|---|
| Chalkboard stickers | Frequent ingredient changes | Moderate (wipeable) | $1–$2 per pack |
| Printed labels | Permanent organization | High (water-resistant) | $5 one-time machine cost |
| Washi tape + handwriting | Decorative, short-term use | Low (fades over time) | $1 per roll |
| Masking tape | Testing layouts | Very low | $1 |
Real Example: Transforming a Busy Family’s Pantry
The Rivera family of five struggled with constant meal delays because snacks were buried, baking ingredients spilled, and duplicate purchases happened weekly. Their pantry was a mix of torn boxes, loose pasta bags, and cans stacked haphazardly.
They visited their local dollar store and purchased 12 square containers (various sizes), 4 round canisters, and 2 tiered baskets. After cleaning and sorting, they created zones: top shelf for baking (flour, sugar, chocolate chips), middle for breakfast (oats, granola, pancake mix), lower for snacks (crackers, fruit snacks, nuts), and door storage for drink mixes and spice packets.
Using a label maker, they clearly marked each container. Within a week, the parents reported saving nearly 15 minutes per day during meal prep. Their children could now independently grab snacks, reducing requests and mess. Six months later, they hadn’t needed to replace a single container.
Do’s and Don’ts of Dollar Store Pantry Organization
To ensure longevity and functionality, follow these best practices:
| Do | Don’t |
|---|---|
| Measure shelves before buying containers | Buy containers that are too tall for your space |
| Choose stackable, modular designs | Use mismatched shapes that waste space |
| Label everything clearly | Assume everyone knows what’s inside |
| Group by category or meal type | Mix unrelated items in one bin |
| Check containers monthly for wear | Ignore cracks or warped lids |
Also, avoid storing oily foods like nuts or seeds in thin plastic—they can degrade the material over time. Opt for glass or thicker plastic for such items, even if it means spending slightly more on select containers.
Maximizing Small Spaces and Odd Corners
Not all pantries are spacious or rectangular. Awkward corners, narrow shelves, or shallow cabinets require creative solutions. Dollar stores often carry turntables, pull-out baskets, and small drawer units perfect for tight spaces.
For corner pantries, a rotating lazy Susan helps access items in the back. Place oils, sauces, or frequently used spices on it. If shelf depth is limited, use smaller containers front-to-back rather than stacking. Door-mounted racks can hold spice packets, tea bags, or condiment bottles.
In deep shelves, employ the “double row” technique: place shorter containers in front and taller ones behind. This doubles storage capacity without blocking visibility. Use front-facing labels tilted upward for easy reading.
Essential Checklist: Pantry Organization in 7 Steps
Use this checklist to stay on track:
- Empty pantry and wipe shelves
- Discard expired or unused items
- Sort remaining items into categories
- Measure shelf dimensions
- Purchase appropriate dollar store containers
- Transfer items and label clearly
- Arrange by usage frequency and zone
Revisit the checklist every 3–6 months to reevaluate your system and make adjustments as your household habits change.
Frequently Asked Questions
Can dollar store containers keep food fresh long-term?
Yes, if they have airtight seals and are made from food-safe plastic. Transfer items like flour, sugar, and cereal promptly after opening original packaging. Avoid storing in humid environments, as moisture can compromise both food and container integrity.
What if my containers crack or warp over time?
Some wear is normal with frequent use. Rotate older containers to less critical roles (like holding utensils or cleaning supplies), and replace them with new ones. To prevent warping, avoid overfilling and never store extremely hot items directly inside.
How do I handle bulky items like large bags of pet food?
For oversized items, consider using a larger bin from a discount retailer or repurpose a durable container from another use. Store the original bag inside the bin to preserve expiration info, and fold the top closed to maintain freshness.
Conclusion: Simple Tools, Lasting Results
Organizing your pantry doesn’t require a big budget or professional help. With thoughtful planning and the right dollar store containers, you can create a system that enhances efficiency, reduces waste, and simplifies daily life. The key lies in consistency—measuring accurately, labeling thoroughly, and maintaining the system over time. Once established, this method pays for itself in saved time, fewer duplicate purchases, and reduced food spoilage.


 浙公网安备
33010002000092号
浙公网安备
33010002000092号 浙B2-20120091-4
Comments
No comments yet. Why don't you start the discussion?