
Painting a room with textured walls presents unique challenges. Unlike smooth drywall, textured surfaces trap air, absorb paint unevenly, and are prone to splatter when using rollers. Achieving a uniform, professional finish requires more than just a steady hand—it demands the right preparation, tools, and technique. Many homeowners rush into painting without adjusting their approach for texture, only to end up with patchy coverage, messy drips, and hours of touch-ups. This guide walks through every step needed to paint textured walls smoothly and cleanly, eliminating roller splatter and ensuring an even result that lasts.
Understanding Textured Wall Surfaces
Textured walls—whether popcorn, knockdown, orange peel, or slap brush—are designed to hide imperfections and add visual depth. However, their uneven surfaces create ridges and valleys that complicate painting. Paint tends to pool in low areas and skip over high points, leading to inconsistent color and sheen. Additionally, standard rolling techniques often cause excess paint to fling off raised textures, resulting in airborne droplets that land on ceilings, trim, or furniture.
The key is not to eliminate texture but to work with it. Proper prep ensures the surface accepts paint uniformly. Choosing the right roller nap, maintaining optimal paint load, and applying consistent pressure all contribute to a clean, even coat.
“Textured walls aren’t harder to paint—they’re just different. The mistake people make is treating them like flat walls.” — Carlos Mendez, Master Painter & Interior Finish Specialist
Essential Tools and Materials
Using inappropriate tools is one of the most common causes of splatter and uneven coverage. Invest in equipment designed for textured surfaces:
- Roller frame and cover: Use a high-quality 3/4-inch to 1-inch nap roller cover made from wool or mixed fabric. Short-nap rollers (less than 3/8\") won’t reach into crevices; overly thick naps (over 1.5\") hold too much paint and increase splatter risk.
- Roller tray: A deep-well tray allows better control when loading the roller. Consider a reusable metal tray with a fine grid for more consistent paint distribution.
- Brushes: A 2–3 inch angled sash brush for cutting in edges and corners where rollers can't reach.
- Paint: Choose a mid-sheen finish like satin or eggshell. These offer better durability and hide imperfections better than flat paints while being less reflective than semi-gloss, which can highlight texture irregularities.
- Extension pole: Allows you to maintain even pressure across large wall areas without overworking any single section.
- Drywall sponge or tack cloth: For cleaning dust from textured surfaces before painting.
- Painter’s tape: High-adhesion tape rated for delicate surfaces to protect trim, baseboards, and ceilings.
Step-by-Step Guide to Painting Textured Walls Without Splatter
Follow this sequence to ensure even coverage and minimal mess:
- Clear and protect the room. Remove furniture or cover it completely. Lay drop cloths on the floor, extending to baseboards. Tape off trim, outlets, switches, and ceiling edges carefully. Use a putty knife to press tape edges for a tight seal.
- Clean the walls thoroughly. Dust and grime prevent paint adhesion. Use a microfiber cloth or drywall sponge to remove surface debris. For greasy spots near stoves or switches, wipe gently with a damp cloth and mild detergent. Let dry completely.
- Repair damage if necessary. Fill cracks or dents with joint compound. Sand lightly once dry—do not over-smooth, as this creates noticeable patches. Prime repaired areas to match surrounding texture absorption.
- Prime the walls (optional but recommended). Especially if changing from dark to light colors or painting over stains. Use a high-build primer compatible with texture. Apply with the same roller type you’ll use for paint to simulate final conditions.
- Cut in the edges. Using an angled brush, paint a 2–3 inch strip along ceilings, corners, and trim. Work in sections no larger than 4x4 feet at a time to avoid lap marks.
- Load the roller properly. Pour paint into the tray. Roll the cover back and forth on the ramp until saturated but not dripping. Lift it slightly and roll slowly—no flicking or jerking motions.
- Apply paint in a W-pattern. Start in a top corner and roll downward in a wide \"W\" motion, then fill it in without lifting the roller. Maintain steady, moderate pressure. Avoid pressing hard—this forces paint into crevices and pushes excess onto high points, increasing splatter.
- Work in manageable sections. Divide each wall into 3x3 foot zones. Complete one zone before moving to the next. Overlap slightly into the wet edge of the previous section to prevent visible seams.
- Use slow, deliberate strokes. Speed causes splatter. Move the roller at a walking pace. If you hear snapping sounds, you’re going too fast or the roller is overloaded.
- Allow proper drying time. Wait at least 4–6 hours between coats. Inspect under natural daylight to identify thin spots or missed areas.
- Apply second coat if needed. Most textured walls require two coats for full, even coverage. Repeat the process, ideally in the opposite direction (e.g., vertical first, horizontal second) to balance texture fill.
- Remove tape while paint is still slightly tacky. Pull at a 45-degree angle to avoid peeling dried paint from adjacent surfaces.
Do’s and Don’ts When Painting Textured Walls
| Do | Don’t |
|---|---|
| Use a 3/4\" to 1\" nap roller | Use short-nap or foam rollers |
| Roll slowly and steadily | Roll quickly or with excessive pressure |
| Cut in before rolling | Try to cut in after rolling |
| Work in small, continuous sections | Paint entire walls in one go without overlap planning |
| Let primer dry fully before painting | Rush through drying stages |
| Inspect under natural light | Rely solely on overhead lighting |
| Reload roller frequently with moderate paint | Overload roller to reduce reloads |
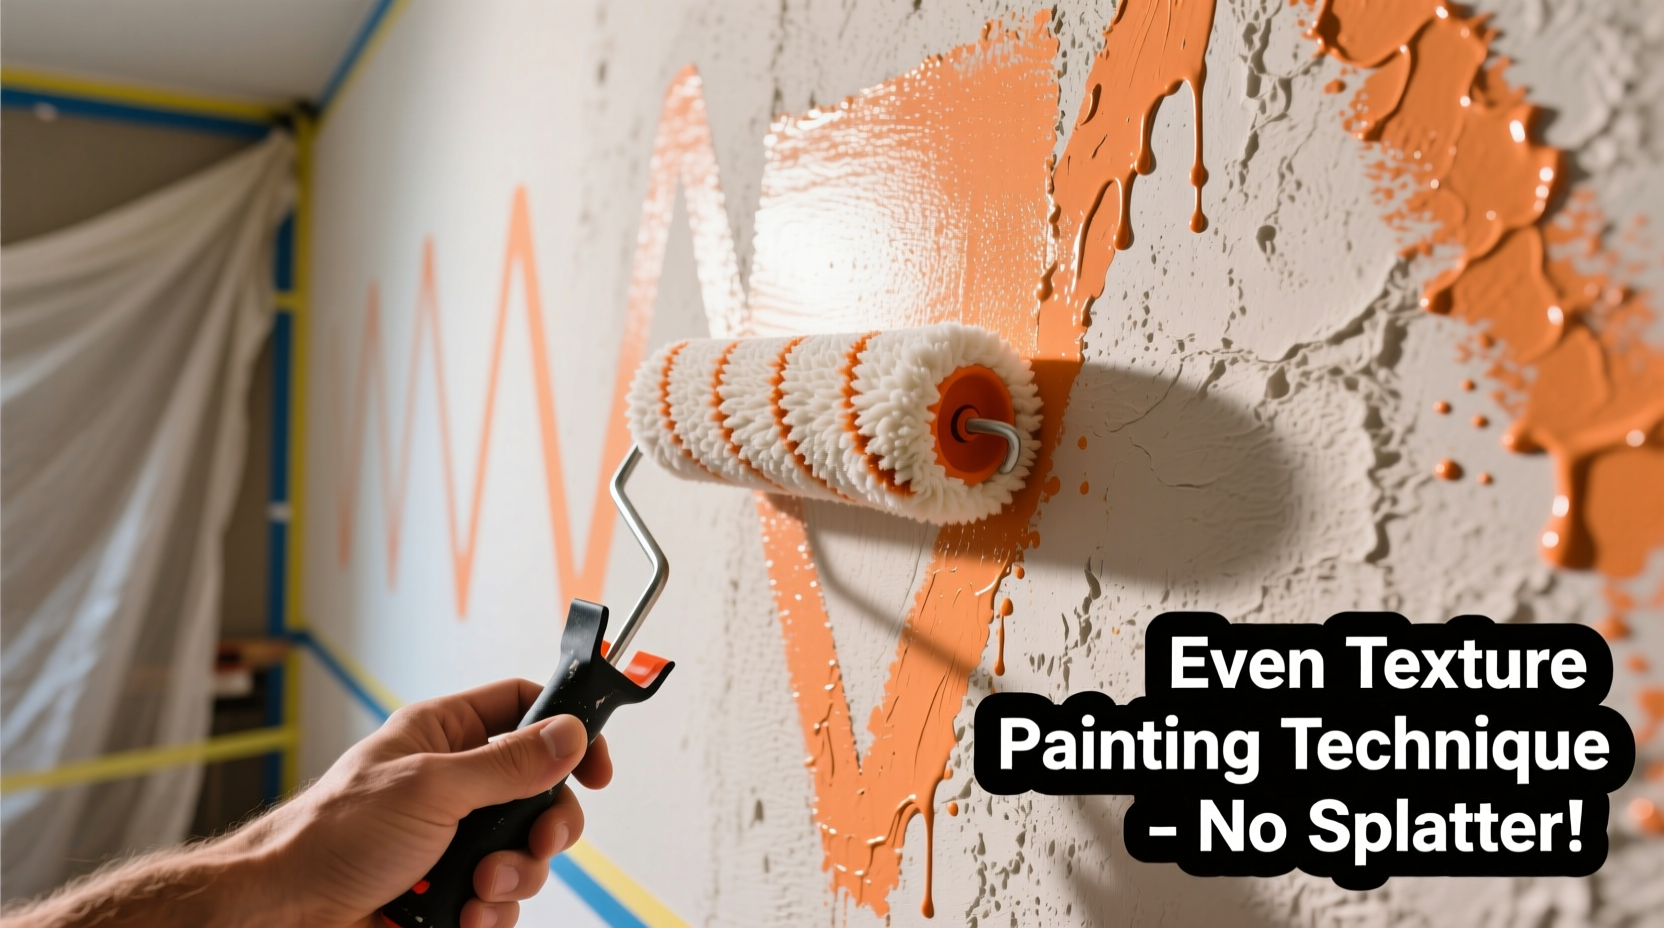
Avoiding Roller Splatter: Technique Matters More Than Tools
Even with the best roller, poor technique leads to splatter. The primary culprit? Excess velocity. When a loaded roller moves too fast across peaks in texture, paint dislodges and flies off. Another issue is overloading—the roller holds more paint than the surface can absorb, forcing surplus to eject upon contact.
To minimize splatter:
- Roll at a consistent, slow speed—about 1 foot per second.
- Lift the roller slightly at the end of each stroke instead of flicking it upward.
- Keep the roller flat against the wall; tilting it concentrates pressure on one edge.
- Spin the roller gently in the tray to remove excess paint rather than banging it.
- Use an extension pole to maintain ergonomic control and even pressure from floor to ceiling.
Another effective method is the “double-roll” technique: apply a light first pass to prime the texture, let it dry for 2–3 hours, then follow with a full coat. The initial layer seals pores and reduces absorption variance, allowing the second coat to lay down smoothly.
Real-World Example: Painting a 1970s Living Room with Popcorn Walls
Sarah Thompson decided to repaint her 1970s ranch home’s living room, which featured original popcorn-textured walls. Her first attempt—with a cheap 3/8\" roller and rushed technique—resulted in heavy splatter on the ceiling and uneven color. She repainted using the following adjustments:
- She switched to a 1\" wool-blend roller.
- She cleaned the walls with a drywall sponge, removing years of accumulated dust.
- She applied a coat of stain-blocking primer to unify porosity.
- She cut in carefully with a premium angled brush.
- She rolled in 3-foot squares at half her original speed.
The difference was dramatic. No splatter reached the ceiling, and the final finish appeared uniform under both daylight and lamplight. Sarah completed the job in one extra day but saved hours in cleanup and touch-ups.
Checklist: Painting Textured Walls Successfully
Before starting, ensure you’ve covered these critical steps:
- ✅ Remove or cover furniture and flooring
- ✅ Clean walls of dust and grease
- ✅ Repair major cracks or holes
- ✅ Tape off trim, baseboards, and ceiling edges
- ✅ Choose the correct roller nap (3/4\" to 1\")
- ✅ Pour paint into a clean tray and load roller evenly
- ✅ Cut in edges with a quality brush
- ✅ Roll in W-patterns with slow, even strokes
- ✅ Work in small, overlapping sections
- ✅ Allow proper drying time between coats
- ✅ Apply second coat if needed
- ✅ Remove tape at a 45-degree angle while slightly tacky
- ✅ Inspect under natural light for missed spots
Frequently Asked Questions
Can I use a sprayer on textured walls?
Yes, an airless sprayer provides the most even coverage on heavily textured walls. However, it requires extensive masking and skill to avoid overspray. For DIYers, a high-nap roller is safer and more controllable. If using a sprayer, back-roll immediately after spraying to press paint into texture and ensure adhesion.
Why does my paint look blotchy after drying?
Blotching occurs when texture absorbs paint unevenly. This is common on unprimed walls or when paint is applied too thinly in some areas. Always prime textured surfaces, especially if making a drastic color change. Applying a second coat usually resolves the issue.
How do I fix roller splatter after it dries?
If paint specks remain on trim or ceilings, gently scrape them off with a plastic razor blade. For smaller dots, use a fine-grit sanding sponge. Prevent recurrence by slowing down and reducing roller load on subsequent coats.
Final Tips for a Flawless Finish
Lighting plays a crucial role in evaluating your results. View walls at different times of day and from various angles. Low-angle sunlight reveals inconsistencies invisible under overhead lights. If minor flaws remain, resist the urge to overwork them—additional layers may build up in valleys and create new problems.
Remember that texture will always show through paint. The goal isn’t to flatten it but to coat it uniformly so that light reflects consistently across the surface. With patience and attention to detail, even challenging walls can achieve a professional-grade finish.
“The best paint job on textured walls isn’t the one you don’t see—it’s the one you don’t need to fix.” — Lena Pruitt, Residential Painting Consultant
Conclusion
Precision, not power, wins when painting textured walls. By selecting the right tools, preparing thoroughly, and rolling with care, you can achieve an even, splatter-free finish that transforms your space. Avoid the temptation to rush—each thoughtful stroke builds toward a result that looks intentional and polished. Whether refreshing a single accent wall or repainting an entire home, these methods ensure confidence and quality. Take your time, trust the process, and enjoy the satisfaction of a job done right.


 浙公网安备
33010002000092号
浙公网安备
33010002000092号 浙B2-20120091-4
Comments
No comments yet. Why don't you start the discussion?