
Painting textured walls can be a rewarding way to refresh a room’s look, but it comes with a common challenge: roller marks. These unsightly streaks and uneven patterns are especially noticeable on bumpy or stucco-like surfaces. Unlike smooth drywall, textured walls trap light in irregular ways, making flaws more visible. However, with the right preparation, tools, and technique, you can achieve a flawless, even finish that enhances your wall’s character rather than detracting from it.
The key is understanding that painting over texture isn’t just about covering the surface—it’s about controlling paint distribution, minimizing lap marks, and maintaining consistent pressure. This guide breaks down proven methods used by professional painters to deliver clean, mark-free results every time.
Why Roller Marks Appear on Textured Walls
Roller marks occur when paint is applied unevenly, either due to inconsistent pressure, incorrect roller nap, or poor technique. On textured walls, these issues are amplified because the peaks and valleys of the surface absorb and reflect paint differently. When a roller skips over high points or fails to deposit enough paint into crevices, it creates visual inconsistencies under light.
Common causes include:
- Using a roller with too short a nap for the texture depth
- Overloading or underloading the roller with paint
- Rolling too fast or with uneven pressure
- Not maintaining a wet edge, leading to lap marks
- Paint drying too quickly between sections
Understanding these root causes allows you to adjust your approach before the first stroke of paint touches the wall.
Choosing the Right Tools and Materials
The success of your paint job hinges largely on selecting appropriate equipment. The wrong roller or paint consistency can sabotage even the most careful technique.
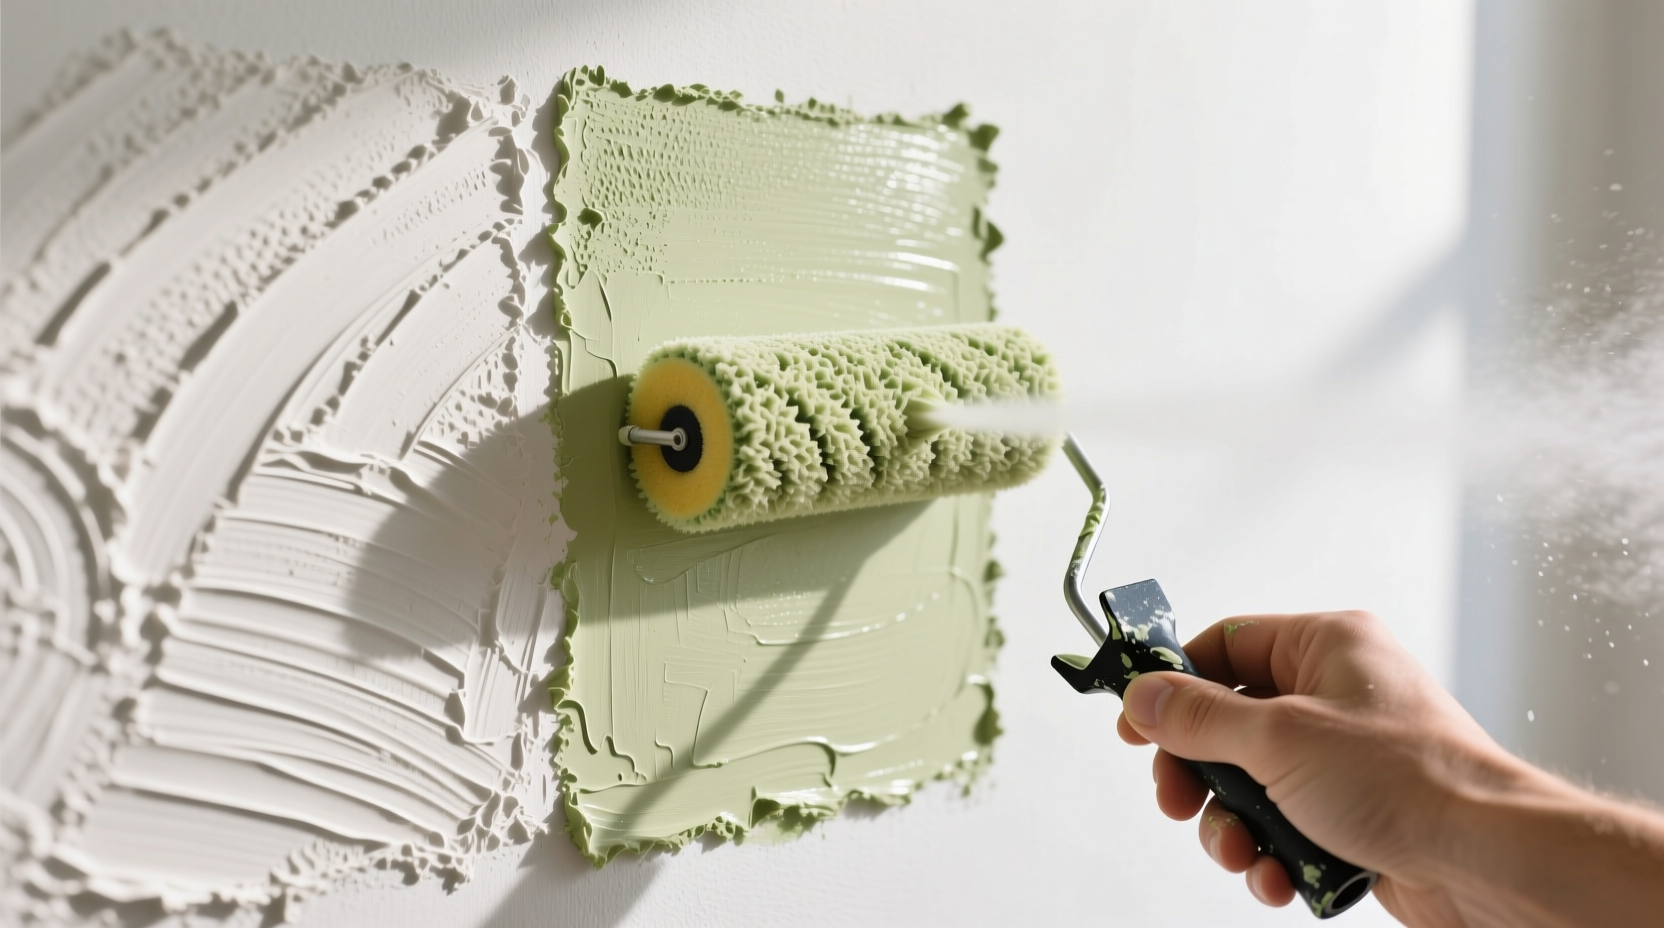
Roller Nap Length
The nap—the fuzzy sleeve on the roller—must match the wall’s texture. Too short, and it won’t reach into recesses; too long, and it leaves excessive paint buildup on ridges.
| Wall Texture Type | Recommended Roller Nap | Notes |
|---|---|---|
| Light (orange peel, knockdown) | 3/8” to 1/2” | Ideal for subtle textures; provides smooth coverage |
| Medium (popcorn, sand swirl) | 3/4” | Balances reach and control; most commonly used |
| Heavy (deep stucco, heavy popcorn) | 1” to 1.5” | Ensures paint reaches deep into crevices |
Roller Frame and Cover Quality
Invest in high-quality rollers. Cheap covers shed fibers and apply paint unevenly. Opt for wool-blend or high-density microfiber rollers designed for textured surfaces. A sturdy frame ensures even pressure and reduces wobble.
Paint Selection
Flat or matte finishes are ideal for hiding imperfections and blending texture naturally. Eggshell offers slight durability while still masking flaws. Avoid satin or semi-gloss unless specifically desired, as they highlight surface inconsistencies.
Use a paint formulated for your wall type. For heavily textured walls, consider a thicker-bodied paint or add a paint conditioner like Floetrol to extend drying time and improve leveling.
“On textured walls, the roller is everything. I always bring multiple nap lengths to a job and test them first. It saves hours of touch-up later.” — Marcus Reed, Professional Painter & Contractor
Step-by-Step Guide to Painting Without Roller Marks
Follow this systematic process to ensure a smooth, uniform result.
- Prepare the Surface
Clean walls with mild detergent and water to remove dust and grease. Repair any damaged areas with joint compound and let dry. Sand rough spots lightly if needed. Allow full drying before priming. - Prime the Wall
Apply a high-quality primer, especially if painting over dark colors or patched areas. Use a roller with an appropriate nap and work in manageable sections. Priming ensures even paint absorption and better adhesion. - Load the Roller Correctly
Dip the roller into the tray and roll it back and forth on the ramp to distribute paint evenly. Avoid dripping or overly saturated rollers. A properly loaded roller feels heavy but doesn’t drip when lifted. - Work in Manageable Sections
Divide the wall into 3x3 foot zones. Begin each section with a “W” or “M” pattern to spread paint without pressing deeply into texture. Then fill in with vertical or horizontal strokes using light, even pressure. - Maintain a Wet Edge
Always overlap your previous section while the paint is still wet. Stopping mid-section leads to visible lap lines. Work top to bottom and corner to corner without interruption. - Use Two Coats
Allow the first coat to dry completely (typically 2–4 hours). Apply the second coat in the opposite direction of the first to balance texture coverage and eliminate thin spots. - Inspect Under Natural Light
After the final coat dries, examine the wall at different times of day. Natural light reveals inconsistencies artificial lighting may hide. Touch up only if necessary, using a small brush or mini roller for precision.
Avoiding Common Mistakes
Even experienced DIYers make errors that lead to roller marks. Awareness helps prevent them.
| Mistake | Why It Causes Problems | Solution |
|---|---|---|
| Pressing too hard on the roller | Flattens texture and forces paint out of crevices | Use light, gliding pressure; let the nap do the work |
| Rolling in one direction only | Creates directional streaks and uneven sheen | Cross-roll during second coat for balanced finish |
| Skipping the primer | Leads to patchy absorption and inconsistent color | Always prime porous or repaired textured walls |
| Working in direct sunlight or hot conditions | Paint dries too fast, causing lap marks | Paint in shaded areas or cooler parts of the day |
Real Example: Living Room Texture Revival
A homeowner in Portland attempted to repaint their living room with a heavy orange-peel texture using a 3/8” roller. After the first coat, distinct horizontal roller lines were visible under afternoon light. They consulted a local painter who recommended switching to a 3/4” high-pile roller, adding Floetrol to the paint, and repainting in smaller sections with a “W” pattern. The second coat eliminated all marks, resulting in a seamless, professional finish. The fix took less time than expected because the correction was based on tool and technique adjustments, not rework of the entire wall.
Essential Checklist for Flawless Results
Before starting your project, verify you have the following covered:
- ✅ Walls cleaned and repaired
- ✅ Appropriate roller nap selected (3/4” for medium texture)
- ✅ High-quality roller and tray system
- ✅ Primer applied evenly
- ✅ Paint conditioned if needed (e.g., Floetrol for longer open time)
- ✅ Work scheduled during low-light or shaded conditions
- ✅ Plan to maintain wet edge throughout application
- ✅ Second coat scheduled after 3 hours of drying
- ✅ Final inspection under natural daylight
Frequently Asked Questions
Can I use a sprayer instead of a roller on textured walls?
Yes, an airless sprayer provides the most even coverage on heavily textured surfaces and eliminates roller marks entirely. However, it requires masking everything nearby and has a steeper learning curve. For most homeowners, a high-nap roller offers a more controlled, cost-effective solution.
Why does my second coat show more marks than the first?
This often happens if the first coat was too thin or rolled with excessive pressure, creating a false base. The second coat highlights those inconsistencies. Ensure the first coat is uniformly applied with proper roller loading and minimal pressure. Cross-rolling on the second coat usually resolves the issue.
How do I fix roller marks after the paint has dried?
Light marks can sometimes be minimized with a second coat using a different rolling direction. For pronounced marks, lightly sand high points with fine-grit sandpaper (120–150 grit), wipe clean, prime the sanded areas, and repaint the entire section for uniformity. Prevention is always preferable to correction.
Final Thoughts and Next Steps
Painting textured walls without roller marks is entirely achievable with attention to detail and the right methodology. The texture should enhance the room’s depth, not draw attention to application flaws. By choosing the correct roller, preparing thoroughly, and applying paint with deliberate, consistent motion, you’ll achieve results that rival professional work.
Remember, patience pays off. Rushing leads to mistakes that require more time to fix than to avoid. Take breaks between coats, inspect your work critically, and don’t hesitate to adjust your tools mid-project if needed.


 浙公网安备
33010002000092号
浙公网安备
33010002000092号 浙B2-20120091-4
Comments
No comments yet. Why don't you start the discussion?