
Garlic is a staple in kitchens around the world, prized for its bold flavor and health benefits. But few things are more frustrating than peeling multiple cloves by hand—sticky fingers, lingering odor, and wasted time. The good news? You don’t need to touch each clove to remove the skin. With simple tools and clever methods, you can peel garlic quickly, cleanly, and efficiently. Whether you're preparing a large batch for roasting, mincing, or pickling, these techniques eliminate the hassle while preserving freshness and flavor.
The Problem with Traditional Garlic Peeling
Most home cooks instinctively peel garlic by breaking the bulb into individual cloves, then using their fingernails or a knife to pry off the papery skin. This method works, but it’s slow, messy, and leaves behind strong odors on your hands. Worse, it often damages the clove, bruising the flesh and accelerating spoilage. When handling large quantities—say, for a homemade garlic paste or fermented black garlic—the process becomes tedious and unappealing.
Professional chefs and food scientists have long sought better alternatives. The goal isn’t just speed; it’s also about minimizing waste, preserving texture, and avoiding cross-contamination from sticky fingers touching other ingredients. Fortunately, several reliable, no-touch methods exist that transform garlic prep from a chore into a seamless step in your cooking routine.
Method 1: The Jar Shake Technique
One of the fastest and most satisfying ways to peel garlic without touching each clove is the jar shake method. This technique uses kinetic energy to separate the skins from the cloves in seconds.
- Break the garlic bulb into individual cloves (no need to peel them).
- Place the cloves inside a rigid container—a glass mason jar or hard plastic container with a tight-fitting lid.
- Seal the container and shake vigorously for 10–20 seconds.
- Open the lid and pour out the contents. The skins will be separated, leaving clean cloves ready for use.
This method works because the impact of the cloves bouncing against the walls of the container loosens the thin membrane between the skin and the garlic flesh. It’s especially effective with older garlic, where the skin has dried slightly and pulls away more easily.
Why It Works: The Science Behind the Shake
According to Dr. Harold McGee, author of On Food and Cooking, the connective tissue between garlic skin and clove weakens when subjected to mechanical stress. “The repeated collisions during shaking cause micro-tears in the outer layer, allowing the skin to detach cleanly,” he explains. This principle is similar to how industrial peelers work in commercial food processing facilities—just scaled down for home use.
Method 2: Microwave Loosening
If you’re short on time and need peeled garlic immediately, microwaving offers a rapid solution. Heat causes the moisture inside the clove to expand, pushing the skin away from the flesh.
- Leave the garlic bulb whole or break it into cloves (still unpeeled).
- Place in the microwave and heat on high for 10–15 seconds.
- Remove carefully (the cloves will be warm), then squeeze gently at the base of each clove.
- The peeled garlic should slide out effortlessly.
This method is ideal when you only need a few cloves and want minimal cleanup. However, avoid overheating—garlic begins to cook at around 130°F (54°C), and once it starts to soften, its raw flavor changes.
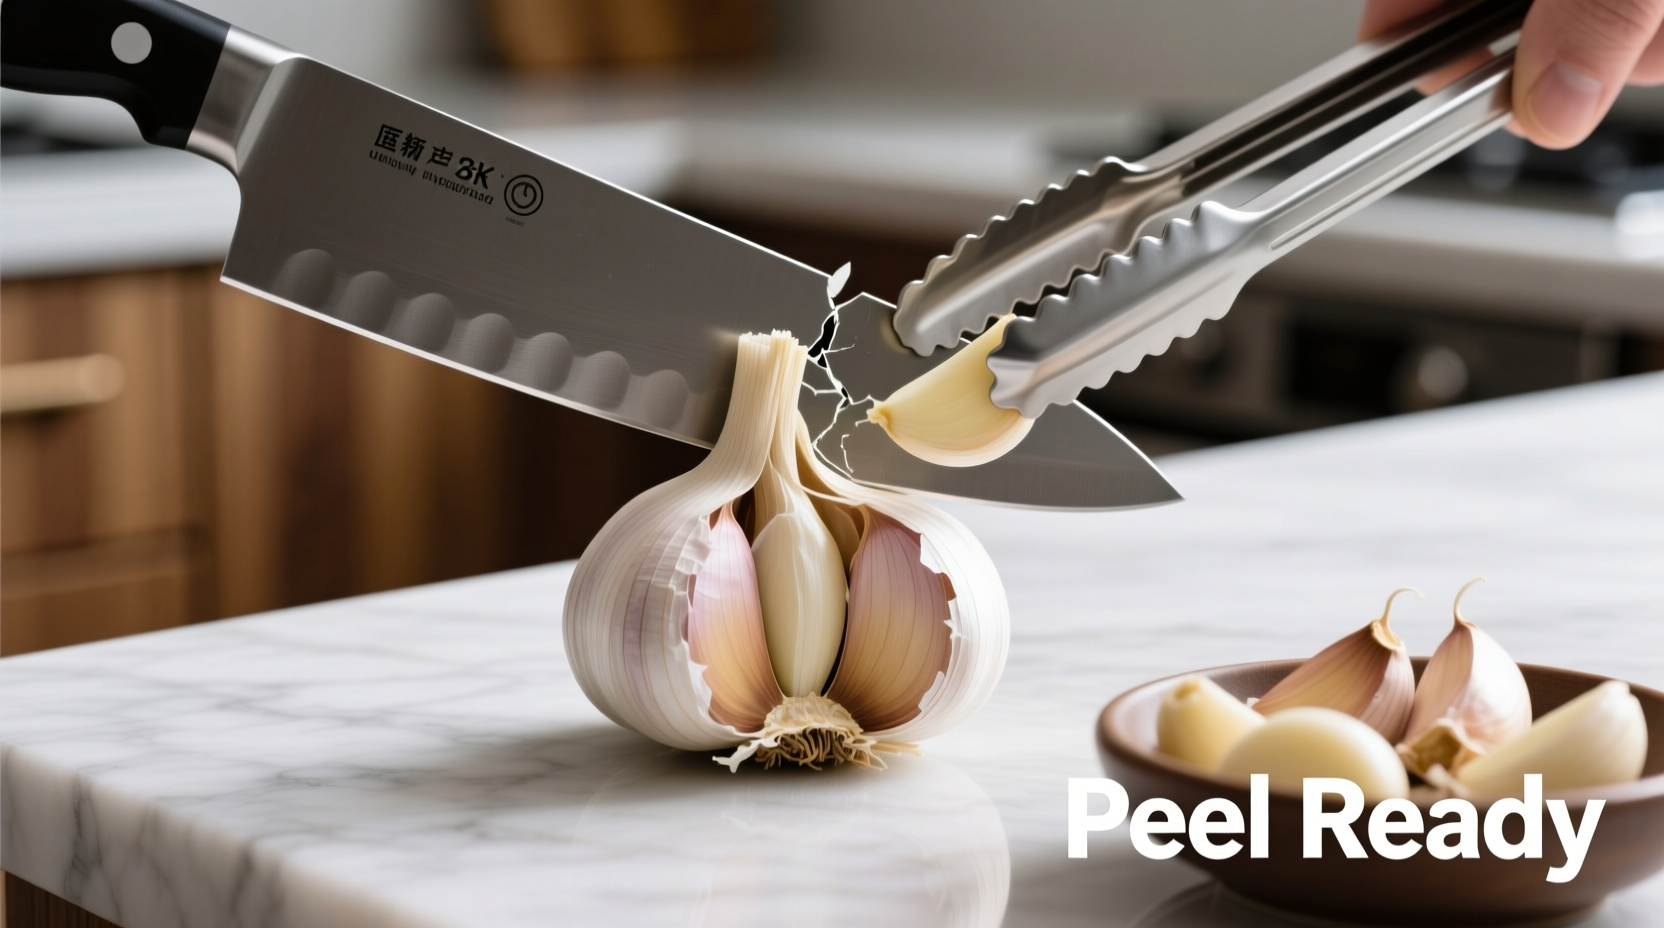
Method 3: Rolling with a Knife or Bottle
A classic chef’s trick involves using the flat side of a chef’s knife to crush and loosen garlic skins—without direct finger contact.
- Lay an unpeeled clove on a cutting board.
- Place a wide knife (or rolling pin) flat-side down over the clove.
- Press down firmly with the heel of your hand, applying pressure until you hear a slight crack.
- Roll the knife forward slightly to crush the clove gently.
- The skin will split open, making it easy to lift off with the blade tip—or simply discard the skin and use the crushed garlic directly.
This method doubles as a way to prepare garlic for mincing or sautéing, since the clove is already broken down. While technically involving “contact” via the knife, your hands never touch the sticky interior.
“Peeling garlic shouldn’t take more than 30 seconds, even for a dozen cloves. A quick smash with a knife does two jobs at once: loosens the skin and readies the garlic for cooking.” — Chef Rafaela Silva, Culinary Instructor at Le Cordon Bleu Madrid
Method 4: Using a Silicone Garlic Peeler Tube
In recent years, silicone garlic peelers have gained popularity for their simplicity and reusability. These flexible tubes are designed specifically to remove garlic skins without touching the cloves.
To use:
- Insert an unpeeled clove into the tube.
- Hold the tube in one hand and use your other hand to roll the clove back and forth with firm pressure.
- After 2–3 rolls, the skin separates and remains inside the tube while the peeled clove emerges.
Silicone peelers are inexpensive, dishwasher-safe, and highly efficient. One study conducted by *America’s Test Kitchen* found that users could peel 20 cloves in under two minutes using this tool—significantly faster than manual peeling.
Comparison of No-Touch Garlic Peeling Methods
| Method | Time Required | Tools Needed | Best For | Drawbacks |
|---|---|---|---|---|
| Jar Shake | 15–30 seconds | Glass jar with lid | Bulk peeling (6+ cloves) | Limited space; requires cleanup |
| Microwave | 10–20 seconds | Microwave oven | Quick single-clove needs | Risk of cooking garlic if overheated |
| Knife Roll | 5–10 sec per clove | Chef’s knife | When crushing garlic anyway | Not truly hands-free (handles knife) |
| Silicone Peeler | 3–5 sec per clove | Silicone tube | Daily cooking, moderate batches | Extra tool to store |
| Water Soak + Shake | 2–3 minutes | Bowl, water, strainer | Fragile cloves or aged garlic | Adds moisture; may affect storage life |
Method 5: Water Soak and Agitate
A lesser-known but effective method combines hydration and agitation. Soaking garlic briefly in water softens the skin, making it easier to remove through shaking or swirling.
- Place unpeeled cloves in a bowl of lukewarm water.
- Let soak for 1–2 minutes (no longer, or cloves absorb too much water).
- Pour cloves and water into a second bowl or container, then swirl vigorously with your hand (use a spoon if you want zero contact).
- Strain the mixture—the skins will float, while peeled cloves sink.
- Rinse and pat dry before use.
This method is particularly useful for older garlic that has started to sprout or dry out, as the added moisture helps revive elasticity in the skin-to-clove bond. However, excess moisture can encourage mold if storing peeled garlic, so use immediately.
Mini Case Study: Meal Prep Efficiency in a Busy Household
Sarah Kim, a registered dietitian and mother of three in Portland, Oregon, used to spend nearly 20 minutes prepping garlic for weekly soups and stir-fries. After switching to the jar shake method, she reduced her prep time to under two minutes. “I prep all my garlic for the week on Sunday,” she says. “I throw a whole head into a mason jar, shake it, and boom—clean cloves ready to freeze in oil or roast. My kids don’t even know I used to hate peeling garlic.”
By adopting a no-touch method, Sarah improved not only efficiency but also consistency in her meals. She now keeps a dedicated jar labeled “garlic shaker” in her pantry, ensuring the tool is always within reach.
Do’s and Don’ts of No-Touch Garlic Peeling
| Do’s | Don’ts |
|---|---|
| Use firm, fresh garlic for best results | Don’t microwave garlic for more than 15 seconds |
| Shake jars with both hands for control | Don’t use soft containers—they won’t generate enough force |
| Store peeled garlic in olive oil for up to 1 week (refrigerated) | Don’t leave peeled garlic at room temperature for over 2 hours |
| Clean silicone peelers after each use to prevent odor buildup | Don’t reuse soaking water—it can harbor bacteria |
| Label containers if freezing peeled garlic | Don’t use metal containers for long-term garlic storage (can react) |
Frequently Asked Questions
Can I peel an entire garlic bulb at once?
Yes, but only if using the jar shake or microwave method. For shaking, break the bulb into loose cloves first. Whole bulbs won’t peel effectively due to uneven surfaces and tight packing. Microwaving a whole bulb is possible, but results vary—individual cloves respond better to heat.
Does peeling garlic without touching it affect flavor?
No. The flavor comes from allicin, a compound released when garlic cells are damaged (e.g., chopped, crushed). As long as the clove is intact until cooking, the taste remains unchanged. In fact, minimizing handling reduces oxidation and preserves freshness.
Is it safe to store peeled garlic in oil?
Yes, but only under refrigeration and for short periods (up to 7 days). Garlic-in-oil mixtures at room temperature can support the growth of Clostridium botulinum, the bacterium responsible for botulism. Always refrigerate and label with the date.
Step-by-Step Guide: How to Peel 10 Cloves in Under a Minute
- Gather supplies: Mason jar with lid, fresh garlic head.
- Separate cloves: Break the bulb apart into individual cloves (keep skins on).
- Load the jar: Place all cloves inside the jar—don’t overfill (leave 2 inches of headspace).
- Seal and shake: Close the lid tightly and shake vertically and horizontally for 15–20 seconds.
- Inspect and pour: Open the jar and pour contents onto a cutting board. Most cloves should be fully peeled; a few may need light tapping.
- Proceed to use: Chop, slice, or store as needed.
Total time: ~60 seconds. Hands remain clean, and cleanup is limited to rinsing the jar.
Final Tips for Success
- Freshness matters: Older garlic peels more easily due to drier skins, but very old cloves may be shriveled. Opt for firm, plump bulbs.
- Batch prep wisely: Peel extra cloves and freeze them in small portions for future use.
- Avoid waste: Save discarded skins for vegetable stock—they add depth and aroma.
- Hygiene first: Wash hands and tools after handling garlic, even if you didn’t touch the cloves directly.
Conclusion
Peeling garlic doesn’t have to be messy or time-consuming. With the right technique, you can go from whole bulb to ready-to-use cloves in seconds—without ever getting your fingers sticky. Whether you choose the energetic jar shake, the instant microwave zap, or invest in a reusable silicone peeler, these methods save time, reduce waste, and make cooking more enjoyable. The key is consistency: pick one method that fits your kitchen setup and stick with it. Soon, peeling garlic will feel like second nature—fast, clean, and completely touch-free.


 浙公网安备
33010002000092号
浙公网安备
33010002000092号 浙B2-20120091-4
Comments
No comments yet. Why don't you start the discussion?