
Straight, glossy hair remains one of the most sought-after styles—offering elegance, polish, and versatility. With the rise of multi-functional styling tools, achieving salon-quality results at home is more accessible than ever. The 7 in 1 styler has become a game-changer, combining flat ironing, curling, volumizing, and smoothing functions into a single intelligent device. But owning the tool isn’t enough. To get truly flawless, long-lasting straight hair, technique matters as much as technology.
This guide breaks down the science and art behind using your 7 in 1 styler effectively. From preparation to finishing touches, you’ll learn the precise steps, common pitfalls, and pro secrets that lead to consistently smooth, frizz-free hair—without damage.
Understanding Your 7 in 1 Styler: More Than Just a Flat Iron
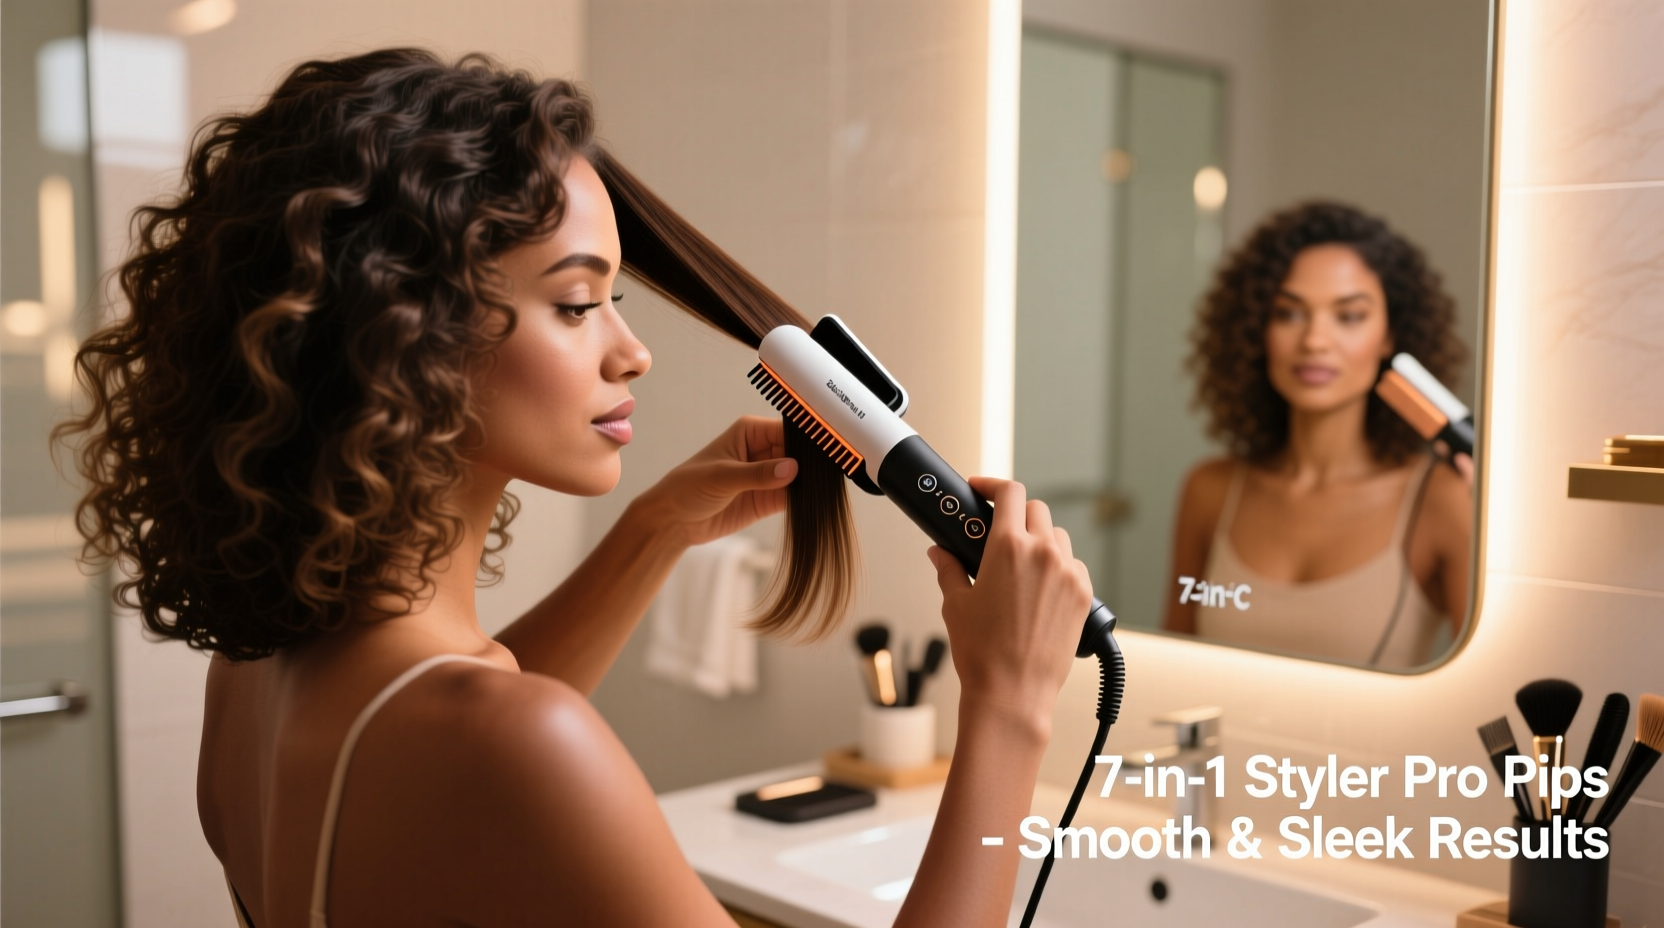
The “7 in 1” designation refers to a versatile hair tool capable of performing multiple styling functions—typically including straightening, curling, crimping, waving, volume boosting, smoothing, and even round-brushing effects. Most models feature interchangeable or rotating plates (ceramic, tourmaline, or titanium) and adjustable heat settings tailored to different hair types.
For straightening specifically, it’s essential to use the flat iron mode correctly. Despite its multifunctionality, improper usage can lead to uneven results, heat damage, or lackluster finishes. The key lies in understanding your hair’s texture, porosity, and response to heat before pressing a single section.
Step-by-Step Guide to Perfectly Straight Hair
- Wash and Condition Properly: Begin with clean, residue-free hair. Use a sulfate-free shampoo and a smoothing conditioner rich in silicones or keratin. Rinse thoroughly to prevent product buildup that resists heat penetration.
- Towel-Dry Gently: Avoid vigorous rubbing, which causes cuticle damage and frizz. Instead, squeeze out excess water with a microfiber towel or an old cotton T-shirt.
- Apply Heat Protectant: This is non-negotiable. Spray or distribute a lightweight thermal protectant evenly from mid-lengths to ends. For fine hair, avoid overloading roots; for thick or coarse hair, apply a second layer to resistant sections.
- Blow-Dry Until Completely Dry: Never straighten damp hair—even slightly wet strands cause steam damage and weaken the hair shaft. Use a concentrator nozzle and pull hair taut with a paddle brush while drying.
- Section Your Hair: Divide hair into four quadrants (left, right, front, back). Clip away three sections and work on one at a time. Smaller subsections ensure better contact with the plates and consistent results.
- Set the Right Temperature: Fine or damaged hair: 300°F (150°C); Medium/thick hair: 350–375°F (175–190°C); Coarse or curly hair: up to 400°F (205°C), but never exceed manufacturer recommendations.
- Gliding Technique: Place the styler close to the roots (but not touching the scalp), clamp gently, and glide down slowly—about 1 inch per second. Maintain steady tension with a brush or comb in your other hand if needed.
- Second Pass (If Needed): Only repeat on stubborn areas. Multiple passes increase heat exposure and dryness.
- Finish with Shine Serum: Apply a pea-sized amount of argan or marula oil to palms, then lightly smooth over the surface to seal the cuticle and add gloss.
Do’s and Don’ts When Using a 7 in 1 Styler
| Do’s | Don’ts |
|---|---|
| Use ceramic or tourmaline plates for even heat and reduced frizz | Don’t use high heat on fine or color-treated hair |
| Allow the tool to fully heat up before styling | Don’t leave the styler clamped on one spot for more than 5 seconds |
| Store in a heat-safe pouch or stand | Don’t wrap the cord tightly around the device |
| Clean plates weekly with isopropyl alcohol and a soft cloth | Don’t use abrasive cleaners or metal scrapers on plates |
| Use a lower heat setting for touch-ups | Don’t straighten dirty or oily hair |
Expert Insight: Why Technique Trumps Technology
“Even the most advanced 7 in 1 styler won’t deliver perfect results without proper technique. Smooth, straight hair starts with dryness, protection, and controlled gliding speed. Rushing through sections or skipping prep is what causes frizz and flat spots.” — Lena Torres, Master Stylist & Educator at ProForma Academy
Lena emphasizes that many users focus too heavily on the gadget itself, overlooking foundational habits. “I’ve seen clients burn their hair with low-end irons because they passed over the same strand five times,” she says. “The tool doesn’t fail—the routine does.”
Mini Case Study: Transforming Curly, Frizz-Prone Hair
Maria, a client with thick, type 3C curls and high porosity, struggled with her 7 in 1 styler for months. She’d straighten her hair only to see frizz return within two hours. After consultation, we identified three issues: she was straightening slightly damp hair, using maximum heat (450°F), and skipping heat protectant.
We adjusted her routine: full blow-dry until bone dry, heat set to 375°F, applied a silicone-based protectant, and used smaller sections. The result? Sleek, mirror-like hair lasting over 48 hours with minimal touch-ups. Her feedback: “I didn’t realize I was damaging my hair just trying to smooth it.”
Essential Checklist for Flawless Results
- ✅ Wash and condition with smoothing formulas
- ✅ Towel-dry gently with microfiber
- ✅ Apply heat protectant from mid-lengths to ends
- ✅ Blow-dry completely before straightening
- ✅ Section hair into four parts
- ✅ Preheat styler for 5 minutes
- ✅ Select appropriate heat setting for your hair type
- ✅ Glide slowly and steadily down each section
- ✅ Finish with a shine serum or anti-humidity spray
- ✅ Clean plates after every 3 uses
Frequently Asked Questions
How often can I safely straighten my hair with a 7 in 1 styler?
For most hair types, 2–3 times per week is safe if you use heat protectant and avoid excessive temperatures. Daily use increases the risk of dryness and breakage, especially on fine or chemically treated hair. Consider air-drying or protective styles on off days.
Why does my hair still look wavy after using the styler?
Incomplete drying is the most common culprit. Even slight moisture prevents the cuticle from sealing flat. Other reasons include moving the styler too quickly, using insufficient heat for your hair thickness, or skipping tension during gliding. Try reducing section size and slowing your pace.
Can I use the 7 in 1 styler on wet hair?
No. Using any heated styling tool on wet hair causes “bubble hair”—a condition where internal steam damages the cortex, leading to brittleness and split ends. Always ensure hair is 100% dry before applying heat.
Final Tips for Long-Term Success
Perfectly straight hair isn’t just about the final look—it’s about maintaining hair health while achieving it. The 7 in 1 styler is a powerful ally, but it demands respect. Overheating, poor prep, or aggressive handling will compromise both appearance and integrity over time.
Invest in quality products: a reliable heat protectant, a smoothing shampoo, and a weekly reconstructive mask. Schedule regular trims to prevent split ends from traveling up the shaft. And remember, the goal is not perfection at all costs—but confidence backed by care.


 浙公网安备
33010002000092号
浙公网安备
33010002000092号 浙B2-20120091-4
Comments
No comments yet. Why don't you start the discussion?