
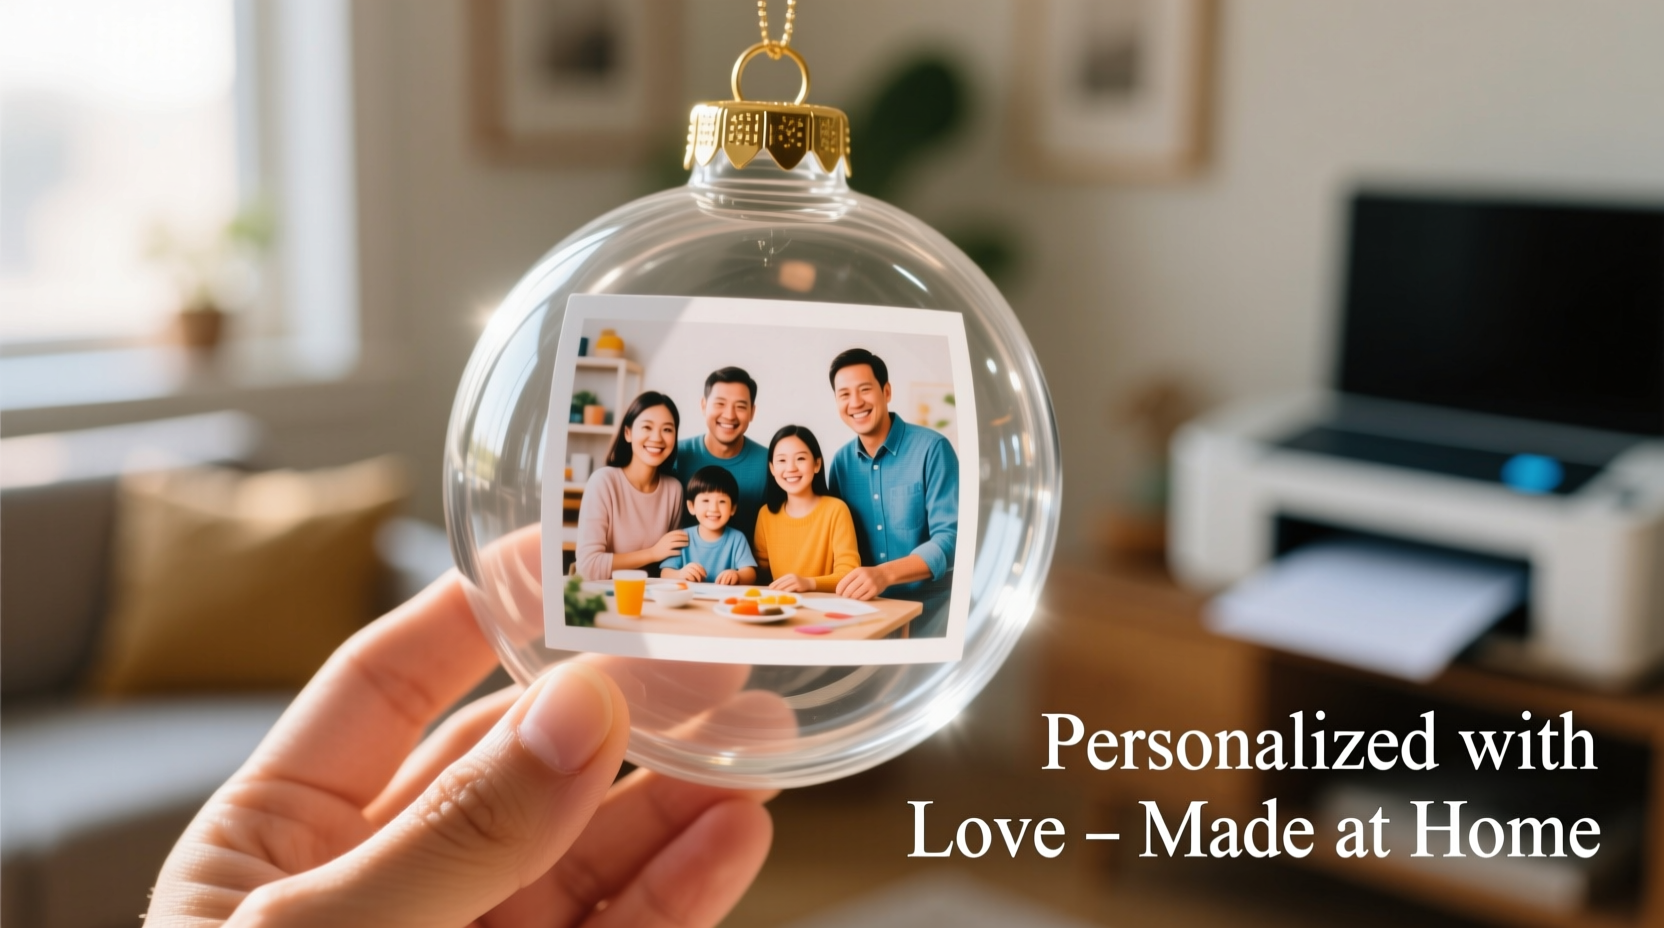
Personalizing holiday decorations adds warmth and memory to seasonal spaces. Among the most meaningful touches is transforming a simple clear ornament into a photo-filled keepsake. With modern printer technology, this process is no longer limited to craft studios or specialty shops. You can now create custom photo baubles at home—using everyday tools and materials—with results that rival professionally made versions. Whether commemorating a family moment, honoring a loved one, or crafting heartfelt gifts, the ability to embed images inside glass-clear ornaments brings nostalgia and artistry together in one elegant sphere.
Understanding the Technology Behind Photo Baubles
The key to personalizing clear baubles lies not in painting or etching, but in precision printing and material compatibility. Unlike traditional ornaments that rely on hand-drawing or stickers, today’s approach uses inkjet or laser printers to produce high-resolution image transfers that fit seamlessly inside transparent plastic or glass bulbs.
Most DIY photo baubles use two-part clear plastic ornaments—typically 3 to 4 inches in diameter—that unscrew at the equator. The interior surface becomes the canvas. Instead of applying ink directly to the curved inner wall (which often leads to smudging or distortion), the smarter method involves printing a precisely sized image on special transfer paper or adhesive-backed vinyl, then inserting it into the bauble before sealing.
Modern desktop printers, especially those with fine-detail pigment inks and borderless printing capability, are ideal for this task. When paired with matte-finish printable vinyl or waterslide decal paper, they deliver crisp, fade-resistant results that appear suspended within the ornament.
“With the right materials and printer settings, you can achieve gallery-quality photo ornaments at less than a third of retail cost.” — Daniel Reeves, Home Craft Technologist and MakerSpace Instructor
Materials and Tools You’ll Need
Success begins with preparation. Gathering the correct supplies ensures smooth execution and professional-looking outcomes. Here’s what you need:
- Clear plastic or glass baubles – Look for two-piece, screw-together ornaments with a wide opening. Avoid glued or sealed types.
- Inkjet or laser printer – Preferably one with high DPI resolution (1200 x 1200 minimum) and photo-quality mode.
- Printable waterslide decal paper or matte vinyl sticker paper – Choose one compatible with your printer type.
- Photo editing software – Free tools like GIMP or Canva work well; Adobe Photoshop offers advanced control.
- Scissors or precision craft knife – For trimming printed images to fit the bauble interior.
- Soft lint-free cloth – To clean the inside of the bauble before insertion.
- Water spray bottle (for waterslide method)
- Small tweezers or chopsticks – Helpful for positioning inserts without touching the print surface.
Step-by-Step Guide: Creating Your Custom Photo Bauble
Follow this sequence for reliable, repeatable results. Each step balances technical accuracy with accessibility for home crafters.
- Select and edit your photo – Choose an image with strong contrast and clear focal points. Crop it to a rectangular format slightly smaller than the bauble's interior height. Use editing tools to increase brightness slightly—interior lighting can mute colors.
- Resize for curvature – Since the image will wrap around a curved surface, avoid placing critical details (like faces) near the edges. Scale the image so the central subject fits within 70% of the width.
- Print in reverse (mirror mode) – This is essential if using waterslide decal paper, as the image will be flipped when applied. Most printer drivers have a “mirror” or “t-shirt transfer” option under properties. Vinyl sticker paper does not require mirroring unless you plan to apply it face-down inside the globe.
- Cut the printed image – Trim just inside the edges to prevent visible borders. A curved edge mimics the bauble shape and reduces corner lifting.
- Prepare the bauble – Separate the two halves. Wipe the interior thoroughly with a dry microfiber cloth to remove dust or oils.
- Apply the image:
- For waterslide paper: Soak the cutout in warm water for 30–45 seconds. Slide the image off the backing and gently position it inside the bauble half using tweezers. Smooth out air bubbles with a soft tool.
- For vinyl sticker paper: Peel the backing and carefully place the image inside one hemisphere. Press lightly to adhere, working from center outward.
- Seal and finish – Reattach the two halves firmly. If desired, add a drop of clear glue at the seam for extra security. Attach a festive ribbon or cord for hanging.
Do’s and Don’ts: Best Practices for Long-Lasting Results
Avoid common pitfalls by following these guidelines. The table below summarizes critical actions to take—and skip—for durable, visually appealing ornaments.
| Do | Don’t |
|---|---|
| Use high-resolution images (300 DPI minimum) | Use blurry or pixelated photos from social media |
| Allow prints to dry completely before insertion | Handle wet transfers with bare fingers |
| Store finished baubles in individual boxes or egg cartons | Stack ornaments loosely in a bin |
| Choose matte finishes to reduce glare | Use glossy paper that reflects internal light unevenly |
| Test color balance with a small swatch first | Assume your monitor colors match printed output |
Real Example: A Family Heirloom Reimagined
Sarah Kim, a teacher from Portland, wanted to honor her late grandmother during the holidays. Instead of buying generic ornaments, she scanned old 4x6 prints from the 1970s—images of her grandmother baking, gardening, and holding Sarah as a child. Using her home inkjet printer and printable vinyl, she resized and color-corrected each photo, printed them in reverse, and inserted them into 3-inch clear baubles.
She added subtle touches: tiny red bows on the ribbons to echo her grandmother’s favorite dress, and a handwritten tag on each listing the year and occasion. The result was a tree adorned with living memories. “People thought I bought them from a boutique,” she said. “But the real joy was seeing my kids recognize Grandma in ways the photo albums never showed.”
Her project took six evenings over two weeks, costing under $15 in materials. Now, her family plans to add a new photo bauble each December, turning the tradition into an evolving archive.
Alternative Methods and Advanced Tips
While the standard insert method works for most users, some experiment with more advanced techniques:
- Mini photo cylinders: Print a narrow strip of photos end-to-end and roll it into a scroll-like insert. Creates a “carousel” effect when viewed from different angles.
- Layered storytelling: Combine a main portrait with smaller thumbnail images around the border—like a digital scrapbook inside a globe.
- Backlight enhancement: Place LED fairy lights behind the tree to make translucent prints glow softly, enhancing depth and contrast.
- QR code integration: Print a small QR code on the ribbon that links to a video message or digital album—blending physical and digital remembrance.
For those with access to a Cricut or Silhouette machine, consider cutting custom frames or borders from colored vinyl to surround the photo insert. This adds dimension and helps anchor the image visually within the spherical space.
Frequently Asked Questions
Can I use regular printer paper and tape?
Technically yes, but the results will be fragile and prone to curling or discoloration. Regular paper absorbs moisture and can develop mildew over time. For lasting quality, invest in printable vinyl or waterslide paper designed for durability.
How do I prevent air bubbles when applying the image?
Work slowly and use a soft tool like a silicone spatula or folded business card to press from the center outward. For waterslide transfers, fully submerge the image and let it slide naturally into place rather than pulling it. Pre-wetting the bauble interior with a light water mist can also help the transfer settle smoothly.
Are glass baubles better than plastic for photo inserts?
Glass offers superior clarity and a premium feel, but it’s heavier and more fragile. Plastic baubles are lighter, safer around children, and often have wider openings—making insertion easier. For households with pets or young kids, plastic is the practical choice. For display-only pieces, glass enhances visual depth.
Checklist: Your Personalization Project Planner
Before starting, ensure you’ve covered every step:
- ☐ Gather clear baubles (plastic or glass, two-piece)
- ☐ Select and digitize photos (scan old prints if needed)
- ☐ Edit images: crop, resize, adjust brightness/contrast
- ☐ Enable mirror printing in driver settings
- ☐ Load correct paper (vinyl or waterslide) into printer
- ☐ Do a test print on plain paper
- ☐ Print final images and let dry for 10–15 minutes
- ☐ Cut images to fit, leaving no white borders
- ☐ Clean bauble interiors with lint-free cloth
- ☐ Insert and position images carefully
- ☐ Reassemble and hang with care
- ☐ Store properly after the season ends
Conclusion: Turn Memories Into Meaningful Decor
Personalizing a clear bauble with photos isn’t just a craft—it’s a way to preserve moments that matter. With a home printer and a few thoughtful choices, you can transform ordinary ornaments into vessels of memory, celebration, and connection. The technology is accessible, the materials affordable, and the emotional payoff immeasurable. Whether creating a tribute, a gift, or a family tradition, each bauble becomes a silent storyteller during the quiet glow of the holiday season.


 浙公网安备
33010002000092号
浙公网安备
33010002000092号 浙B2-20120091-4
Comments
No comments yet. Why don't you start the discussion?