
A journal is more than just a place to write—it’s a personal sanctuary, a creative outlet, and often a lifelong companion. But a plain cover can feel impersonal, even intimidating. Personalizing your journal transforms it into a true extension of yourself. With simple DIY crafts and thoughtful details, you can create a cover that reflects your personality, inspires daily use, and becomes a keepsake in its own right. This guide walks through practical, accessible methods to customize any journal—no advanced crafting skills required.
Why Personalization Matters
Customizing a journal cover isn’t just about aesthetics; it deepens your emotional connection to the practice of writing. When you see a cover adorned with symbols, colors, or materials that resonate with you, opening the journal feels less like a chore and more like a ritual. Studies in behavioral psychology suggest that personalized objects increase engagement and sense of ownership. A journal that feels uniquely yours encourages consistency in writing, whether for gratitude, planning, or creative expression.
“Personalization turns an ordinary object into a vessel of identity. When people invest creativity into their tools, they’re more likely to use them meaningfully.” — Dr. Lila Monroe, Behavioral Design Researcher
Materials You Likely Already Have at Home
You don’t need a craft store haul to make a beautiful custom cover. Most effective personalizations come from repurposing everyday items. Consider these common household supplies:
- Washi tape or decorative masking tape
- Old magazines, book pages, or sheet music
- Pencil, pen, or fine liner for doodling
- Mod Podge or white glue (diluted with water)
- Scissors and clear tape
- Fabric scraps or ribbon
- Buttons, beads, or small trinkets
- Stickers or labels
Step-by-Step Guide to Customizing Your Journal Cover
Follow this straightforward process to transform a blank journal into a one-of-a-kind creation. This method works on hardcover, softcover, and even spiral-bound notebooks.
- Clean and prep the surface. Wipe the cover with a dry cloth to remove dust. If using a glossy cover, lightly sand with fine-grit sandpaper to help adhesives stick better.
- Measure and cut your design elements. Whether using paper, fabric, or tape, lay the journal face-down on your material and trace around it, adding a 1/4-inch border for overlap.
- Apply adhesive. Use a foam brush to spread a thin layer of Mod Podge or diluted white glue onto the journal cover. Avoid clumps.
- Place your material. Carefully position your cut piece over the cover, smoothing out air bubbles from the center outward.
- Seal the edges. Fold the excess material over the sides and glue down. Trim if necessary.
- Add a protective topcoat. Apply 2–3 layers of Mod Podge over the entire surface, letting each dry completely. This protects against wear and moisture.
- Incorporate embellishments. Once the base is dry, add stickers, hand-drawn designs, or glued-on trinkets.
Creative Techniques for Unique Touches
Beyond basic covering, consider these artistic methods to elevate your design:
1. Collage with Meaningful Paper
Use pages from old books, concert tickets, maps from favorite trips, or handwritten notes from loved ones. Arrange them in a mosaic pattern before sealing. The result is not just visual interest but emotional resonance every time you open the journal.
2. Hand Lettering and Doodling
Write a favorite quote, your name in calligraphy, or abstract line art directly on the cover. Use paint pens or gel markers for bold results. Practice first on scrap paper to build confidence.
3. Fabric Appliqué
Glue a piece of patterned fabric—like denim, lace, or vintage scarves—to the front. Secure edges with stitching (if you sew) or by folding under and gluing. Adds texture and durability.
4. Washi Tape Geometry
Create clean patterns using washi tape: stripes, chevrons, or grids. Overlap colors for depth. Easy to reposition and replace if you change your mind later.
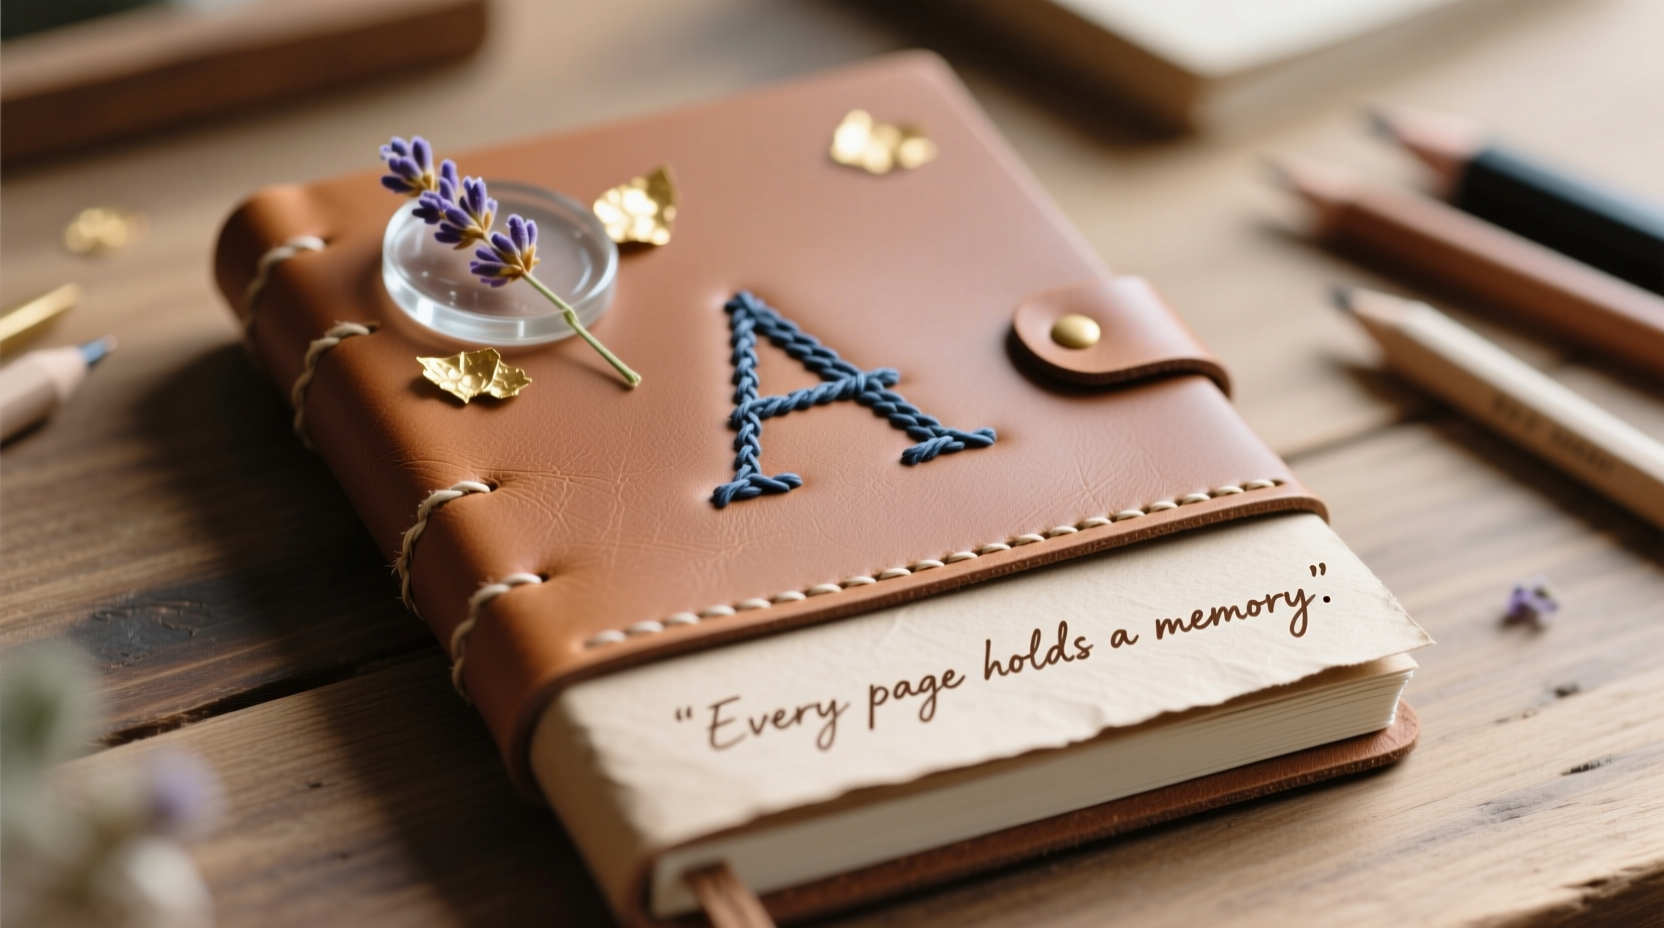
5. Pressed Flowers or Leaves
Seal dried botanicals under a topcoat of Mod Podge. Choose flowers from a meaningful location—a wedding bouquet, a hike, or your garden. Handle gently once applied.
Do’s and Don’ts of Journal Cover Crafting
| Do’s | Don’ts |
|---|---|
| Use acid-free glue to prevent yellowing over time | Use regular white glue without diluting—it may wrinkle paper |
| Seal all surfaces for durability | Overload with heavy embellishments that make the journal hard to close |
| Choose materials that reflect your personality or current life phase | Forget functionality—ensure the spine remains flexible |
| Work in a well-ventilated area when using adhesives | Rush the drying process with a hairdryer—can cause bubbling |
| Keep a spare journal to test techniques first | Use wet materials without proper sealing—risk mold or warping |
Real Example: Maya’s Travel Memory Journal
Maya, a freelance photographer, wanted a journal to document her solo trip across Southeast Asia. Instead of buying a pre-designed notebook, she transformed a plain Moleskine using souvenirs from her journey. She pasted ticket stubs from trains in Vietnam, a snippet of batik fabric from Java, and a pressed frangipani flower from Bali. Along the spine, she wrote “Where I’ve Been” in gold ink. Inside the back cover, she added a small map with pins marking each city.
The result wasn’t just beautiful—it became a tactile memory bank. “Every time I look at it,” she says, “I remember the humidity, the smells, the conversations. It makes me want to write more, not less.”
Checklist: Customize Your Journal in One Evening
Follow this checklist to complete a personalized journal cover in under two hours:
- ☐ Gather materials: journal, scissors, adhesive, decorative elements
- ☐ Clean and prep the cover surface
- ☐ Measure and cut main decorative piece
- ☐ Glue base layer and smooth out bubbles
- ☐ Seal edges and fold over sides
- ☐ Apply 2–3 protective topcoats of Mod Podge
- ☐ Add final touches: lettering, stickers, or small embellishments
- ☐ Allow 4–6 hours of drying time before use
Frequently Asked Questions
Can I personalize a leather journal cover?
Yes, but with caution. Use leather-safe paint or metallic markers for drawing. Avoid heavy collages that might peel. For best results, condition the leather first and test designs on the back cover.
What if I make a mistake during the process?
Mistakes are part of the creative process. If paper wrinkles, carefully lift it, reapply glue, and smooth again. If paint smudges, let it dry and cover with a washi tape border or sticker. Imperfections often add character.
How do I protect my journal from water or spills?
Multiple layers of Mod Podge or a spray sealant (like Krylon Clear Acrylic) provide water resistance. Avoid submerging the journal, but light splashes won’t damage a properly sealed cover.
Conclusion: Make It Yours, Then Start Writing
Your journal should feel like a natural extension of who you are—not a generic notebook, but a canvas of your thoughts, memories, and aspirations. By investing time in personalizing the cover, you set the tone for deeper, more intentional writing. The techniques here are simple, affordable, and adaptable to any skill level. Whether you choose elegant minimalism or vibrant maximalism, the key is authenticity.
So gather your materials, find a quiet corner, and begin. In a few hours, you’ll have more than a customized cover—you’ll have a companion ready to hold your stories, dreams, and reflections for years to come.


 浙公网安备
33010002000092号
浙公网安备
33010002000092号 浙B2-20120091-4
Comments
No comments yet. Why don't you start the discussion?