
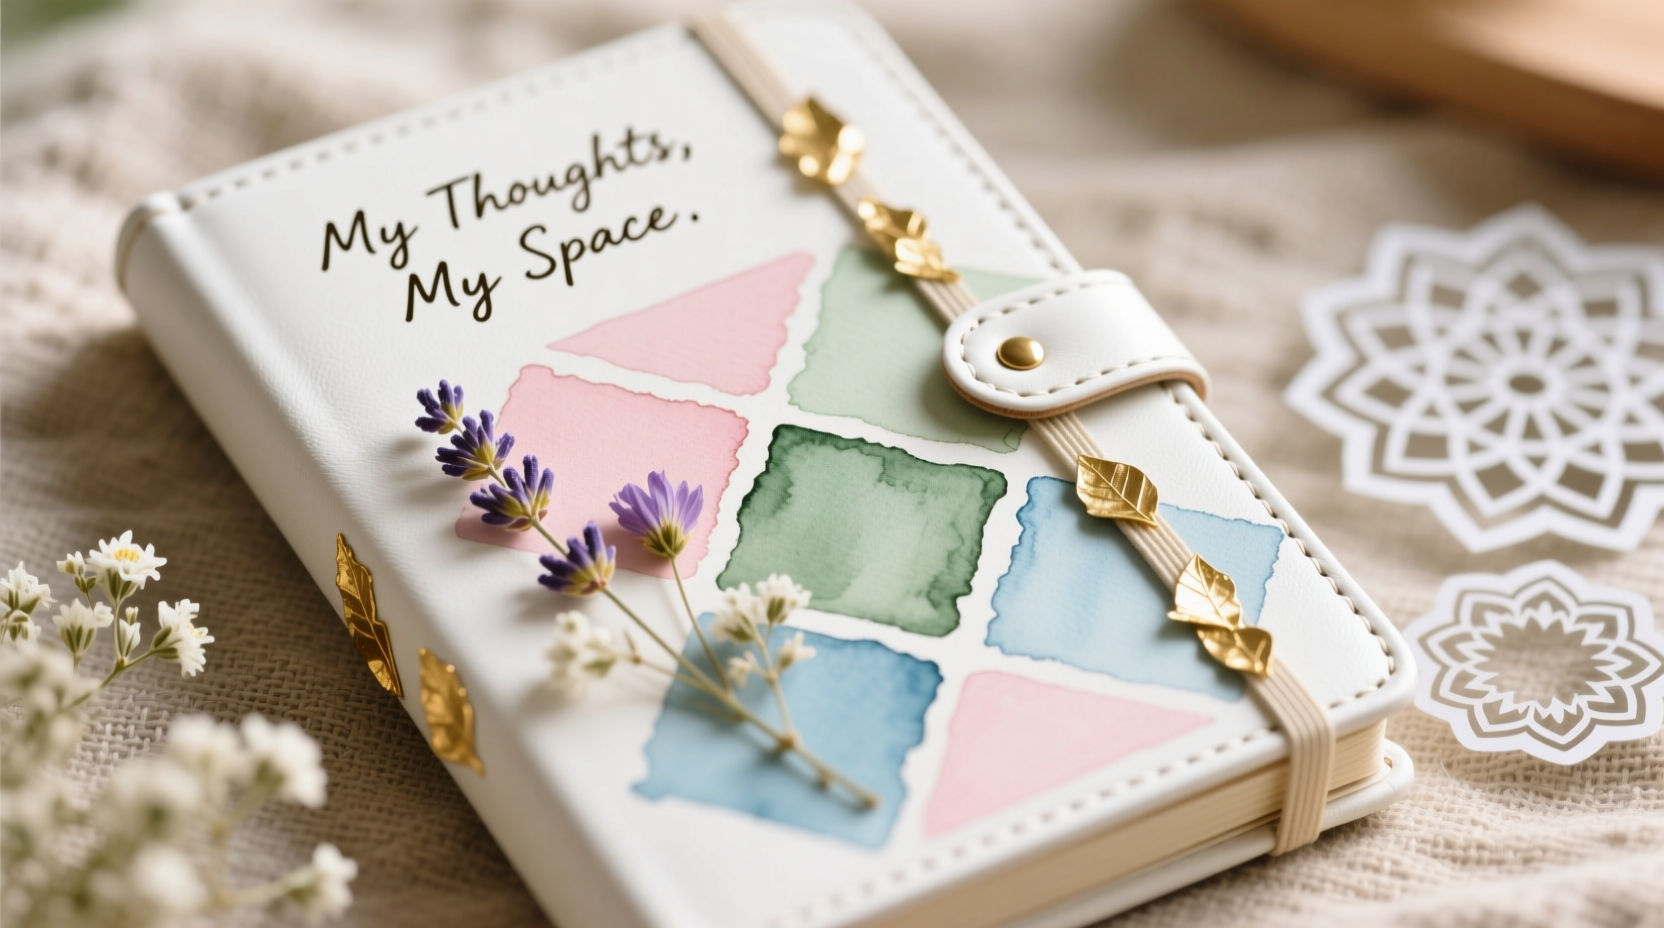
A blank notebook holds endless possibilities—not just in what you write inside, but in how you present it on the outside. A personalized cover transforms an ordinary notebook into a reflection of your personality, style, or purpose. Whether it's for school, journaling, work, or gift-giving, customizing a plain notebook doesn’t require advanced art skills or expensive tools. With accessible materials and a little creativity, anyone can turn a generic cover into something meaningful and visually engaging.
The act of personalization goes beyond aesthetics. Studies show that people are more likely to use items they’ve customized themselves, increasing motivation and emotional connection. This is especially true for notebooks—when your cover speaks to you, opening its pages becomes less of a chore and more of a ritual.
Why Customize Your Notebook?
Mass-produced notebooks often look identical, making it easy to misplace them or lose interest in using them regularly. Personalization solves both problems by enhancing uniqueness and usability. A one-of-a-kind cover helps your notebook stand out on a crowded desk, in a backpack, or during a meeting. It also reinforces ownership, which is particularly helpful in shared environments like classrooms or offices.
Beyond function, customization nurtures self-expression. Artists sketch motifs that inspire them; students decorate with quotes relevant to their goals; professionals might brand theirs with minimalist logos reflecting their work ethic. The cover becomes part of the narrative, setting the tone before a single word is written.
Essential Materials for DIY Notebook Covers
You don’t need a craft store budget to get started. Most supplies can be found around the house or purchased inexpensively at dollar stores or stationery shops. Below is a list of foundational materials categorized by technique type.
| Material Type | Common Uses | Recommended For |
|---|---|---|
| Washi tape | Creating borders, patterns, or full-cover designs | Beginners, temporary changes |
| Acrylic paint & brushes | Hand-painted illustrations or abstract backgrounds | Artistic individuals |
| Markers or gel pens | Drawing details, writing affirmations, outlining shapes | Precision-focused creators |
| Mod Podge & scrapbook paper | Decoupage application over the cover | Durable, long-term finishes |
| Stickers & rub-ons | Quick decoration without mess | On-the-go customization |
| Fabric scraps & glue | Covering the entire surface with textile | Tactile, textured results |
| Embellishments (buttons, beads) | Adding dimension and flair | 3D effects (use sparingly) |
Before beginning any project, ensure your notebook has a sturdy cover—paperback versions work best for lightweight methods like stickers or washi tape, while hardcover notebooks can support heavier applications such as fabric or decoupage.
Step-by-Step Guide: Transforming a Plain Cover
Follow this detailed process to create a durable, eye-catching design regardless of your skill level. This method uses decoupage with scrapbook paper, ideal for beginners seeking professional-looking results.
- Clean the Surface: Wipe the notebook cover with a dry cloth to remove dust and oils. Avoid water unless the cover is waterproof.
- Select Your Design Paper: Choose a patterned scrapbook sheet slightly larger than the cover. Consider theme, color psychology, and durability.
- Cut the Paper: Trim the paper so it extends about 1/4 inch beyond each edge of the cover. This allows for folding over the sides.
- Apply Adhesive: Using a foam brush, spread a thin layer of Mod Podge onto the notebook cover. Work slowly to avoid bubbles.
- Attach the Paper: Carefully place the paper centered on the cover. Smooth from the middle outward using a credit card or squeegee tool.
- Wrap Edges: Fold excess paper over the spine and edges, trimming corners if necessary. Apply additional adhesive behind folded sections.
- Seal the Design: Once dry (about 15–20 minutes), apply 2–3 thin coats of Mod Podge over the top, allowing drying time between layers. This protects against wear and tear.
- Add Final Touches: Use metallic markers, stamps, or small stickers to highlight certain areas. Let everything cure fully before use.
Creative Design Ideas and Techniques
Once equipped with basic tools, explore these five popular customization styles, each offering distinct visual appeal and ease of execution.
1. Washi Tape Geometry
Using colorful washi tapes, create clean lines, chevrons, or grid patterns. Overlap colors for depth or leave gaps for contrast. This non-permanent method allows seasonal or mood-based updates.
2. Hand-Lettered Quotes
Inspired by calligraphy trends, write meaningful phrases in bold script. Practice on scrap paper first. Outline letters with a fine liner, then fill in with paint or marker. Pair with simple floral doodles for balance.
3. Nature Collage
Press leaves, flowers, or feathers and seal them under a clear decoupage layer. Alternatively, print botanical illustrations or vintage plant diagrams and incorporate them into your design.
4. Themed Mood Boards
For vision journals or planners, cut images and words from magazines that represent your goals—travel destinations, career aspirations, wellness habits—and arrange them cohesively on the cover.
5. Minimalist Line Art
Use a black gel pen to draw subtle icons like mountains, stars, or abstract waves. Less is more here; one central motif often makes the strongest statement.
“Personalizing everyday objects turns routine into ritual. A decorated notebook isn’t just a tool—it becomes a companion.” — Lila Monroe, Creative Lifestyle Coach
Mini Case Study: From Bland to Beloved
Sophie, a college sophomore majoring in environmental science, received a standard spiral notebook for her fieldwork class. After losing two similar ones within weeks, she decided to make hers unforgettable. Using brown kraft paper, she wrapped the cover and painted a simple forest scene with acrylics: a pine tree, a crescent moon, and the words “Observe. Record. Protect.” in earth-toned lettering.
She added texture by pressing real fern fronds into a light glue layer before sealing with varnish. The result was not only distinctive but emotionally resonant—her peers began recognizing her by her notebook, and professors complimented her attention to detail. More importantly, Sophie reported feeling more engaged during outdoor data collection because interacting with her notebook felt intentional.
This example illustrates how even modest artistic effort, when aligned with personal values, enhances both functionality and emotional investment.
Dos and Don’ts of Notebook Customization
| Do’s | Don’ts |
|---|---|
| Sketch your layout lightly in pencil before committing | Overload the cover with too many competing elements |
| Use acid-free glue and paper to prevent yellowing | Apply thick embellishments that interfere with closing the notebook |
| Let each layer dry completely before adding the next | Work in humid conditions where adhesives may fail |
| Match colors to the notebook’s intended purpose (e.g., calming blues for meditation logs) | Forget about practicality—ensure the cover remains functional and portable |
| Sign and date your creation on the back cover | Use permanent markers on porous surfaces without sealing |
Checklist: Prepare, Create, Preserve
- ☐ Choose a notebook with a suitable cover material (cardstock or hardboard preferred)
- ☐ Gather all supplies: scissors, adhesive, design medium, protective sealer
- ☐ Clean and dry the surface thoroughly
- ☐ Draft a rough sketch or layout idea
- ☐ Test materials on a hidden area or spare paper
- ☐ Apply base layer (paint, paper, fabric) evenly
- ☐ Add decorative details (lettering, drawings, embellishments)
- ☐ Seal the finished design with 2–3 protective coats
- ☐ Allow 24 hours of curing time before regular use
- ☐ Store flat until fully set to prevent smudging
Frequently Asked Questions
Can I personalize a leather or faux-leather notebook?
Yes, but with caution. Use leather-safe paint or alcohol-based markers specifically designed for porous surfaces. Avoid heavy layering, as it may crack with flexing. Always seal with a compatible finish and test on an inconspicuous spot first.
How do I fix a mistake on my cover?
Minor errors can be corrected depending on the medium. Paint mistakes can sometimes be covered with a new layer once dry. For pen or marker slips, wait for ink to set, then gently sand (on paper/fabric covers) or use opaque correction paint. In some cases, starting over with a fresh paper overlay is the cleanest solution.
Will my design last through daily use?
Durability depends on materials and sealing. Unsealed paper or sticker designs may peel or fade. For longevity, always apply a clear protective coating like Mod Podge Matte, polyurethane spray, or laminating sheets. Reinforce high-wear areas like corners with transparent tape or corner guards.
Final Thoughts and Call to Action
Transforming a plain notebook into a personalized artifact takes only an hour or two, yet the impact lasts much longer. It fosters pride in ownership, encourages consistent use, and serves as a canvas for ongoing creativity. Every time you open your customized notebook, you’re greeted not just with blank pages, but with a sense of identity and intention.
Start small—try a washi tape border or a single hand-drawn symbol. As confidence grows, experiment with textures, mixed media, or thematic series across multiple notebooks. Share your creations online with friends or communities; inspiration often sparks collaboration.


 浙公网安备
33010002000092号
浙公网安备
33010002000092号 浙B2-20120091-4
Comments
No comments yet. Why don't you start the discussion?