
A plain canvas tote bag is more than just an eco-friendly alternative to plastic—it’s a blank canvas waiting for your personal touch. Whether you’re looking to refresh an old favorite or customize a new one, adding iron-on patches and fabric paint allows you to create something truly one-of-a-kind. With minimal supplies and a bit of creativity, you can transform a generic tote into a statement piece that reflects your personality, interests, or even serves as a thoughtful handmade gift.
This guide walks you through every step of the process—from choosing materials to applying designs with confidence—so you can achieve professional-looking results at home. No advanced crafting skills required.
Choosing the Right Materials
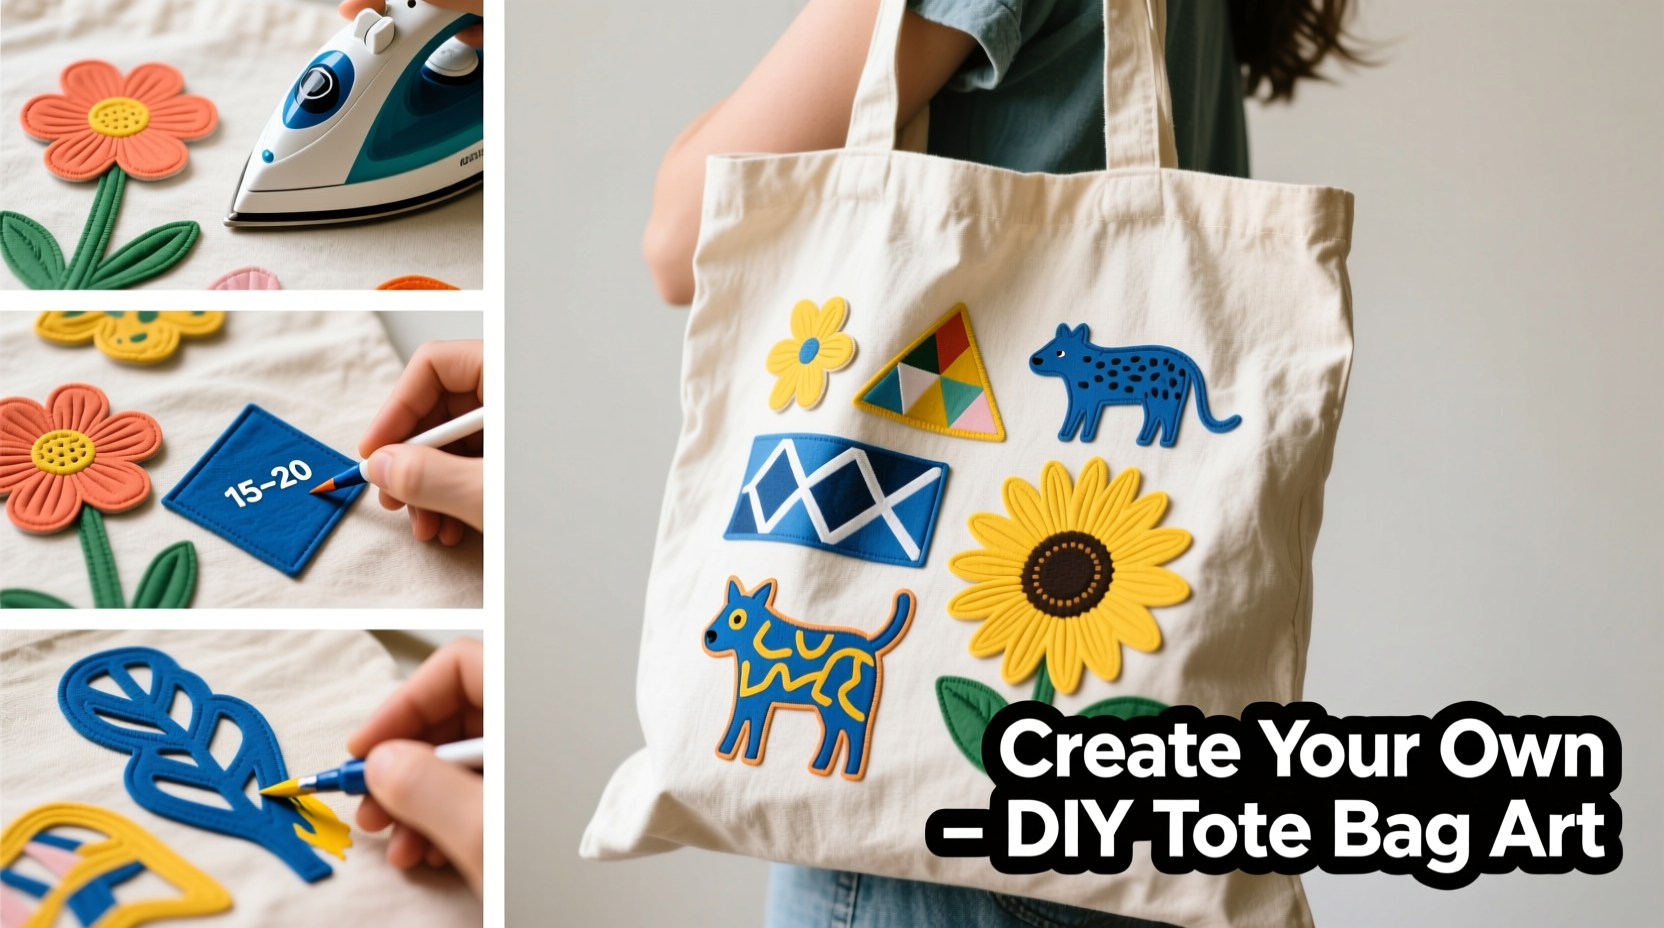
The success of your personalized tote begins with selecting compatible materials. Not all fabrics, paints, or patches behave the same way under heat or after washing. Taking time to choose wisely ensures your design lasts through daily use and multiple washes.
Tote Bag: Opt for 100% cotton canvas if possible. It holds paint well and provides a stable surface for iron-on patches. Avoid synthetic blends, which may scorch under high heat or resist paint adhesion.
Fabric Paint: Use acrylic-based fabric paints labeled as “permanent” or “washable.” Brands like Jacquard Textile Color, Tulip Soft, or DecoArt SoSoft are formulated to remain flexible and resist cracking. Consider buying a fabric medium if you plan to mix paints—this additive improves flow and durability.
Iron-On Patches: Choose patches with heat-activated adhesive backing (usually indicated on packaging). Embroidered, PVC, or woven patches work best. Avoid patches made from delicate materials like felt without reinforced backing, as they may not withstand repeated pressing.
Tools: You’ll need a household iron (not steam), parchment paper or silicone press sheet, fine-tipped brushes, painter’s tape, stencils (optional), and a flat, heat-resistant surface.
Step-by-Step Guide to Applying Iron-On Patches
Iron-on patches offer instant customization with minimal effort. When applied correctly, they adhere securely and resist peeling through regular use.
- Wash and dry the tote to remove any sizing or residue that could interfere with adhesion. Do not use fabric softener, as it creates a barrier.
- Plan your layout. Lay the tote flat and arrange patches without pressing them. Take a photo to remember the arrangement. Consider symmetry, balance, and spacing—especially around handles or seams.
- Preheat your iron to the cotton setting (around 375°F / 190°C). Turn off steam completely.
- Position the patch exactly where you want it. Place a sheet of parchment paper over it to protect the fabric and distribute heat evenly.
- Press firmly for 20–30 seconds using steady pressure. Lift the iron straight up and down—don’t slide it—to avoid shifting the patch.
- Flip the tote and press from the backside for another 20 seconds to ensure full adhesive activation.
- Let cool completely before touching. Repeat for each patch, allowing space between applications to prevent overlapping heat damage.
For larger patches or those with uneven edges, go over them in sections, repositioning the iron to cover every area. Some manufacturers recommend waiting 24 hours before washing; follow instructions on the patch packaging.
Designing with Fabric Paint: Techniques and Tips
Fabric paint opens up endless creative possibilities—from hand-lettered quotes to abstract patterns. Unlike patches, paint integrates directly into the fibers, creating a seamless, lightweight finish.
Start by sketching your design lightly with a chalk pencil or water-soluble marker. These guidelines disappear with heat or water after painting.
Popular Painting Methods
- Freehand Painting: Ideal for organic shapes, doodles, or expressive brushwork. Use small round brushes for detail and flat ones for broad strokes.
- Stenciling: Secure a stencil with painter’s tape and dab paint gently with a sponge or stippling brush to prevent bleeding.
- Sponge Dabbing: Create textured backgrounds or gradients by layering light coats with a makeup sponge.
- Masking with Tape: Achieve clean lines and geometric shapes by taping off areas before painting.
Apply thin, even layers. Thick paint can crack when dry. Allow each coat to dry fully (typically 1–2 hours) before adding another. Most designs require 2–3 layers for opacity.
Once complete, let the paint cure for at least 24 hours. Then heat-set it by ironing over parchment paper for 3–5 minutes on cotton setting. This step locks the pigment into the fabric and enhances wash resistance.
Care After Painting
To preserve painted designs, wash the tote inside out in cold water on a gentle cycle. Air dry or tumble dry low. Avoid dry-cleaning or harsh detergents. Properly cured fabric paint should withstand dozens of washes without fading or flaking.
Combining Patches and Paint for Maximum Impact
Why choose one method when you can combine both? Layering iron-on patches with hand-painted details adds depth and dimension to your tote.
For example, place a floral patch near the bottom corner and paint a vine that appears to grow from it. Or frame a central patch with a painted border or slogan. The key is planning the sequence: always apply patches first, then paint around or over them—never iron over dried paint, as it may blister or peel.
If you want paint to appear beneath a patch (e.g., a shadow effect), paint the background first, let it dry and heat-set, then apply the patch on top.
| Technique | Best For | Durability | Wash Care |
|---|---|---|---|
| Iron-on Patches | Quick logos, characters, or text | High (if properly applied) | Machine wash cold, inside out |
| Fabric Paint | Custom illustrations, gradients, handwriting | High (when heat-set) | Avoid bleach; air dry recommended |
| Combined Approach | Layered, complex designs | Very High (with proper order) | Follow paint care guidelines |
“Personalization turns functional items into emotional objects. A tote with meaning is more likely to be used, cherished, and cared for.” — Lila Nguyen, Sustainable Fashion Educator
Mini Case Study: Transforming a Commuter’s Tote
Sarah, a graphic designer in Portland, owned a plain black tote she used for her daily commute. After six months, it looked worn and indistinct among coworkers’ bags. She decided to revamp it using leftover supplies from a craft project.
She began by ironing on three small embroidered patches—a coffee cup, a cactus, and a speech bubble saying “Hello!”—along the bottom edge. Then, using white fabric paint, she freehanded her initials in a modern script near the top handle. To unify the look, she painted tiny stars around the patches, connecting them visually.
The entire process took less than two hours. After heat-setting, she washed the tote to test durability. The design held perfectly. Now, Sarah says colleagues often compliment her bag, and she feels more connected to it. “It’s no longer just a bag,” she shared. “It feels like an extension of my style.”
Common Mistakes and How to Avoid Them
Even simple projects can go wrong without attention to detail. Here are frequent errors and how to sidestep them:
- Using steam when applying patches: Steam weakens adhesive. Always disable steam and use dry heat.
- Rushing the cooling phase: Moving a patch too soon breaks the bond. Wait until the fabric is cool to the touch.
- Applying paint too thickly: Thick layers crack. Build color gradually with thin coats.
- Skipping the heat-set step: Uncured paint will wash out. Never skip ironing after painting.
- Overcrowding the design: Too many elements can make the bag look cluttered. Leave breathing room between patches and painted areas.
Essential Checklist for Success
Follow this checklist to ensure your tote customization goes smoothly:
- ☐ Wash and dry the tote (no fabric softener)
- ☐ Gather all materials: patches, fabric paint, brushes, parchment paper, iron
- ☐ Plan and photograph your patch layout
- ☐ Apply patches first using dry heat and firm pressure
- ☐ Let patches cool completely
- ☐ Sketch design lightly with chalk or water-soluble pen
- ☐ Paint in thin layers, allowing drying time between coats
- ☐ Heat-set painted areas after 24 hours
- ☐ Wait 48 hours before first wash
- ☐ Wash inside out in cold water, air dry
Frequently Asked Questions
Can I use regular acrylic paint instead of fabric paint?
While possible, regular acrylic paint tends to stiffen fabric and may crack or wash off over time. Fabric paint is specifically engineered to bond with textiles and remain flexible. If you must use acrylics, mix them with a fabric medium and seal with a fabric fixative after drying.
What if my patch doesn’t stick properly?
Peeling usually results from insufficient heat, pressure, or time. Reapply the patch with parchment paper, pressing for 30–45 seconds while applying firm, even pressure. If the adhesive is weak, consider sewing around the edges for reinforcement.
Can I personalize a tote with kids?
Absolutely. Fabric paint and iron-on patches are safe for children when supervised. Use non-toxic, washable paints and let kids draw their own designs. Pre-cut stencils or use stamps for easier results. It’s a great way to teach creativity and ownership of belongings.
Final Thoughts and Creative Inspiration
Personalizing a plain tote bag isn’t just about aesthetics—it’s about making something functional feel uniquely yours. In a world of mass-produced goods, handmade touches carry emotional weight. Every brushstroke or carefully placed patch tells a story.
Don’t limit yourself to store-bought patches. Search online for custom options—band logos, pet silhouettes, or even photos turned into embroidered patches. Combine seasonal themes (pumpkins for fall, snowflakes for winter) and rotate designs by swapping patches on different totes.
And remember: imperfections add character. A slightly wobbly line or asymmetrical layout gives your tote authenticity. It’s not factory-made; it’s human-made.


 浙公网安备
33010002000092号
浙公网安备
33010002000092号 浙B2-20120091-4
Comments
No comments yet. Why don't you start the discussion?