
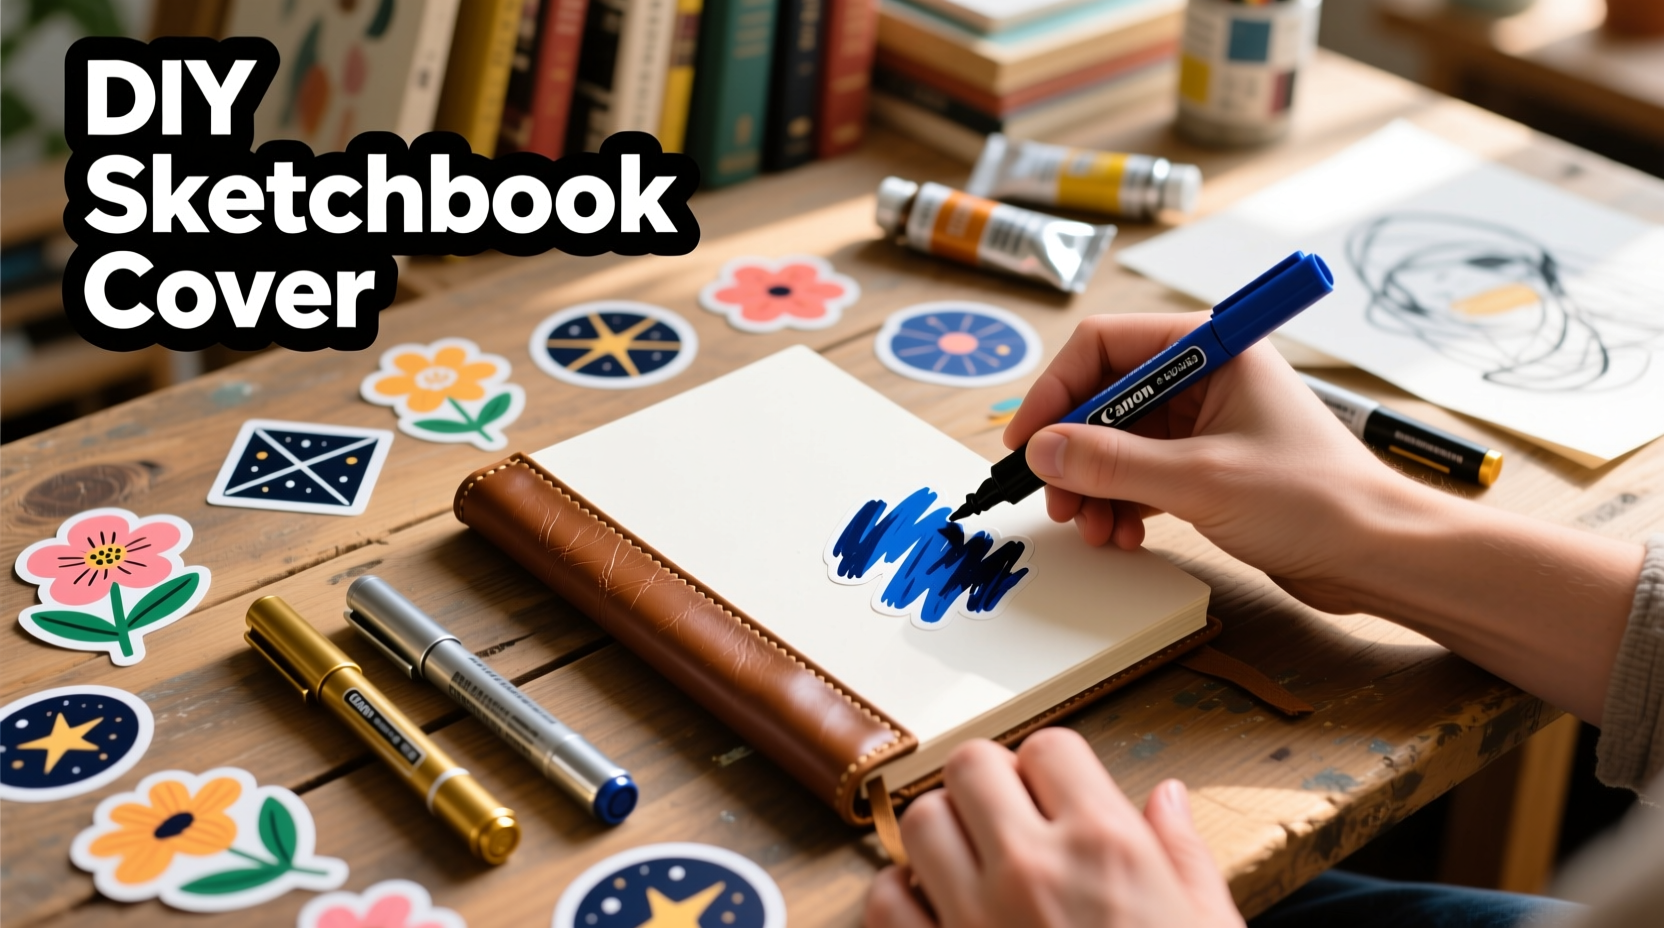
Personalizing a sketchbook transforms it from a simple notebook into a creative extension of your identity. Whether you're an artist, student, traveler, or journal keeper, customizing the cover allows you to express your style and protect your work in one cohesive design. The challenge lies in making that personalization last—especially when using materials prone to smudging, peeling, or water damage. That’s where waterproof stickers and markers come in. These durable supplies not only withstand moisture and friction but also maintain their vibrancy over time, even with frequent handling.
This guide walks through every step of transforming a plain sketchbook into a weather-resistant, uniquely styled companion. From selecting the right materials to sealing your artwork properly, you’ll learn how to create a personalized cover that stands up to real-world use without sacrificing aesthetics.
Why Waterproof Materials Matter for Sketchbook Covers
A sketchbook often travels with you—tossed into backpacks, left on café tables, or exposed to rain during outdoor sketching sessions. Regular stickers and standard markers can quickly degrade under such conditions: ink fades, edges lift, and designs become messy. Waterproof components solve these issues by resisting moisture, UV exposure, and abrasion.
Waterproof stickers are typically made from vinyl or laminated paper, both of which repel water and resist tearing. Similarly, waterproof markers use pigment-based or alcohol-based inks that bond well with surfaces and don’t run when wet. When used together, they form a resilient layer of decoration that protects as much as it decorates.
“Artists who treat their tools with care tend to develop stronger creative habits. A personalized, durable sketchbook becomes a trusted partner in the creative process.” — Lena Torres, Art Educator and Journaling Coach
Choosing the Right Supplies
Not all “waterproof” products perform equally. To get the best results, select materials based on durability, compatibility, and finish.
Waterproof Markers: Types and Uses
Two main types dominate the market: alcohol-based and water-based waterproof markers.
- Alcohol-based markers (e.g., Copic, Sharpie Permanent): Deliver bold, blendable colors and excellent water resistance. Ideal for illustrations and layered designs. May bleed through thin paper if applied heavily.
- Water-based permanent markers (e.g., Staedtler Lumocolor, Sakura Pigma Micron): Offer precise lines and archival-quality ink. Less likely to bleed but may require multiple coats for full opacity.
For sketchbook covers, fine to medium tips (0.5mm–2mm) give good control for lettering and detailing, while broader tips work well for filling backgrounds.
Waterproof Stickers: Material and Adhesion
Look for stickers labeled “vinyl,” “laminated,” or “outdoor-rated.” These are engineered to endure humidity, sunlight, and handling. Avoid paper-based stickers unless they’re specifically coated for water resistance.
Vinyl stickers adhere strongly to smooth surfaces and can be trimmed easily with scissors or a craft knife. Clear-label stickers are excellent for overlaying text or icons without blocking underlying artwork.
| Material | Best For | Durability | Care Tip |
|---|---|---|---|
| Alcohol-based markers | Color fills, blending, illustration | High (resists water, fading) | Store horizontally to prevent drying |
| Water-based permanent markers | Detail work, writing, journaling | High (archival, smear-resistant) | Avoid excessive scrubbing |
| Vinyl stickers | Durable overlays, long-term use | Very High (UV & moisture resistant) | Apply with firm pressure to avoid bubbles |
| Laminated paper stickers | Temporary or indoor use | Moderate (can peel at edges) | Seal with varnish for extra protection |
Step-by-Step Guide to Personalizing Your Sketchbook Cover
Follow this sequence to achieve a professional-looking, long-lasting design.
- Clean the Surface: Wipe the sketchbook cover with a dry microfiber cloth. If it's particularly dusty or greasy, use a slightly damp cloth and let it dry completely before proceeding.
- Plan Your Layout: Sketch a rough design on paper or use tracing paper over the cover to position stickers and text. Consider symmetry, balance, and focal points.
- Apply Stickers First: Peel slowly and place each sticker carefully. Use a credit card or bone folder to press out air bubbles and ensure full adhesion.
- Add Marker Details: Outline stickers, add shadows, or write titles using waterproof markers. Allow ink to dry fully between layers to prevent smudging.
- Enhance with Backgrounds: Use broad-tip markers to color borders or shaded areas. You can mask off sections with painter’s tape for clean edges.
- Seal the Entire Design: Apply a clear waterproof sealant (such as Mod Podge Outdoor or Krylon Clear Coat) in thin, even layers. Let each coat dry before applying the next—two to three coats are recommended.
Design Ideas to Inspire Your Cover
Your sketchbook reflects your personality. Here are some thematic approaches:
- Nature-Inspired: Use leaf-shaped vinyl stickers and earth-tone markers to create a botanical theme.
- Minimalist: A single geometric sticker paired with clean typography in black permanent marker.
- Travel Log: Map-themed stickers with city names written in cursive using metallic waterproof ink.
- Art Portfolio: Overlay a small self-portrait sticker with a hand-lettered name banner.
Consider leaving a small space on the spine or back cover for your contact information—just in case it gets lost.
Real Example: Maya’s Field Sketchbook Makeover
Maya, a landscape architecture student, needed a durable sketchbook for site visits. Her previous notebooks suffered from rain damage and smudged covers. She decided to upgrade her approach.
She selected a hardcover sketchbook with a matte finish, then gathered black Pigma Micron pens, red and green Staedtler permanent markers, and weather-resistant plant silhouette stickers. After designing a layout that framed the front with foliage motifs, she applied the stickers, added her name in bold block letters, and outlined everything with a fine black marker for definition.
To finish, she sprayed three light coats of Krylon UV-Resistant Clear Acrylic Coating. Over the next six months, the sketchbook endured drizzle, dust, and daily transport—and the cover remained intact. Peers began asking where she’d bought such a stylish, tough notebook. “I didn’t buy it,” she said. “I made it.”
Common Mistakes and How to Avoid Them
Even experienced crafters make errors when personalizing sketchbooks. Knowing what to watch for ensures better outcomes.
- Applying stickers to a dirty surface: Dust or oil prevents proper adhesion. Always clean first.
- Using non-waterproof sealants: Regular glue or varnish may yellow or dissolve when wet. Stick to outdoor-grade formulas.
- Overloading the design: Too many stickers or thick paint layers can warp the cover. Keep it balanced.
- Rushing the drying process: Impatience leads to smudges and uneven sealing. Allow 24 hours between final coat and heavy use.
“Simplicity often wins in functional design. A few well-placed elements can say more than a cluttered cover.” — Diego Mendez, Industrial Designer
Frequently Asked Questions
Can I use regular stickers if I seal them properly?
You can, but results vary. Standard paper stickers may bubble or discolor under sealant, especially if exposed to moisture. For reliable durability, start with waterproof materials. Sealing adds protection, but it can't fully compensate for weak base materials.
Will waterproof markers work on any sketchbook material?
Most do, but performance depends on texture. Smooth, non-porous surfaces (like synthetic leather or laminated cardboard) accept ink best. On rough or absorbent covers, markers may feather or dry inconsistently. Test first, and consider priming porous surfaces with a clear base coat.
How do I remove a sticker if I change my mind?
Vinyl stickers can usually be peeled off slowly with a fingernail or tweezers. Residue can be removed with rubbing alcohol on a cotton swab. Avoid scraping, which might damage the cover. If the sticker has been sealed, removal will likely take off some of the top layer as well.
Checklist: Personalizing Your Sketchbook Cover
Use this checklist to ensure a successful project:
- ☐ Choose a sketchbook with a smooth, sturdy cover
- ☐ Gather waterproof vinyl stickers and permanent markers
- ☐ Clean the cover thoroughly and let it dry
- ☐ Sketch a layout or use tracing paper for placement
- ☐ Apply stickers with firm pressure, removing air bubbles
- ☐ Add marker details and let ink dry completely
- ☐ Apply 2–3 thin coats of waterproof sealant
- ☐ Allow 24 hours of drying time before regular use
Final Thoughts and Call to Action
Personalizing a sketchbook isn’t just about decoration—it’s about ownership. When you invest time in crafting a cover that’s both expressive and enduring, you build a deeper connection with your creative tool. Waterproof stickers and markers provide the perfect combination of flair and function, ensuring your design survives the journey as well as the studio.
The process is accessible to anyone, regardless of artistic skill. With thoughtful planning and quality materials, you can turn an ordinary notebook into a signature piece that inspires every time you open it.


 浙公网安备
33010002000092号
浙公网安备
33010002000092号 浙B2-20120091-4
Comments
No comments yet. Why don't you start the discussion?