
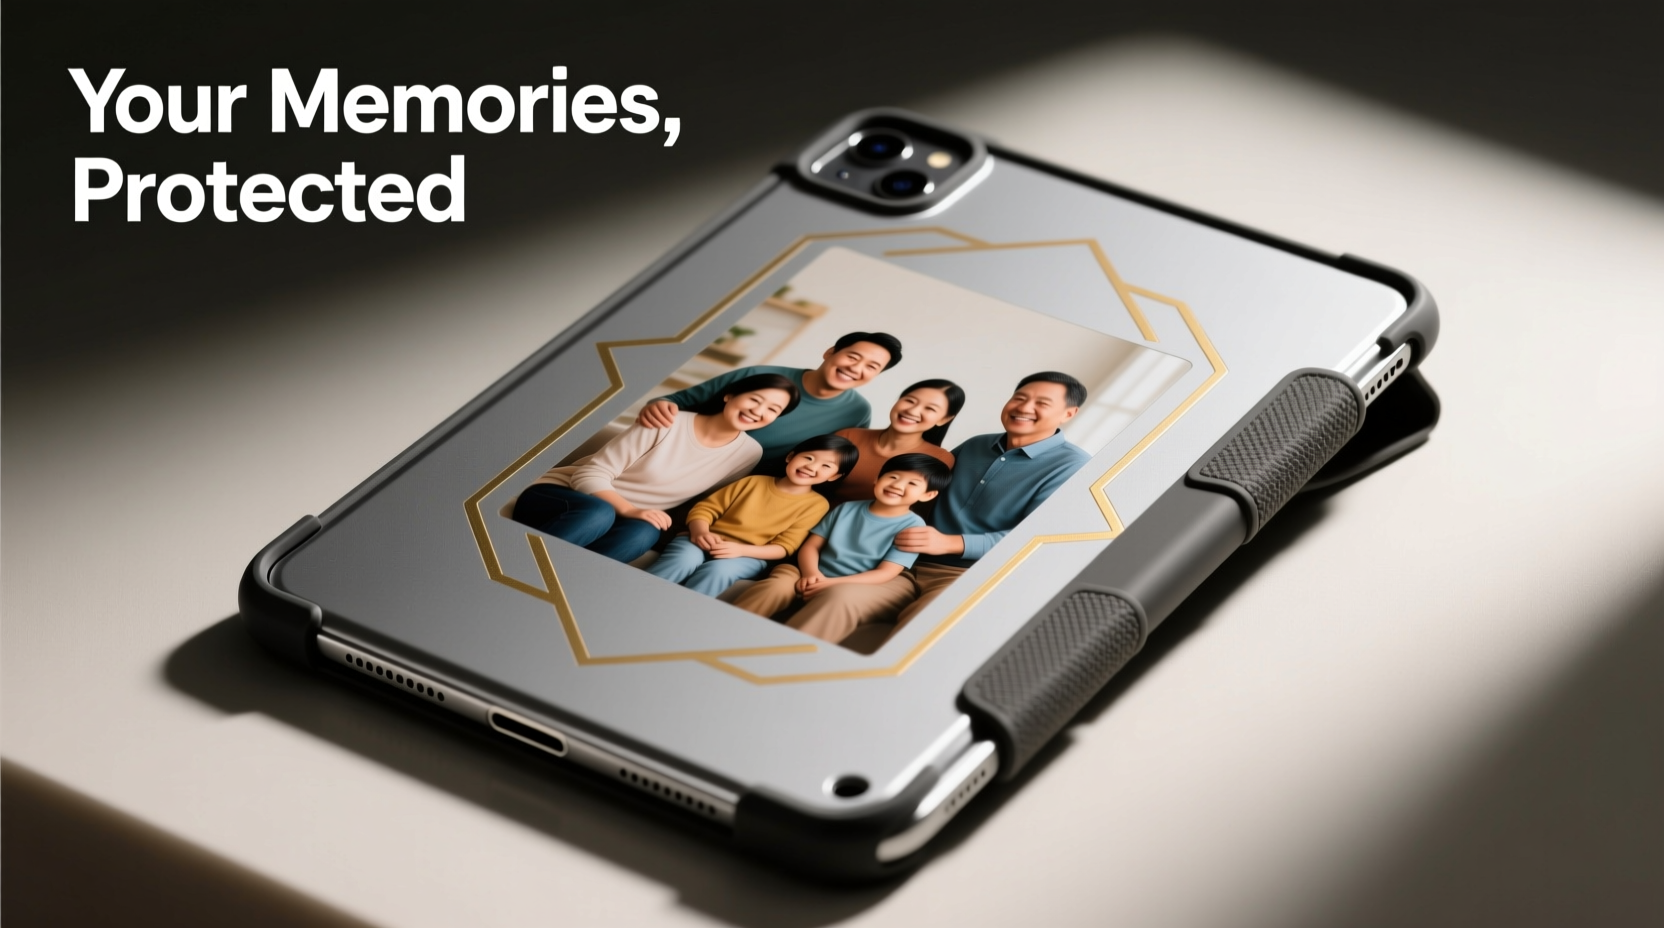
Personalizing a tablet case with your favorite photos adds a unique touch that reflects your personality, memories, or brand identity. Whether it’s a cherished family moment, a pet portrait, or a travel snapshot, turning a photo into a lasting design on a tablet case can be deeply meaningful. However, many DIY attempts fail within weeks due to peeling, bubbling, or fading—especially when exposed to daily handling, moisture, or UV light.
The key to a successful, peel-free customization lies not just in the method but in selecting the right materials, preparing surfaces properly, and applying protective finishes that endure real-world use. This guide walks through proven techniques, common pitfalls, and expert-backed strategies to ensure your photo-adorned tablet case stays vibrant and intact for months or even years.
Choosing the Right Tablet Case Material
Not all tablet cases are created equal when it comes to photo personalization. The material of the case determines how well adhesives, inks, or laminates bond to its surface. A poor base undermines even the most careful application process.
Rigid plastic cases with smooth surfaces, such as polycarbonate or hard-shell TPU (thermoplastic polyurethane), offer the best canvas for photo transfers. These materials provide a non-porous, stable surface that resists warping and supports strong adhesive bonds. Avoid soft silicone or fabric-covered cases if longevity is a priority—they absorb moisture, stretch over time, and don’t hold printed layers well.
Material Comparison for Photo Customization
| Case Material | Adhesion Strength | Durability | Best For |
|---|---|---|---|
| Polycarbonate | High | Excellent | Laminated prints, vinyl decals |
| Rigid TPU | High | Very Good | Heat transfer, printable films |
| Silicone | Low | Fair | Temporary stickers only |
| Fabric/Woven | Poor | Poor | Not recommended |
| Leather (synthetic) | Moderate | Good | Specialty inkjet printing |
For optimal results, choose a glossy or semi-gloss finish over matte. Matte surfaces scatter light and may interfere with print clarity, while also reducing adhesive grip. A smooth, slightly reflective surface enhances both image vibrancy and bonding strength.
Step-by-Step Guide: Applying Photos Without Peeling
Successfully attaching a photo to a tablet case requires precision at every stage—from printing to sealing. Follow this detailed sequence to minimize risks of lifting edges or delamination.
- Select and edit your photo: Use high-resolution images (minimum 300 DPI) that match the dimensions of your case’s back panel. Crop and adjust brightness/contrast to compensate for potential color shifts during printing.
- Print on transfer media: Use waterproof inkjet or laser printer paper designed for decal transfers. Alternatively, print on printable vinyl sheets for greater durability.
- Cut precisely: Trim the printed image slightly smaller than the case surface to avoid edge buildup. Rounded corners reduce the chance of snagging and peeling.
- Clean the case thoroughly: Wipe the surface with isopropyl alcohol (70% or higher) to remove oils, dust, and residues. Let dry completely before proceeding.
- Apply adhesive evenly: Use a thin layer of clear-drying craft glue (e.g., Mod Podge Outdoor) or a spray adhesive formulated for plastics. Avoid excess, which can cause bubbling.
- Position and smooth the photo: Place the image slowly, starting from one edge and pressing outward with a credit card or squeegee to eliminate air pockets.
- Seal with a protective topcoat: Apply 2–3 thin layers of UV-resistant clear sealant (spray or brush-on), allowing full drying between coats. Epoxy resin offers the strongest protection but requires ventilation and curing time.
Avoiding Common Mistakes That Cause Peeling
Even well-executed projects can fail prematurely due to overlooked details. Awareness of frequent errors helps prevent disappointment.
- Skipping surface prep: Oils from fingers or factory coatings create weak points where adhesion fails.
- Using standard printer paper: Regular paper absorbs moisture and expands, leading to cracks and separation.
- Applying thick glue layers: Excess adhesive remains tacky and attracts dirt, weakening the bond over time.
- Neglecting environmental exposure: Sunlight degrades inks and adhesives; heat cycles soften bonds.
- Touching the surface too soon: Handling before full cure introduces fingerprints and stress points.
One often underestimated factor is humidity. High moisture levels during application can trap vapor beneath the photo, creating bubbles that evolve into peeling edges. Work in a climate-controlled environment whenever possible.
Do’s and Don’ts of Photo Application
| Action | Do | Don’t |
|---|---|---|
| Cleaning | Use isopropyl alcohol and lint-free cloth | Wipe with damp towel or hand sanitizer |
| Printing | Use waterproof, high-DPI settings | Print on plain office paper |
| Adhesive | Apply thin, even coat of outdoor Mod Podge | Use school glue or tape |
| Sealing | Use UV-protective spray sealant in multiple layers | Leave unsealed or use nail polish |
| Handling | Wait 24+ hours before use | Put in bag immediately after finishing |
Expert Insight: Longevity Through Lamination
Professional custom accessory makers rely on lamination to lock in designs. While home users may not have access to industrial rollers, cold laminate sheets offer a viable alternative.
“Lamination isn’t just about shine—it creates a physical barrier against abrasion, moisture, and UV degradation. When combined with proper adhesion, it nearly eliminates peeling.” — Marcus Lin, Product Designer at TechSkin Studio
Cold laminate films are self-adhesive polyester sheets applied over printed graphics. They require no heat press—just careful alignment and smoothing. Once applied, they can be further sealed with a compatible topcoat for added resilience.
For those seeking museum-grade durability, two-part epoxy resin provides a glass-like finish that fully encapsulates the photo. Though more complex, it resists scratching, yellowing, and edge lift better than any other method. Ensure the workspace is dust-free and temperature-stable (ideally 70–75°F) during pouring and curing.
Real Example: A Teacher’s Classroom Tablet Makeover
Sarah, a third-grade teacher in Portland, wanted to personalize tablets used by her students. She chose photos of each child’s artwork to foster pride and ownership. Initially, she used tape and clear packing tape over printed images—within two weeks, edges curled and grime collected underneath.
She revised her approach: printing student drawings on waterproof inkjet paper, adhering them with Mod Podge Outdoor, then sealing with three layers of Krylon UV-Resistant Clear Spray. The entire batch was left to cure for 48 hours before classroom use.
Nine months later, all cases remain intact. “The kids love seeing their art every day,” Sarah said. “And I haven’t had a single peeling issue since switching to the sealed method.” Her success underscores the importance of systematized preparation and protective finishing.
Alternative Method: Vinyl Decals for Precision and Durability
For users prioritizing ease and professional results, pre-printed vinyl decals are an excellent option. Unlike paper-based methods, vinyl is inherently waterproof, flexible, and resistant to fading.
To apply:
- Design your photo layout using software like Canva or Adobe Express.
- Order custom die-cut vinyl stickers from reputable online printers (e.g., Sticker Mule, Vistaprint).
- Clean the case with alcohol and let dry.
- Peel backing and position slowly, using masking tape as a hinge for alignment.
- Smooth out with a squeegee, then apply a clear laminate or sealant for extra security.
This method skips messy glues and drying times, delivering sharp, consistent results. High-quality vinyl lasts 3–5 years outdoors, making it ideal for devices handled daily.
Frequently Asked Questions
Can I use nail polish as a sealant?
No. While some DIYers suggest clear nail polish, it yellows under UV light, becomes brittle over time, and lacks uniform coverage. It may also react poorly with certain plastics or inks. Use dedicated spray sealants or epoxy instead.
Will washing the case ruin the photo?
Yes, unless fully sealed. Even water-resistant adhesives degrade with repeated moisture exposure. Never submerge a customized case. Clean gently with a damp microfiber cloth if needed, avoiding direct scrubbing over the image.
How do I remove a photo if I want to change it?
If sealed with epoxy or permanent adhesive, removal will likely damage the case. For reversible options, consider magnetic inserts or slip-in sleeves. Otherwise, use a hairdryer to soften the adhesive and carefully peel, accepting some surface wear.
Final Checklist for Peel-Free Results
- ✅ Choose a rigid, smooth-surface case (polycarbonate or hard TPU)
- ✅ Print photo on waterproof, high-resolution media
- ✅ Trim image slightly smaller than case area with rounded corners
- ✅ Clean case surface with isopropyl alcohol
- ✅ Apply thin, even layer of outdoor-rated adhesive
- ✅ Smooth photo onto surface without bubbles
- ✅ Seal with 2–3 layers of UV-protective clear coat
- ✅ Cure for at least 24 hours before use
- ✅ Store and use away from prolonged sunlight and extreme temperatures
Conclusion: Make Your Memory Last
Personalizing a tablet case with photos doesn’t have to be a temporary decoration. With thoughtful material selection, precise execution, and robust sealing, your design can withstand daily use without peeling or fading. Whether you’re commemorating a milestone, celebrating a loved one, or branding a device for practical use, the effort you invest upfront pays off in lasting satisfaction.


 浙公网安备
33010002000092号
浙公网安备
33010002000092号 浙B2-20120091-4
Comments
No comments yet. Why don't you start the discussion?