
Personalizing ornaments with photos transforms simple decorations into cherished keepsakes. Whether commemorating a family milestone, honoring a loved one, or creating meaningful gifts, adding a photo elevates an ornament from decorative to deeply sentimental. However, many people hesitate—rightfully so—because improper techniques can scratch, warp, or degrade the ornament’s surface over time. The good news: with the right materials and careful execution, you can preserve both the integrity of the ornament and the clarity of your image.
This guide walks through proven, non-invasive methods that protect delicate surfaces while delivering professional-quality results. From glass baubles to acrylic shapes and vintage trinkets, the techniques here are designed to work across a range of materials without causing harm.
Understanding Ornament Materials and Risks
Not all ornaments react the same way to adhesives, moisture, or heat. Before applying any photo, it's essential to identify the material of your ornament. Common types include:
- Glass: Smooth and often fragile; susceptible to cracking under thermal stress or aggressive glue use.
- Plastic/Acrylic: Lightweight and shatter-resistant but prone to scratching and chemical damage from harsh solvents.
- Metal: Durable but may have glossy finishes that peel if adhesive is too strong.
- Wood: Porous and natural; requires sealing to prevent warping when exposed to moisture.
The primary risk in personalizing these items lies in irreversible surface damage—clouding on glass, etching on acrylic, or finish lifting on painted metal. Many DIYers make the mistake of using super glue, Mod Podge directly on sensitive surfaces, or laminating with heat, which can melt or distort materials.
“Preserving the original condition of an ornament while adding personalization requires balance between adhesion and gentleness. Always test your method on a small, inconspicuous area first.” — Lila Nguyen, Preservation Specialist at the National Craft Archive
Safe Methods for Attaching Photos Without Surface Damage
The key to success is indirect application: instead of gluing the photo directly onto the ornament, create a protective intermediary layer or enclosure. Below are three reliable techniques that avoid direct contact with sensitive surfaces.
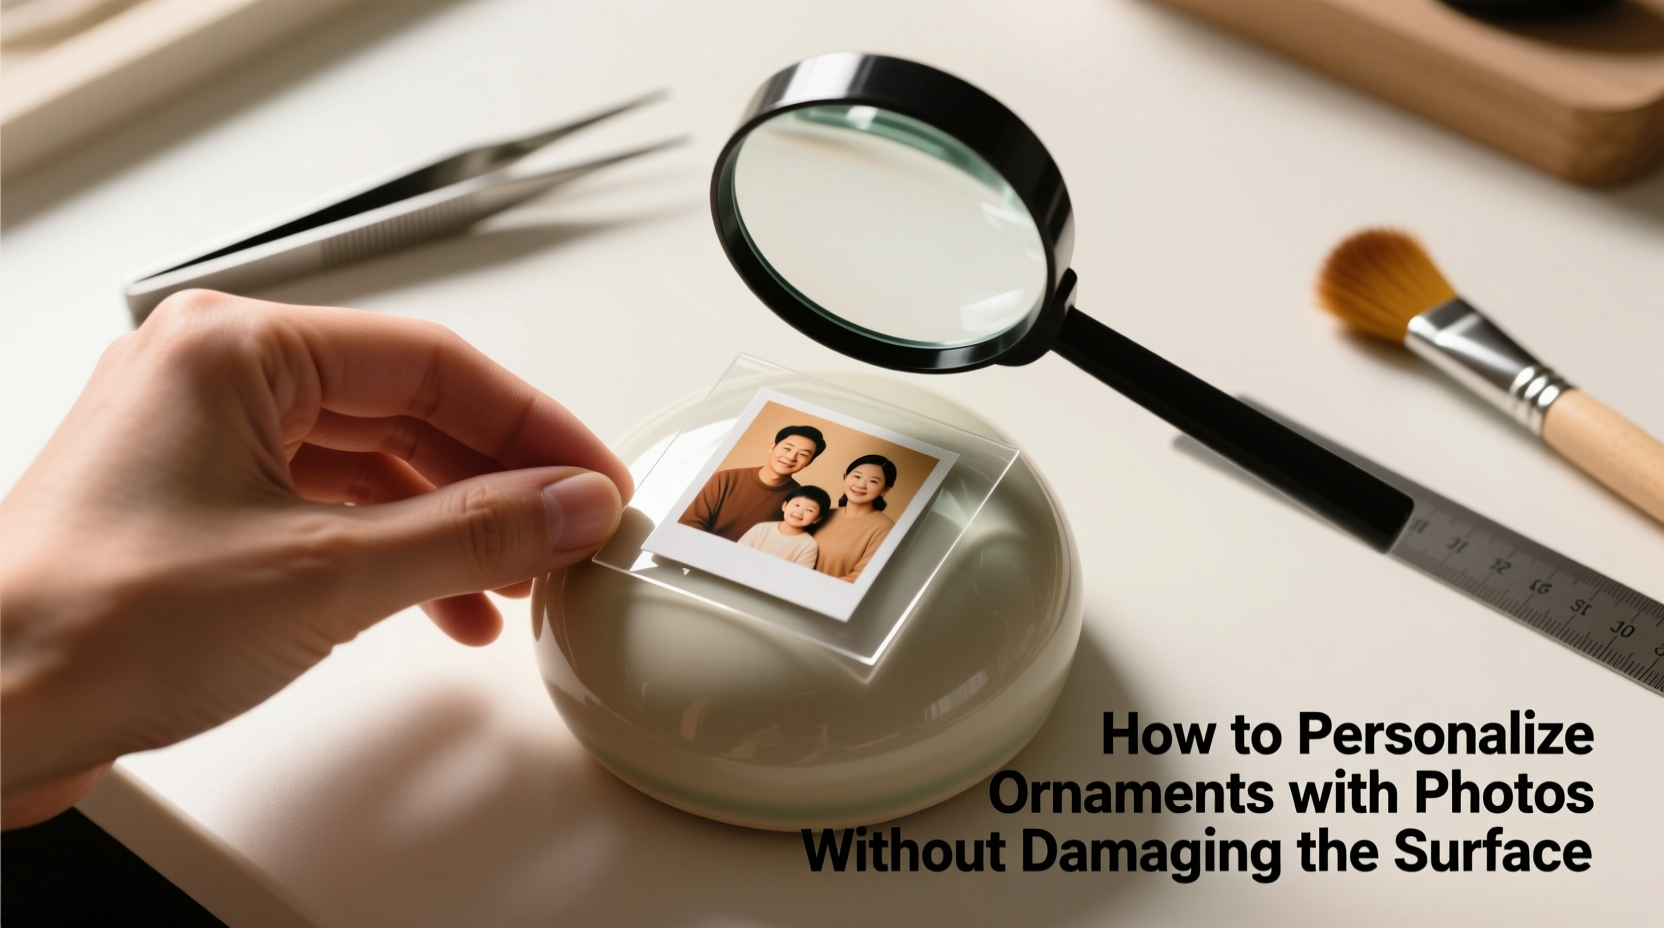
1. Encapsulation in Clear Ornament Covers
Many modern ornaments come with two-part clear plastic shells (often called “photo-insert” ornaments). These are ideal for customization because they allow you to slide a printed photo inside without touching the outer shell.
To use this method:
- Print your photo trimmed to fit the insert size (typically 1.5” to 2” diameter).
- Carefully open the ornament casing—some snap apart, others unscrew at the top.
- Insert the photo, ensuring it lies flat and faces outward.
- Reassemble the ornament gently.
No adhesive is needed, and the original surface remains untouched. This method works especially well for acrylic and plastic ornaments designed for photo inserts.
2. Double-Sided Frame Method for Glass Ornaments
For traditional glass baubles, avoid placing anything directly on the interior unless you're certain about the coating. Instead, use a framed approach:
- Choose a thin, round frame with a loop hanger that fits over the ornament cap.
- Insert a mini photo print into the frame.
- Hang the framed photo around the neck of the ornament so it dangles just below the cap.
This adds a personalized touch while leaving the glass completely intact. You can reuse the frame each year with different photos.
3. Magnetic Backing for Metal Ornaments
If your ornament has a flat metal surface—like a tin star or holiday plaque—use magnetic photo discs. These consist of two components:
- A small, flexible magnet adhered to the back of a printed photo.
- A second magnet placed behind the ornament to hold the photo in place.
Since no glue touches the ornament, the surface stays protected. This technique is reversible and perfect for collectible or heirloom pieces.
| Method | Best For | Contact with Surface? | Reversible? |
|---|---|---|---|
| Photo Insert Shell | Acrylic/plastic ornaments | No | Yes |
| Frame Hanger | Glass baubles | No (only cap contact) | Yes |
| Magnetic Attachment | Metal plaques, tins | No | Yes |
| Sealed Decoupage (with caution) | Sturdy wood, ceramic | Yes (protected layer) | No |
Step-by-Step: Creating a Non-Damaging Photo Ornament (Glass Bauble Edition)
Follow this detailed process to safely personalize a classic glass ornament without risking scratches or clouding.
- Select your ornament: Choose a high-quality glass ball with a smooth, uncoated exterior. Avoid antique or hand-painted pieces unless intended for display only.
- Prepare the photo: Print a circular image (1.75” diameter) on matte photo paper to reduce glare. Use a home printer or online service for precision cutting.
- Create a miniature frame: Cut a 3” circle from stiff cardstock. Punch a small hole at the top for hanging. Glue the photo in the center, leaving a border.
- Add ribbon: Thread a 6-inch satin ribbon through the cardstock hole and tie it into a loop.
- Attach to ornament: Gently slip the ribbon loop over the metal cap of the glass ball. Adjust so the photo hangs centered beneath the ornament.
- Optional seal: If storing long-term, spray the photo lightly with UV-protective matte sealant to prevent fading—never apply spray directly to the glass.
This method keeps the glass pristine and allows you to swap out photos annually. It also doubles as a gift tag alternative during holidays.
When Direct Application Is Acceptable (And How to Do It Safely)
In some cases, direct photo attachment may be appropriate—but only when the ornament material can tolerate it. Wood, ceramic, and thick plastic can support decoupage if done correctly. The goal is to create a sealed barrier that prevents moisture and adhesive from degrading the surface.
Use this checklist before attempting direct application:
- ✅ Ornament is not a family heirloom or valuable collectible.
- ✅ Surface is clean, dry, and free of oils or dust.
- ✅ Material is non-porous or already sealed (e.g., varnished wood).
- ✅ You’re using acid-free, photo-safe adhesive.
- ✅ You plan to display, not store in humid environments.
If all conditions are met, follow these steps:
- Clean the area with a microfiber cloth and distilled water. Let dry completely.
- Apply a thin coat of acid-free decoupage glue (such as Mod Podge Matte) to the back of the photo.
- Press the photo gently onto the ornament, smoothing from center outward to remove air bubbles.
- Let dry for 12 hours.
- Seal with 2–3 light coats of decoupage glue, allowing drying between layers.
- Finish with a final spray of UV-protective sealant for outdoor or sun-exposed areas.
Never use hot glue, epoxy resin, or laminating pouches on delicate surfaces—they generate heat and pressure that can crack or warp ornaments.
Real Example: A Grandmother’s Memory Tree
Susan from Vermont wanted to honor her grandchildren by creating a yearly tradition: a personalized ornament for each child’s birthday. She had a collection of glass balls passed down from her own mother and was hesitant to alter them permanently.
Instead of painting or engraving, she used the frame-hanger method described above. Each December, she prints a new photo of the child from that year—first steps, school play, pet adoption—and slips it into a reusable cardstock frame. The frames are stored flat in a box labeled by child and year.
Her tree now tells a visual story of growth, and the original ornaments remain in perfect condition. “I love that I can update them,” she says. “It feels alive, not frozen in time.”
FAQ
Can I use tape to attach a photo to an ornament?
Regular tape is not recommended—it leaves residue, yellows over time, and may pull off paint or finish when removed. If you must use tape, opt for acid-free double-sided tape and apply it only to the backing material, not the ornament itself.
Will printing photos at home damage the ornament?
No, home printing poses no risk to the ornament as long as the ink is fully dried before handling. Use pigment-based inks for better fade resistance, and avoid excessive moisture when cutting.
How do I remove a photo without damaging the surface?
If you’ve used a non-contact method like framing or magnetic backing, removal is simple and risk-free. For sealed decoupage, removal will likely damage the surface. That’s why non-permanent methods are strongly advised for valuable or reusable ornaments.
Final Checklist: Personalizing Safely
Before starting your project, go through this quick verification list:
- Identify the ornament material and assess its sensitivity.
- Choose a non-contact method if possible (frame, insert, magnet).
- Use archival, acid-free materials for photos and adhesives.
- Test adhesives or sprays on a hidden area first.
- Allow full drying time before handling or hanging.
- Store personalized ornaments in padded containers, separated by tissue paper.
Conclusion
Personalizing ornaments with photos doesn’t require compromising their condition. By choosing smart, reversible methods, you preserve both memory and material. Whether you're crafting for yourself or gifting to someone special, these techniques ensure your creations last for seasons to come—without a single scratch.
Start small: pick one ornament, one photo, and try a frame or insert method this weekend. You’ll gain confidence and create something truly meaningful. Share your results, experiment with designs, and keep the tradition of thoughtful decoration alive.


 浙公网安备
33010002000092号
浙公网安备
33010002000092号 浙B2-20120091-4
Comments
No comments yet. Why don't you start the discussion?