
Gaming is more than just pressing buttons and chasing high scores—it’s an immersive experience. The environment you play in shapes that experience as much as the game itself. A well-lit, thoughtfully illuminated space can transform a cluttered desk into a command center, turning passive play into active engagement. While high-end RGB ecosystems from premium brands grab headlines, most gamers don’t need expensive gear to achieve a personalized, dynamic look. Affordable LED lighting offers a powerful way to elevate your setup with minimal investment and maximum creative freedom.
From subtle under-monitor glows to synchronized backdrops that react to in-game action, LED strips and smart lights are accessible, easy to install, and highly customizable. With a little planning and creativity, you can design a lighting scheme that reflects your personality, enhances gameplay focus, and impresses anyone who sees your rig.
Why Lighting Matters in Your Gaming Environment
Lighting does more than make your desk look cool—it influences mood, reduces eye strain, and supports immersion. Poor or overly bright lighting causes glare on screens, leading to fatigue during long sessions. On the other hand, ambient backlighting behind monitors (often called bias lighting) has been shown to reduce visual stress by balancing contrast between bright screens and dark rooms.
According to Dr. Ian Griffiths, a vision scientist specializing in digital ergonomics, “A consistent ambient light level around a screen helps the eyes adjust more comfortably, especially in low-light environments. This reduces pupil strain and improves perceived image quality.”
“Even basic LED setups can significantly improve both comfort and aesthetic cohesion in a workspace,” says tech designer Maria Tran, known for her minimalist gaming builds.
Beyond functionality, lighting sets tone. Cool whites enhance concentration for strategy or productivity tasks. Warmer tones create a relaxing vibe for casual play. Dynamic colors—like slow red pulses during intense boss fights or blue waves during exploration—add emotional resonance to gameplay. These effects don’t require complex software; even entry-level addressable LEDs offer rich customization.
Choosing the Right Type of Affordable LED Lighting
Not all LED strips are created equal. Understanding the differences helps you choose what fits your budget and goals.
| Type | Voltage | Control Method | Average Cost (per meter) | Best For |
|---|---|---|---|---|
| Non-addressable (Analog) | 12V | Remote or app (solid color/chase modes) | $3–$6 | Simple ambient lighting, budget builds |
| Addressable (Digital, e.g., WS2812B) | 5V | App/software (individual pixel control) | $8–$15 | Custom patterns, sync with games/music |
| Smart Strip (Wi-Fi/Bluetooth) | 5V/12V | Phone app, voice assistants | $12–$20 | Integration with home automation |
| Pre-cut Kits (e.g., monitor halo) | 5V USB | USB-powered remote | $10–$25 (kit) | Beginners, plug-and-play setups |
For most users starting out, pre-cut kits or 5-meter reels of addressable LEDs provide the best value. Look for strips labeled “WS2812B” or “NeoPixel-compatible” if you plan to use software like WLED or Aurora. These allow granular control over each LED, enabling effects like rainbow waves, reactive audio visuals, or screen mirroring.
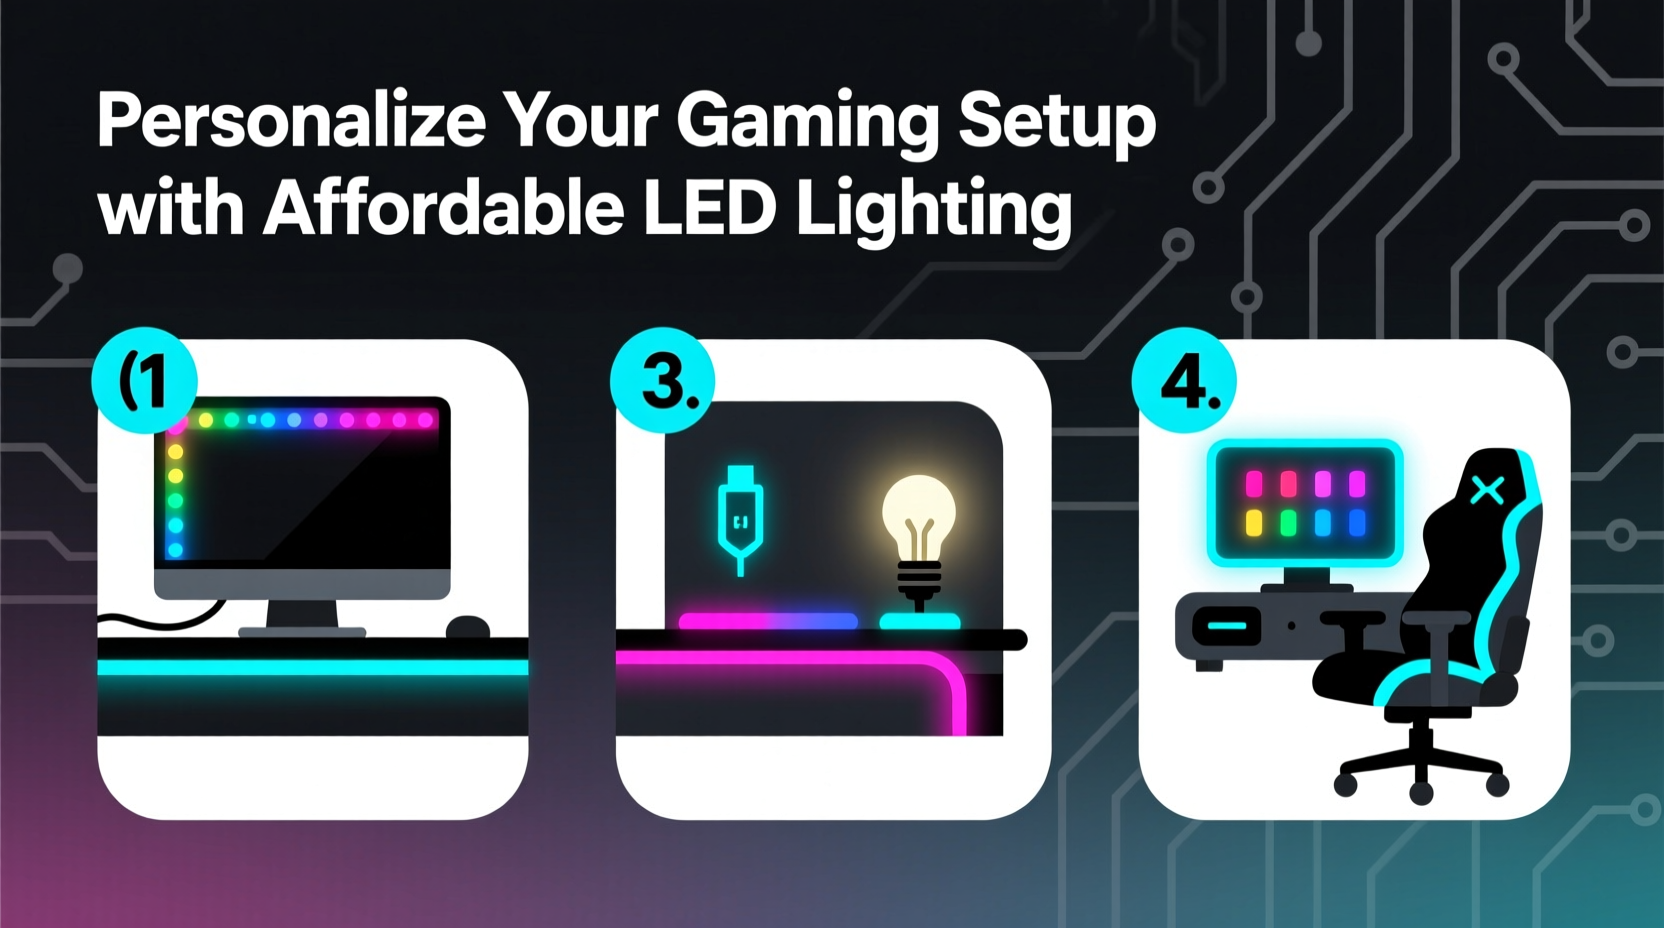
Step-by-Step: Building Your Custom LED Setup on a Budget
You don’t need advanced electronics knowledge to install LED lighting. Follow this timeline to go from unboxing to full illumination in under two hours.
- Plan Your Layout (15 minutes)
Sketch your desk layout on paper or use free tools like SketchUp Free. Identify key zones: behind the monitor, under the desk, along cable management trays, or behind the chair. Measure each section to determine how many meters of strip you’ll need. - Purchase Components (Online, same day)
Buy a 5-meter addressable strip (WS2812B), a 5V 10A power supply (if not using USB), a controller (like an ESP32 flashed with WLED), and double-sided tape. Total cost: $35–$50. - Prepare the Surface (10 minutes)
Clean areas where LEDs will be mounted with rubbing alcohol. Dust and oil prevent adhesive from sticking long-term. - Install the Strips (30 minutes)
Peel and stick the LED strip along planned paths. Avoid sharp bends—these can damage internal circuits. Use zip ties or silicone clips in high-movement areas. - Connect Power and Controller (20 minutes)
Link the data wire from the strip to the controller (usually GPIO pin 2 on ESP devices), then connect power. Double-check polarity—reversing + and - can fry the LEDs. - Configure Software (30 minutes)
Flash WLED firmware using a tool like WLED Flasher. Connect to the device’s Wi-Fi network, set up your home SSID, and calibrate the number of LEDs. Test effects via the web interface. - Integrate with Games (Optional, 20 minutes)
Use open-source tools like Aurora or Prismatik to mirror screen colors or trigger lighting based on in-game events (e.g., health drops = red flash).
This entire process costs less than a single AAA game title and delivers lasting visual impact. Once configured, switching themes takes seconds—go from cyberpunk neon to serene aurora with a few taps.
Real Example: Transforming a Dorm Room Rig
Jamal, a college student in Austin, Texas, wanted to upgrade his cramped dorm setup without violating housing rules or overspending. His desk sat against a cinderblock wall, making traditional décor impossible. He spent $42 on a 5-meter addressable strip, a small power adapter, and an ESP8266 board.
He installed the strip in an L-shape behind his monitor and along the underside of his floating shelf. Using WLED, he programmed a soft blue gradient that activated at sunset and shifted to reactive red pulses during FPS matches. He linked it to his Discord status so the lights turned green when online, red when busy.
The result? A personal zone that felt distinct from the institutional surroundings. His roommate noticed fewer late-night headaches, attributing it to the reduced screen contrast. Jamal later added a motion sensor so lights gently brightened when he approached the desk at night.
His total investment: under $50. The psychological boost and improved focus were immeasurable.
Do’s and Don’ts of DIY Gaming LEDs
Mistakes are common when diving into lighting mods. Avoid these pitfalls to ensure safety and longevity.
| Do’s | Don’ts |
|---|---|
| Use proper power injection for long runs (>3m) | Chain multiple long strips without additional power |
| Label wires during installation | Leave loose connections exposed |
| Start with simple static colors before complex effects | Overload outlets with multiple high-draw devices |
| Update firmware regularly for security and features | Ignore heat buildup near enclosed controllers |
| Test brightness levels before final mounting | Mount LEDs where they’ll be frequently touched or bent |
Maximizing Impact with Minimal Hardware
You don’t need dozens of components to create depth. Strategic placement creates illusion. Try these proven layouts:
- Monitor Halo: Run a strip around the back edge of your display. When lit, it appears as if the screen floats on a glowing frame.
- Desk Underglow: Mount strips beneath the front lip of your desk. Creates a futuristic \"hovering\" effect and softly illuminates the floor.
- Wall Wash: Angle LEDs upward behind your chair to scatter light across the wall. Diffuses color beautifully and expands perceived space.
- Cable Management Accent: Wrap a short segment around a velcro tie bundle. Turns functional organization into a design feature.
Pair these with masking techniques—use black electrical tape to cover the bright sides of LEDs, directing light only where intended. This increases perceived brightness and reduces visual noise.
Frequently Asked Questions
Can I run LED strips off my PC’s USB port?
Short runs (under 60 LEDs) can safely draw power from a USB 3.0 port (5V/900mA). Longer or denser strips require an external power supply to avoid damaging motherboard headers.
Are cheaper LED strips safe?
Most budget strips from reputable sellers (look for UL/CE certification) are safe when used correctly. Avoid cutting non-cuttable sections and never leave unattended on flammable surfaces.
How do I sync lights with music or games?
Free software like WLED supports audio reactivity via microphone input. For game integration, tools like OpenRGB or Aurora support thousands of titles, syncing lighting to in-game actions such as explosions, health loss, or victory conditions.
Checklist: Your First LED Upgrade in 7 Steps
- Measure your desk and target lighting zones.
- Select between analog or addressable strips based on desired effects.
- Purchase strip, controller, power supply, and mounting accessories.
- Clean surfaces thoroughly before applying adhesive.
- Install strips, avoiding tight bends or tension points.
- Wire controller and test all connections before finalizing.
- Configure software settings and save your favorite profiles.
Once complete, experiment. Try setting sunrise alarms with warm-up lighting or link your stream alerts to flash effects. The system evolves with your needs.
Conclusion: Light Up Your Game, Not Your Wallet
Personalization doesn’t require luxury. With under $50 and a few hours, you can transform your gaming space into a responsive, expressive environment that enhances every session. Whether you're chasing esports dreams or unwinding after work, the right lighting makes the experience feel uniquely yours. The tools are accessible, the results are dramatic, and the satisfaction of building it yourself lasts longer than any pre-built kit ever could.


 浙公网安备
33010002000092号
浙公网安备
33010002000092号 浙B2-20120091-4
Comments
No comments yet. Why don't you start the discussion?