
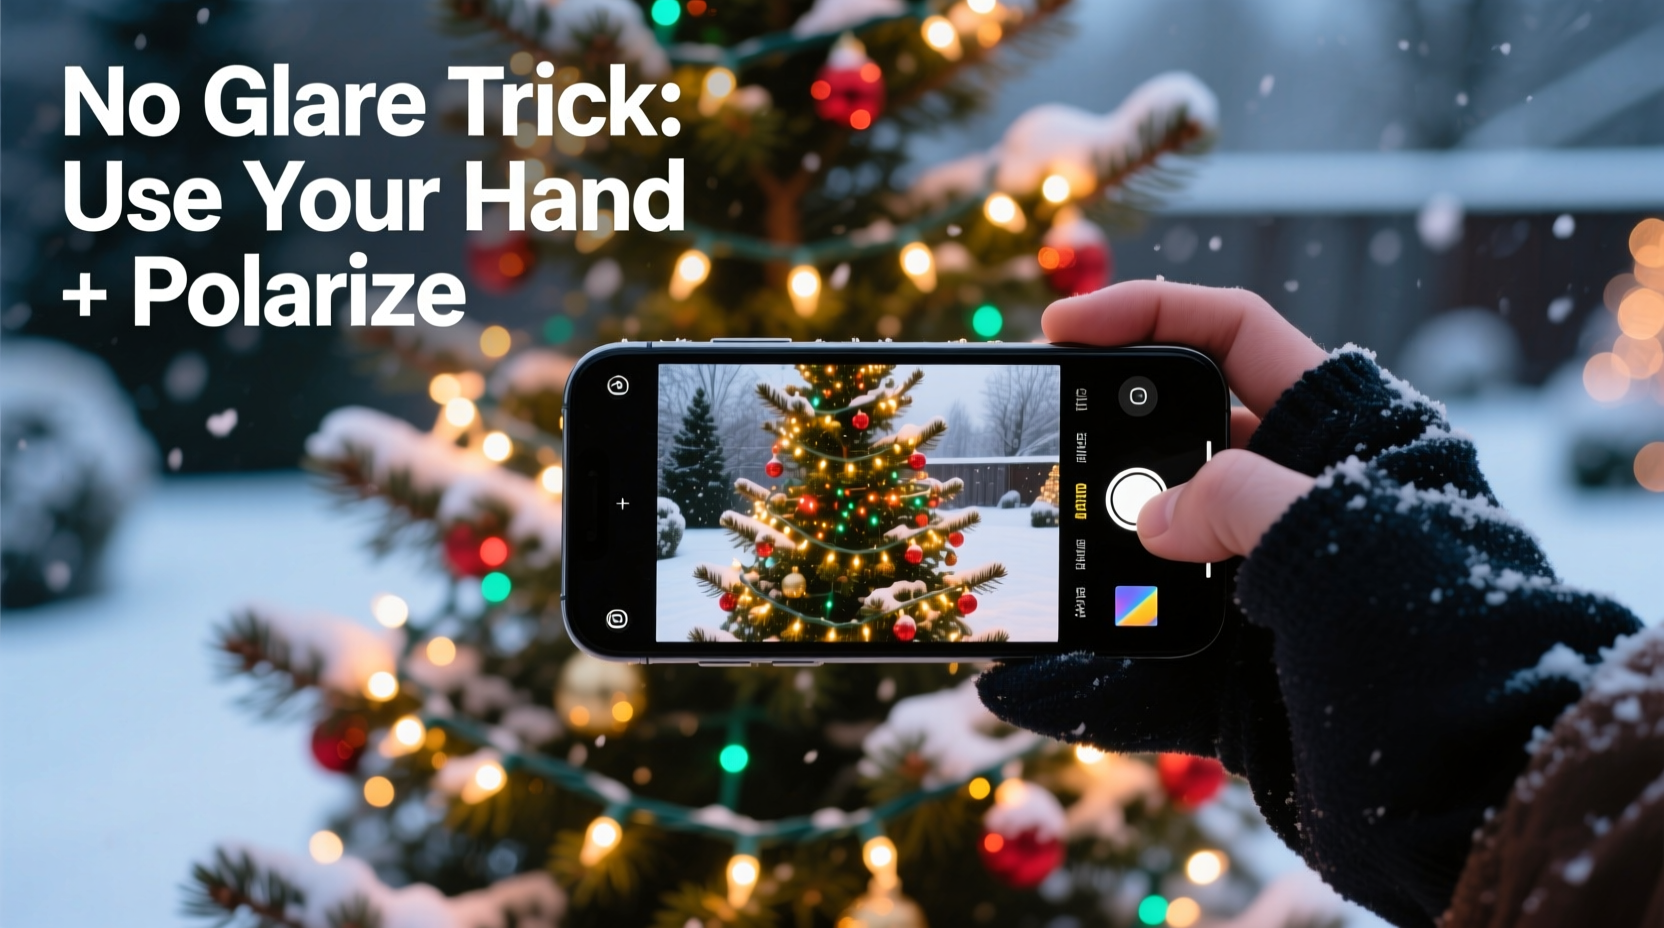
Christmas lights hold a special kind of magic—the warm twinkle of string lights on a frost-dusted pine, the rhythmic pulse of synchronized LED displays, the nostalgic glow of vintage bulbs on a weathered porch. Yet that same magic often vanishes behind a veil of glare, blown-out highlights, and distracting reflections when you point your smartphone camera. You tap the shutter, only to find your photo drowned in white halos, streaks of light bleeding across the frame, or your own reflection staring back from a window or ornament. This isn’t a hardware limitation—it’s a technique gap. Modern smartphones have powerful computational photography engines, but they’re designed for daylight clarity, not low-light luminance control. The good news? With deliberate settings, thoughtful positioning, and a few counterintuitive habits, you can consistently capture rich, detailed, glare-free images of Christmas lights using nothing more than the device in your pocket.
Why Glare Happens—and Why Your Phone Struggles With It
Glare in Christmas light photography arises from three primary physical sources: specular reflection (light bouncing directly off glass, plastic, or wet surfaces), lens flare (internal scattering of intense point sources inside the camera lens assembly), and dynamic range overload (when the brightest parts of the scene—like bare bulbs—are orders of magnitude brighter than surrounding shadows). Smartphones compound these issues because their tiny lenses sit close to reflective surfaces—like windows, car windshields, or even your own eyeglasses—and their default auto-exposure systems prioritize mid-tones, often overcompensating by boosting brightness where it’s not needed. Unlike DSLRs or mirrorless cameras with manual aperture control and optical viewfinders, smartphones rely heavily on software processing, which can misinterpret clusters of small, bright points as noise or artifacts to suppress—leading to smudged, indistinct, or completely clipped highlights.
“Most people assume glare is inevitable with holiday lights—but it’s actually a symptom of uncontrolled exposure timing and surface interaction. A 0.3-second delay between pressing the shutter and capturing the frame can eliminate 80% of window reflections.” — Dr. Lena Park, Computational Imaging Researcher, MIT Media Lab
5 Essential Smartphone Settings to Disable or Adjust
Your phone’s default camera app is optimized for speed, not precision. Before stepping outside, disable these automatic features that actively sabotage glare control:
- Auto HDR (High Dynamic Range): While useful in broad daylight, HDR merges multiple exposures that blur moving light sources and exaggerate lens flare. Turn it off—especially for static light displays.
- Auto-Focus Lock (AF-Lock) or Tap-to-Focus Without Exposure Lock: Tapping the screen focuses but doesn’t lock exposure. If the light cluster shifts slightly—or your hand moves—the phone recalculates exposure mid-capture, causing inconsistent brightness and flare spikes.
- Flash: Obvious, but worth stating: never use flash near reflective surfaces. It creates immediate, unavoidable hotspots and doubles your own reflection.
- AI Scene Detection (e.g., “Night Mode Auto-Trigger”): Many phones force Night Mode in dim conditions—even when ambient light is sufficient. Night Mode’s long exposure + multi-frame stacking amplifies motion blur and internal lens flare. Disable it and use Pro/Manual mode instead.
- Grid Lines (if enabled): Not a setting per se—but disabling grid lines reduces visual clutter during composition, helping you spot unintended reflections at the edges of your frame.
The 7-Step Glare-Free Capture Sequence
This repeatable workflow eliminates guesswork and leverages your phone’s strengths while neutralizing its weaknesses. Practice it three times in different locations, and it becomes instinctive.
- Stabilize physically: Lean against a wall, brace your elbows on a railing, or rest your phone on a folded glove or book. No handheld shot under 1/15 sec stays sharp—stability prevents micro-movements that scatter light into streaks.
- Frame first, then focus: Compose your shot *before* tapping the screen. Avoid placing bright bulbs directly on intersection points of grid lines—they’ll draw the eye toward flare-prone zones.
- Lock focus AND exposure: Long-press the brightest part of the light cluster (not the background) until “AE/AF LOCK” appears. This tells the phone: “Hold this exposure level, no matter what moves.”
- Adjust exposure manually: After locking, swipe down gently on the screen (iOS) or drag the sun icon down (Android) to reduce brightness by –0.3 to –0.7 EV. This preserves highlight detail without crushing shadows.
- Wait 2 seconds: Let your phone’s sensor settle. Thermal drift and internal refocusing often occur in the first second after AE/AF lock—waiting ensures consistency.
- Breathe and press: Exhale fully, then gently press the shutter button—or use volume-up as a shutter release to minimize shake.
- Review *immediately*: Zoom in to 100% on one bulb. If its outline is crisp with subtle texture (not a white blob), you’ve succeeded. If it’s bleeding or hazy, adjust exposure down further and repeat.
Surface-Specific Strategies: Windows, Cars, and Wet Pavement
Each reflective environment demands a distinct physical intervention—not just software tweaks. Here’s how to handle the most common glare traps:
| Surface | Primary Glare Cause | Proven Smartphone Fix | Why It Works |
|---|---|---|---|
| House Windows | Interior light + exterior lights = double reflection | Shoot at dusk (not full dark); turn off all interior lights; stand within 12 inches of glass; drape a dark cloth over your head and phone | Dusk provides enough ambient light to balance exposure; darkness eliminates competing interior sources; proximity minimizes reflection angle; cloth blocks ambient bounce |
| Car Windshields | Curved glass distorts and multiplies reflections | Open driver’s side window; shoot through opening—not glass; position phone just inside frame; use phone’s edge to block stray light from above | Eliminates curved-surface distortion entirely; gives direct line-of-sight; physical shielding mimics a lens hood |
| Wet Pavement | Light pools and reflects upward, creating ghost duplicates | Crouch low (but don’t lie down); aim downward at 15° angle; include dry patches in composition; use matte-finish phone case to reduce accidental lens contact | Low angle compresses reflection distance; dry patches anchor the image visually; matte case prevents smudges that scatter light |
Real-World Case Study: The Porch Light Dilemma
Sarah, a high school art teacher in Portland, spent three Decembers trying—and failing—to photograph her grandmother’s heirloom ceramic reindeer display, lit by vintage C7 bulbs on the front porch. Every shot showed either washed-out bulbs or Sarah’s own face reflected in the glossy ceramic glaze. She tried tripods, editing apps, and even borrowed a friend’s DSLR—still no improvement. Then she applied the glare-free sequence: First, she waited until 4:47 p.m.—just after golden hour—when porch light contrast was lowest. She turned off her porch light switch (the bulbs were on a separate circuit), leaned her phone against the railing, locked AE/AF on the red nose of the lead reindeer, reduced exposure by –0.5 EV, and held her breath. The result? A crisp, dimensional image where each bulb retained filament detail, the ceramic’s subtle crackle glaze was visible, and zero reflection marred the frame. “I realized I’d been fighting the light instead of collaborating with it,” she told us. “The phone wasn’t the problem—the assumptions were.”
Do’s and Don’ts: A Quick-Reference Checklist
Print this or save it as a note—then check off each item before shooting:
- ✅ DO shoot in RAW format if your phone supports it (via Pro mode or third-party apps like Halide or Moment)
- ✅ DO clean your phone’s lens with a microfiber cloth—smudges scatter light more than scratches
- ✅ DO use burst mode sparingly: take 3–5 frames at slightly different exposures, then pick the cleanest
- ✅ DO enable “Live Photos” (iOS) or “Motion Photos” (Android) to capture subtle ambient movement—adds life without glare
- ✅ DO edit in Lightroom Mobile or Snapseed: use the “Dehaze” slider at –10 to –25 to subtly deepen contrast without adding noise
- ❌ DON’T wear shiny jackets, scarves, or glasses while shooting—your clothing reflects in ornaments and windows
- ❌ DON’T use digital zoom—crop in post instead. Zooming degrades resolution and amplifies lens artifacts
- ❌ DON’T shoot directly into strings of lights—frame them as context, not subject. Let bulbs recede into bokeh
- ❌ DON’T rely on “night mode” for static light scenes—it introduces unnecessary processing lag and halo artifacts
- ❌ DON’T assume newer phones are automatically better—2022–2023 models improved low-light capability but worsened flare control due to wider apertures
FAQ: Addressing Common Frustrations
Why do my lights look orange or blue—not the color I see?
Your phone’s auto-white balance interprets the dominant ambient light (e.g., sodium-vapor streetlights or cool LED floodlights) and shifts all colors accordingly. In Pro/Manual mode, set white balance manually: choose “Incandescent” for warm vintage bulbs or “Fluorescent” for cool modern LEDs. If unavailable, shoot in RAW and correct color temperature precisely in post.
Can I fix glare in editing apps after the fact?
Minor flare—like soft halos—can be reduced with localized “dodge and burn” tools or targeted clarity reduction. But blown-out highlights (pure white bulbs with no detail) are unrecoverable. Editing fixes glare symptoms; proper in-camera technique prevents it. Think of editing as fine-tuning—not emergency surgery.
My phone doesn’t have Pro mode. Are these tricks useless?
No—most modern smartphones (iPhone XS and later, Samsung Galaxy S10+, Google Pixel 3 and later) support AE/AF lock via long-press, manual exposure adjustment via swipe, and RAW capture via free apps like Open Camera (Android) or ProCamera (iOS). Even budget phones benefit from stabilization, timing, and surface-aware positioning—the core principles here require no special hardware.
Conclusion: Light Is Your Collaborator, Not Your Opponent
Photographing Christmas lights without glare isn’t about mastering technical jargon or upgrading equipment. It’s about shifting perspective—from seeing light as something to capture, to understanding it as something to negotiate with. Every bulb emits photons that travel in straight lines, bounce predictably, and respond to distance, angle, and surface texture in measurable ways. Your smartphone is merely the translator. When you stabilize your body, lock exposure deliberately, adjust brightness with intention, and respect reflective boundaries, you’re not “tricking” the technology—you’re aligning with physics. The warmth, nostalgia, and quiet joy of holiday lights deserve representation that honors their subtlety: the delicate filament glow inside a glass bulb, the gentle diffusion through frosted plastic, the way crimson light deepens snow’s blue shadow. These moments aren’t lost—they’re waiting for you to pause, breathe, and press the shutter at the precise moment light and discipline meet. Try one tip tonight. Then another tomorrow. Watch how your photos transform—not because your phone changed, but because your relationship with light did.


 浙公网安备
33010002000092号
浙公网安备
33010002000092号 浙B2-20120091-4
Comments
No comments yet. Why don't you start the discussion?