
Lipstick has the power to transform a look—from subtle elegance to bold confidence. But no matter how beautiful the shade, its impact is diminished if it settles into cracks, feathers beyond the lip line, or applies unevenly. The secret to flawless lipstick isn’t just in the product—it’s in the preparation. Just as you wouldn’t paint a wall without patching and priming, applying color to dry, flaky lips leads to subpar results. Proper lip prep ensures longevity, comfort, and a polished finish. With the right routine, even matte formulas can feel lightweight and look airbrushed.
Why Lip Prep Matters More Than You Think
The skin on your lips is thinner and more delicate than the rest of your face. It lacks oil glands, meaning it doesn’t produce sebum to keep itself naturally moisturized. This makes lips especially prone to dryness, chapping, and environmental damage. Without proper care, dead skin cells accumulate, creating an uneven surface that disrupts pigment adherence.
Skipping prep often leads to common frustrations: feathering, cracking, patchiness, and premature fading. These issues aren’t always due to poor-quality lipstick—they’re usually the result of inadequate foundation work. A well-prepped lip acts like a smooth canvas, allowing color to lay down evenly and last longer. Dermatologists and makeup artists agree: skincare comes first, even when it comes to lips.
“Great makeup starts with great skin. When clients come in with dry or peeling lips, we never reach for lipstick first—we fix the surface.” — Lila Monroe, Celebrity Makeup Artist
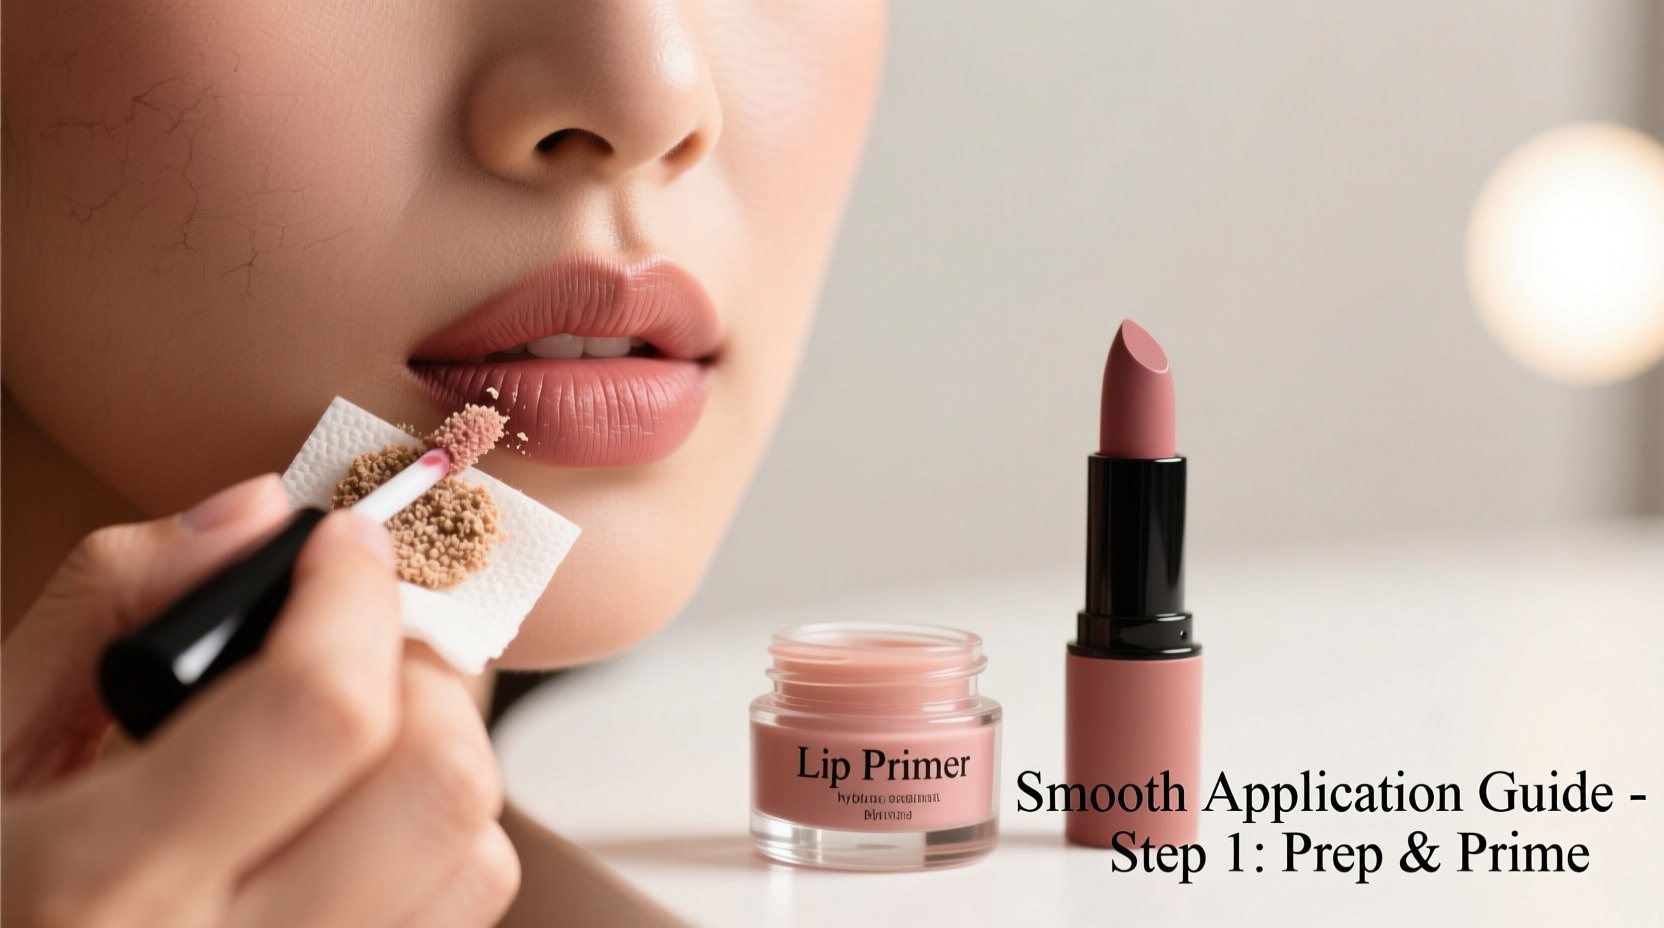
Step-by-Step Guide to Prepping Lips for Flawless Application
Creating a smooth base for lipstick involves a simple but intentional sequence. Follow this timeline for best results—ideally 10–15 minutes before applying color, or as part of your nightly routine for ongoing health.
- Remove old product: Use a gentle micellar water-soaked cotton pad or cleansing balm to wipe away any residual lipstick or gloss. This prevents mixing old and new layers, which can cause pilling.
- Exfoliate gently: Apply a lip scrub or use a soft toothbrush in circular motions for 30 seconds to lift dead skin. Focus on the center and edges where flakes tend to gather.
- Rinse and pat dry: If using a wet scrub, rinse with lukewarm water. Otherwise, wipe off residue with a damp cloth. Never rub vigorously—pat dry to avoid irritation.
- Hydrate deeply: Apply a nourishing lip balm rich in emollients like shea butter, squalane, or ceramides. Allow it to absorb for 5–10 minutes so the formula sinks in rather than sitting on top.
- Blot excess: Before applying color, lightly blot with a tissue to remove any greasy residue. Too much moisture can prevent lipstick from adhering properly.
- Prime (optional): For long-wear or matte finishes, use a lip primer to create a neutral, slightly tacky base that locks in pigment and evens out natural discoloration.
- Line and fill: Define the shape with a lip liner that matches your natural lip tone or chosen lipstick. Lightly fill in the entire lip to create a uniform base for color.
Choosing the Right Products for Each Step
Not all lip products are created equal. Some can do more harm than good, especially if they contain irritants or overly fragranced ingredients. Here’s what to look for—and what to avoid—at each stage of prep.
| Step | Recommended Ingredients | Avoid |
|---|---|---|
| Exfoliation | Fine sugar, jojoba beads, honey, oat flour | Large salt crystals, synthetic microbeads, alcohol-based scrubs |
| Moisturizing | Shea butter, hyaluronic acid, squalane, vitamin E | Menthol, camphor, artificial fragrances, lanolin (if allergic) |
| Priming | Silica, dimethicone, niacinamide, light-reflecting particles | Heavy oils, sticky polymers that pill under color |
| Lip Liner | Creamy waxes, blendable pigments, smudge-proof formulas | Dry, waxy liners that tug or skip |
For sensitive lips, consider fragrance-free options labeled “dermatologist-tested” or “non-comedogenic.” Even natural ingredients like essential oils can trigger reactions on thin lip skin.
Common Mistakes That Sabotage Lip Longevity
Even with good intentions, small missteps can undermine your efforts. Recognizing these habits helps refine your technique.
- Applying lipstick immediately after balm: While tempting, slathering on color right after moisturizer traps too much oil, causing slip and uneven wear.
- Over-exfoliating: Daily scrubbing strips natural protection and leads to redness or raw patches.
- Ignoring lip liner: Skipping liner increases feathering and shortens wear time, especially with bold or dark shades.
- Using expired products: Lip balms and primers degrade over time. Discard after 12 months, or sooner if texture changes.
- Biting or peeling flakes: This damages live tissue and can lead to bleeding or infection.
Real Example: Transforming Dry Lips for a Wedding Day Look
Marina, a bride preparing for her outdoor summer ceremony, struggled with chronically dry lips. She loved deep berry lipsticks but found they cracked within hours, especially under photos. Two weeks before the wedding, her makeup artist advised a strict pre-wedding regimen.
Each night, Marina applied a thick layer of reparative lip mask containing peptides and ceramides. Every morning, she gently massaged her lips with a soft brush for 15 seconds, then followed with a non-irritating balm. On the wedding day, her artist began with a honey-sugar scrub, then layered a hydrating serum before sealing with a silicone-based primer. The final application—a blue-based plum matte lipstick—lasted through vows, dinner, and dancing without touch-ups.
“I was shocked,” Marina said. “My lips felt soft all day, and the color stayed sharp. I didn’t realize how much difference prep could make.”
Essential Checklist for Perfect Lip Prep
Use this checklist every time you plan to wear lipstick, especially long-wear or matte formulas:
- ✅ Remove any leftover product with a gentle cleanser
- ✅ Exfoliate using a fine-grain scrub or soft brush
- ✅ Rinse or wipe off exfoliant residue
- ✅ Apply a nourishing lip balm and wait 5–10 minutes
- ✅ Blot gently with a tissue to remove excess oil
- ✅ Prime if wearing matte or transfer-proof lipstick
- ✅ Line lips precisely and fill in completely
- ✅ Apply lipstick with a brush for maximum control
This routine takes less than ten minutes but dramatically improves both appearance and comfort. For best results, repeat the exfoliation and hydration steps nightly to maintain healthy lip texture over time.
Frequently Asked Questions
Can I use a facial scrub on my lips?
It’s not recommended. Facial scrubs often contain larger, harsher granules designed for thicker skin. These can cause micro-tears on delicate lip tissue. Always opt for a product specifically formulated for lips, or make a DIY version using sugar and honey.
How long should I wait after balm before applying lipstick?
Wait at least 5 minutes to allow the balm to fully absorb. Then, lightly blot with a tissue. This leaves hydration locked in while removing surface grease that could interfere with adhesion.
Do I need a lip primer if my balm works well?
Primer isn’t mandatory, but it enhances performance—especially for long-wear or highly pigmented formulas. It fills fine lines, neutralizes discoloration, and creates a grip for color. If you’re wearing sheer gloss or tinted balm, primer may be unnecessary. For full-coverage looks, it’s worth the extra step.
Expert Insight: What Top Artists Do Differently
Professional makeup artists don’t rely on quick fixes. Their approach is preventive and consistent. Many incorporate treatments beyond daily prep to maintain lip health.
“We treat lips like any other part of the face. I recommend my clients use a weekly lip mask, avoid licking their lips, and always apply SPF during the day. Prevention is faster than correction.” — Diego Reyes, Editorial Makeup Director
Reyes also emphasizes the importance of tools: “A clean fingertip or small concealer brush is perfect for pressing balm into the lips without over-applying. And never underestimate the power of a chilled spoon to depuff and smooth before color.”
Final Thoughts: Make Lip Prep a Non-Negotiable Habit
Flawless lipstick application isn’t magic—it’s method. The difference between patchy, uncomfortable color and a seamless, lasting finish lies in the moments before the tube even touches your lips. By treating your lips with the same care as your face, you build a strong foundation for beauty that lasts.
Start tonight: exfoliate gently, apply a nourishing balm, and let it sink in. Repeat this simple ritual a few times a week, and within days, you’ll notice softer texture and better color payoff. When it’s time to wear lipstick, take those extra five minutes to prime and define. Your lips will look smoother, feel healthier, and hold color longer.


 浙公网安备
33010002000092号
浙公网安备
33010002000092号 浙B2-20120091-4
Comments
No comments yet. Why don't you start the discussion?