
Creating a professionally printed booklet is more than just assembling pages—it’s about precision, design consistency, and understanding the mechanics of print layout. Whether you're producing a company report, event program, product catalog, or training manual, a well-executed booklet reflects credibility and attention to detail. Many people assume that printing a booklet simply involves shrinking pages and hitting “print,” but without proper setup, the final product can be misaligned, awkwardly folded, or difficult to read. This guide walks through every critical stage—from planning and formatting to printing and finishing—to ensure your booklet looks polished and functions as intended.
1. Plan Your Booklet Structure and Content Flow
Before touching any software, define the purpose and audience of your booklet. Is it informational, promotional, or instructional? Knowing this shapes tone, design, and structure. A typical booklet follows a logical flow: cover, title page, table of contents, main content, and back cover. Keep in mind that booklets are usually printed on both sides of multiple sheets, folded in half, and stapled or bound along the fold (saddle stitch). This means your total page count must be divisible by four. For example, 8, 12, 16, or 20 pages work; 10 or 14 do not.
Begin by outlining your content into sections. Use headings and subheadings to create visual hierarchy. If including images, charts, or diagrams, note their placement early to avoid last-minute layout issues. Always leave margins—especially near the spine—of at least 0.5 inches to prevent text from disappearing into the fold.
2. Design with Print Layout in Mind
Designing for print differs significantly from screen-based formats. Start with the correct document settings. In Adobe InDesign, Microsoft Word, or Canva, set your page size to the final trimmed size (e.g., 8.5 x 5.5 inches for a standard half-letter booklet). Set orientation to portrait unless your content demands landscape. Most importantly, enable “facing pages” and choose “multiple pages per sheet” when preparing for imposition—the arrangement of pages so they appear in the correct order after folding.
Fonts should be legible and consistent. Stick to one or two typefaces: a serif for body text (like Georgia) and a sans-serif for headings (like Arial or Helvetica). Avoid overly decorative fonts in large blocks. Maintain adequate line spacing (1.2 to 1.4) and use justified or left-aligned text—avoid center alignment for long paragraphs.
Images must be high resolution—300 DPI minimum—for clarity in print. Low-resolution graphics will appear pixelated. Save all images in CMYK color mode, not RGB, to match commercial printing standards. If you’re designing in RGB, convert before exporting to PDF.
“Proper imposition and color management separate amateur prints from professional-grade booklets.” — Marcus Lin, Senior Print Production Manager at Apex Press & Bindery
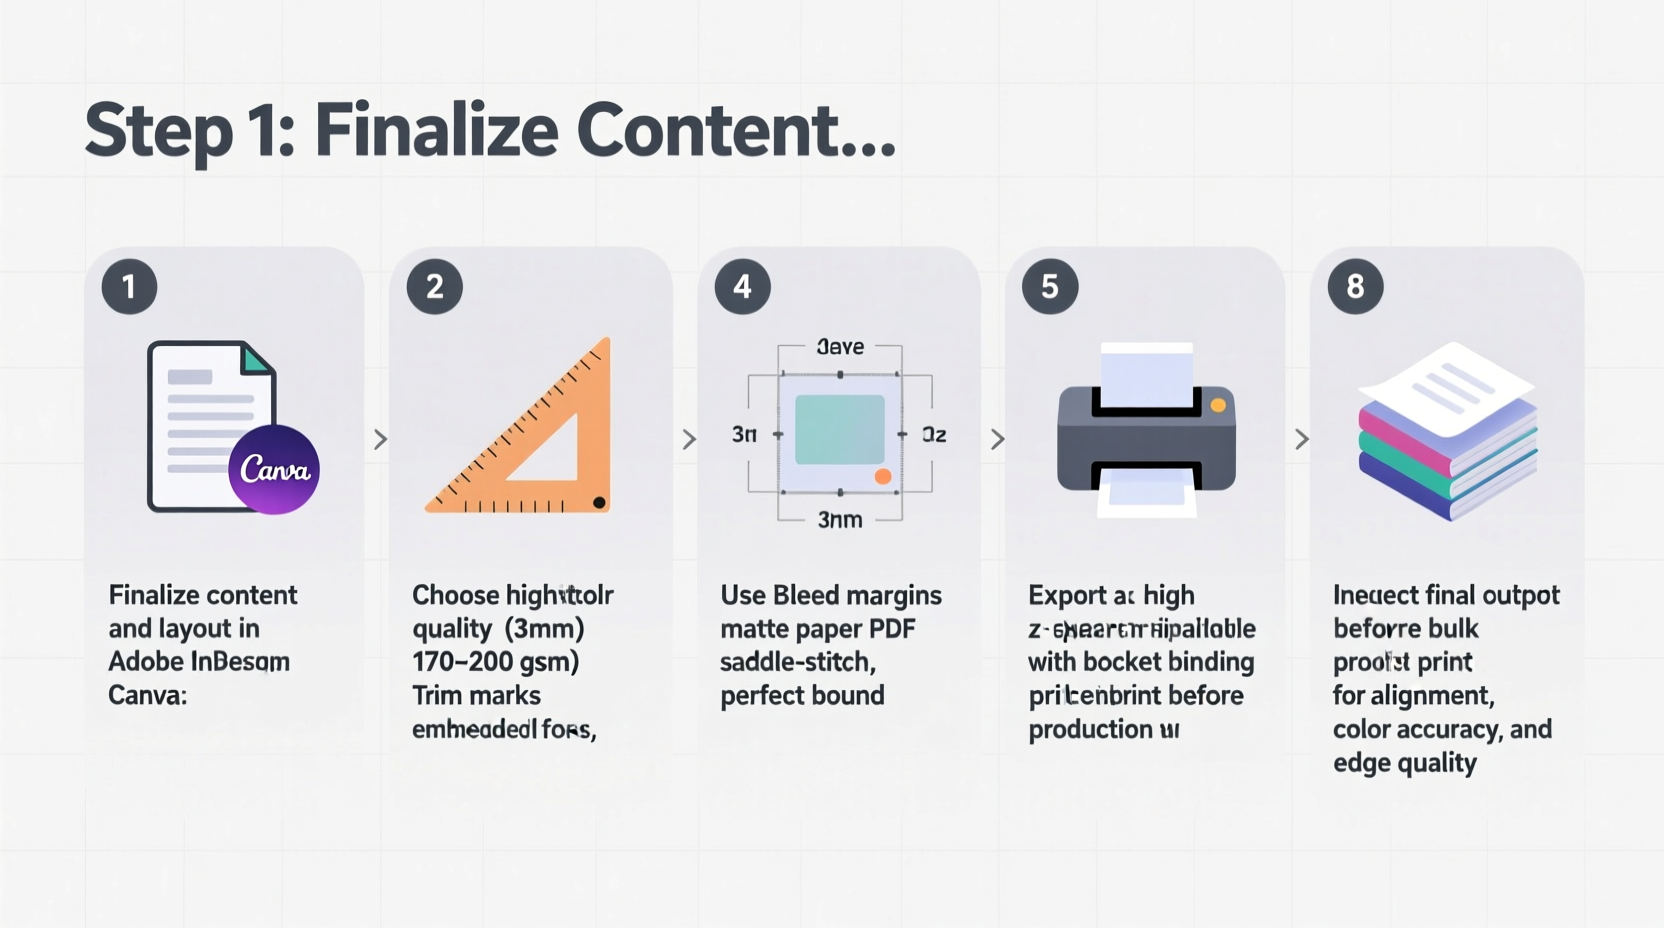
3. Prepare Files for Printing: The Step-by-Step Process
Once your design is complete, it's time to prepare the file for printing. Follow this sequence carefully:
- Check page count: Ensure it’s divisible by four. Add blank pages if necessary.
- Arrange pages correctly: For saddle-stitched booklets, pages are imposed so that when folded, they read sequentially. For an 8-page booklet, the layout on a single sheet (front and back) would be: Front – Pages 8 & 1; Back – Pages 2 & 7. Repeat for additional sheets.
- Export as PDF/X-1a: This industry-standard format preserves fonts, images, and colors accurately. In your design software, select “High Quality Print” or “Press Quality” preset.
- Include bleed and crop marks: Add 0.125 inches of bleed around all edges. Crop marks help the printer trim precisely.
- Embed all fonts: Prevents substitution errors during printing.
- Review the PDF: Open it separately and check for alignment, image quality, and spelling.
4. Choose the Right Printing Method and Finishing Options
Not all printers handle booklet production the same way. For small runs (under 50 copies), digital printing is cost-effective and fast. For larger quantities (100+), offset printing offers better color consistency and lower per-unit cost. Confirm with your print provider whether they offer in-house booklet assembly—including folding, collating, and saddle stitching.
Paper choice affects both look and feel. Common options include:
| Paper Type | Best For | Weight (GSM) | Notes |
|---|---|---|---|
| Matte Coated | Reports, catalogs | 100–130 | Reduces glare, professional appearance |
| Gloss Coated | Brochures, photo booklets | 115–150 | Vibrant colors, fingerprint-prone |
| Uncoated Offset | Text-heavy documents | 90–120 | Easier to write on, softer finish |
| Cardstock (Cover) | Front/back covers | 200–300 | Durable, resists wear |
Finishing touches enhance professionalism. Saddle stitching (staples along the spine) works for up to 64 pages. For thicker booklets, consider perfect binding (glued spine), which allows the booklet to lie flat when open. Lamination adds durability and water resistance, especially useful for outdoor events or field manuals.
Real Example: Conference Program Booklet
A marketing agency was tasked with producing a 28-page conference booklet for 300 attendees. They designed the layout in InDesign using 11pt Georgia for body text and Montserrat for headers. After ensuring the page count was divisible by four, they exported a PDF/X-1a with 0.125-inch bleed and crop marks. They chose 120gsm matte interior paper and 250gsm cardstock covers. The printer used digital press with inline saddle stitching, delivering bound booklets in two days. Attendees praised the clean layout and sturdy build, reinforcing the event’s professional image.
5. Checklist: Final Pre-Print Review
Before submitting your file, run through this essential checklist to avoid costly reprints:
- ✅ Page count is divisible by four
- ✅ Correct imposition for saddle stitch (or chosen binding)
- ✅ All images are 300 DPI and in CMYK
- ✅ Fonts are embedded or outlined
- ✅ Bleed (0.125”) and crop marks included
- ✅ Margins are safe (especially inner margin near spine)
- ✅ No critical text or elements within 0.25” of edge
- ✅ Proofread for typos and layout errors
- ✅ Contact info and branding are consistent
- ✅ Print provider has confirmed file specifications
Frequently Asked Questions
Can I print a booklet at home?
You can print a basic booklet at home using double-sided printing and manual folding, but alignment and finish won’t match professional results. Home printers often lack precise duplex registration, leading to skewed pages. Best for drafts or personal use only.
What’s the difference between saddle stitch and perfect binding?
Saddle stitch uses staples along the folded spine and suits thinner booklets (up to 64 pages). Perfect binding glues the spine and allows the booklet to open flat—ideal for 48+ pages. It also gives a more premium, book-like appearance.
Why does my printed booklet have uneven margins?
This is typically due to incorrect imposition or insufficient inner margin (gutter). When folded, the center pages shift slightly inward. Always allow extra space (0.375”–0.5”) on the inner edge to compensate.
Final Steps and Moving Forward
Printing a professional booklet requires attention to detail at every phase—planning, design, file preparation, and production. Rushing any step risks compromising quality. By following structured workflows and verifying technical requirements, you ensure your message is delivered clearly and your brand is represented with integrity. Whether distributing internally or handing out at an event, a well-made booklet leaves a lasting impression.


 浙公网安备
33010002000092号
浙公网安备
33010002000092号 浙B2-20120091-4
Comments
No comments yet. Why don't you start the discussion?