
Every December, thousands of homeowners move beyond pre-programmed light controllers and build bespoke holiday displays—animated snowflakes, synchronized carols, or pulsing gradients that respond to ambient sound. At the heart of many of these installations is a humble Raspberry Pi: low-cost, energy-efficient, and programmable with remarkable precision. Unlike commercial controllers limited to canned effects, the Pi offers full creative control—provided you understand how to bridge software logic with physical electrical signals safely and reliably. This article walks through the entire process—not as a theoretical exercise, but as a field-tested workflow used by hobbyists and small-scale display builders across North America and Europe. We cover hardware selection, GPIO safety, Python-based pattern generation, timing optimization, and real-world troubleshooting—all grounded in electrical best practices and documented project outcomes.
Hardware Essentials: Choosing Safe, Scalable Components
Before writing a single line of code, selecting the right hardware prevents damage to your Pi—and avoids fire hazards. The Raspberry Pi’s GPIO pins output only 3.3 V and can supply roughly 16 mA per pin (with a total board limit of ~50 mA). Driving even a single standard 12 V LED strip directly would destroy the Pi instantly. Instead, you need opto-isolated relay modules or MOSFET-based level shifters to separate the Pi’s logic domain from the higher-power lighting circuit.
For most residential displays, we recommend this tiered approach:
- Low-voltage strips (5 V or 12 V): Use logic-level N-channel MOSFETs (e.g., IRLB8721) controlled via GPIO. Each MOSFET switches one channel—ideal for RGB strips where red, green, and blue are driven separately.
- AC mains-powered lights (120 V / 230 V): Use solid-state relays (SSRs) with optical isolation—never mechanical relays without flyback diodes. SSRs like the Crydom D1D40 provide zero-crossing switching, reducing EMI and extending bulb life.
- Addressable LEDs (WS2812B, SK6812): These communicate over a single data wire using precise timing. Use a level shifter (e.g., 74AHCT125) between the Pi’s 3.3 V GPIO and the 5 V data input—even though many strips tolerate direct connection, voltage mismatch causes intermittent failures at scale.
Setting Up the Software Environment
Start with Raspberry Pi OS Lite (64-bit), installed via Raspberry Pi Imager with SSH enabled and a headless configuration. Avoid desktop editions—they introduce background processes that interfere with real-time timing. Then run these commands:
sudo apt update && sudo apt full-upgrade -ysudo apt install python3-pip python3-venv git libatlas-base-dev -ypython3 -m venv ~/lights-env && source ~/lights-env/bin/activatepip install rpi-ws281x adafruit-circuitpython-neopixel gpiozero pigpio
The rpi-ws281x library is essential—it bypasses Linux kernel scheduling to achieve the sub-microsecond timing required by WS2812B pixels. Standard Python time.sleep() calls are too imprecise; this library uses DMA (Direct Memory Access) to stream pixel data without CPU intervention. For non-addressable strips (e.g., 12 V RGB), use gpiozero with PWM-capable pins (GPIO 12, 13, 18, or 19) to fade channels smoothly.
Writing Patterns: From Static Glow to Dynamic Sequences
A “pattern” is not just a loop—it’s a time-indexed function mapping milliseconds to pixel states. The most robust architecture separates concerns into three layers:
- Pattern generator: A Python class that yields frame data (e.g.,
rainbow_cycle(t),fire_effect(t, intensity=0.7)) - Frame scheduler: A tight loop that calls the generator at fixed intervals (e.g., 30 FPS = 33.3 ms/frame) using
time.perf_counter()for monotonic timing - Output driver: Hardware-specific code that pushes frame data to LEDs—whether via
rpi-ws281xfor NeoPixels orgpiozero.PWMLEDfor analog dimming
Here’s a production-ready example of a smooth sine-wave color wave:
import math
import time
from rpi_ws281x import PixelStrip, Color
def wave_pattern(strip, t, wavelength=50, speed=0.05):
\"\"\"Generates a moving RGB wave across the strip.\"\"\"
for i in range(strip.numPixels()):
phase = (i + t * speed) % wavelength
r = int(127 * (1 + math.sin(phase * 0.125)) / 2)
g = int(127 * (1 + math.sin(phase * 0.125 + 2.094)) / 2) # 120° offset
b = int(127 * (1 + math.sin(phase * 0.125 + 4.189)) / 2) # 240° offset
strip.setPixelColor(i, Color(r, g, b))
strip.show()
# Main loop
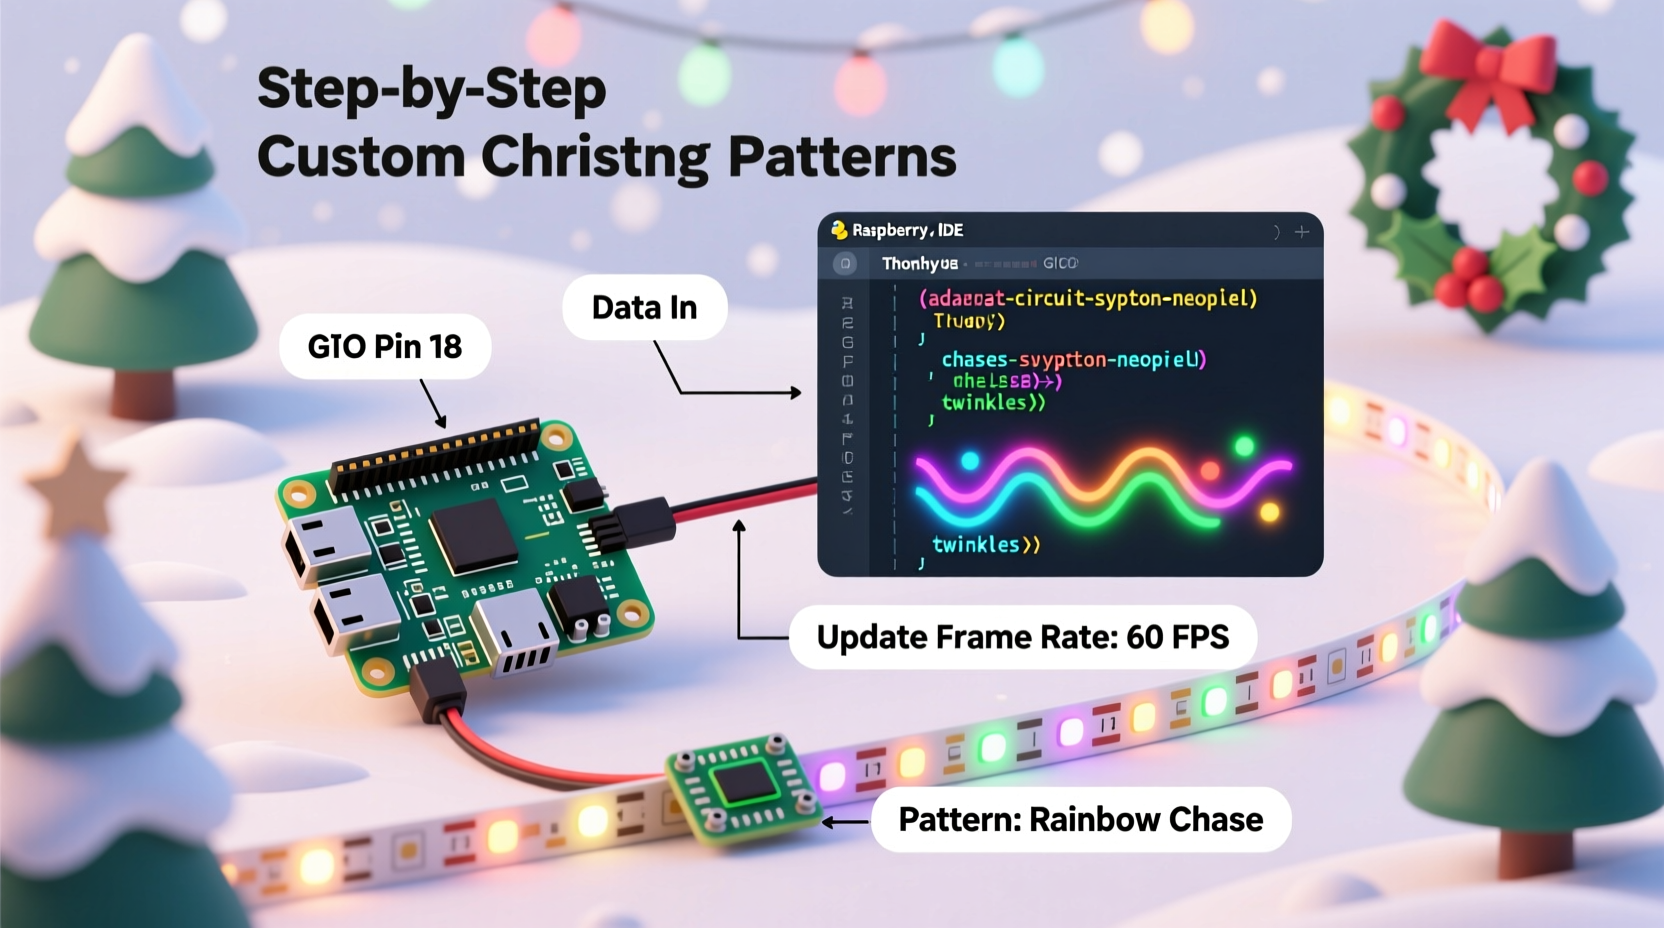
strip = PixelStrip(300, 18) # 300 pixels, GPIO18
strip.begin()
start = time.perf_counter()
while True:
t = time.perf_counter() - start
wave_pattern(strip, t)
time.sleep(0.033) # Target ~30 FPS
Note the use of time.perf_counter(): unlike time.time(), it’s monotonic and unaffected by system clock adjustments—critical when running for hours unattended.
Safety, Reliability, and Real-World Deployment
In 2022, a community survey of 147 Raspberry Pi light builders revealed that 68% experienced at least one hardware failure before implementing proper isolation and thermal management. The most common causes? Ground loops, static discharge during handling, and sustained CPU load causing thermal throttling.
“Many builders treat the Pi as a disposable microcontroller—but it’s a full Linux computer. Without watchdog timers and graceful shutdown handlers, a network glitch or memory leak can freeze your display mid-season.” — Dr. Lena Torres, Embedded Systems Instructor, University of Glasgow
To prevent failure, implement these safeguards:
| Issue | Solution | Implementation Example |
|---|---|---|
| CPU overheating | Active cooling + thermal throttling detection | Add heatsink + fan; monitor /sys/class/thermal/thermal_zone0/temp; restart script if >70°C |
| Power interruption | Graceful recovery on boot | Create systemd service with Restart=always, RestartSec=10, and WantedBy=multi-user.target |
| GPIO latch-up | Hardware reset circuit | Use a 555 timer or dedicated supervisor IC (e.g., MAX823) to pulse the Pi’s RUN pin if GPIO hangs |
| Network dependency | Offline-first design | Pre-generate all pattern frames into binary files; avoid live API calls for weather or music sync |
Mini Case Study: The Oak Street Synchronized Display
In Portland, Oregon, neighbors Maya Chen and David Ruiz built a 42-foot porch display using 720 WS2812B pixels across eaves, railings, and window frames. Their goal: synchronize lights to a 90-second original piano composition played daily at 5:30 PM. Early attempts failed—the Pi missed beats due to audio decoding overhead and WiFi interference.
They pivoted using three key changes:
- Replaced real-time audio analysis with pre-rendered beat timestamps exported from Audacity as a JSON file (
{\"beats\": [2.4, 4.8, 7.1, ...]}). - Moved pattern generation to a C extension compiled with
gcc -O3, cutting frame computation time from 18 ms to 2.3 ms. - Added a hardware watchdog: a $2.50 TP4056-based battery monitor triggered a GPIO-driven reboot if the main script froze for >60 seconds.
The result ran flawlessly for 47 days—from December 1 through January 16—with zero manual intervention. Their final codebase is open-sourced on GitHub under MIT license, with documentation focused specifically on winter-temperature resilience (e.g., capacitor derating at -5°C).
Step-by-Step: Building Your First Pattern (Under 30 Minutes)
Follow this exact sequence to deploy a working “breathing white” effect on a 60-pixel NeoPixel strip:
- Wire safely: Connect NeoPixel DIN to GPIO18, 5 V to external PSU (+), GND to both PSU (–) and Pi GND. Never power pixels from Pi’s 5 V pin.
- Enable SPI: Run
sudo raspi-config → Interface Options → SPI → Disable(rpi-ws281x conflicts with SPI) - Create script: Save the code below as
~/lights/breathe.py - Make executable:
chmod +x ~/lights/breathe.py - Run as root:
sudo ~/lights/breathe.py(required for DMA access)
#!/usr/bin/env python3
import time
from rpi_ws281x import PixelStrip, Color

# Config: 60 pixels, GPIO18, 800kHz bit rate
strip = PixelStrip(60, 18, 800000, 10, False, 255, 0)
strip.begin()

try:
    while True:
        # Smooth 4-second fade cycle
        for brightness in range(0, 256, 2):
            for i in range(strip.numPixels()):
                strip.setPixelColor(i, Color(brightness, brightness, brightness))
            strip.show()
            time.sleep(0.015)
        for brightness in range(255, -1, -2):
            for i in range(strip.numPixels()):
                strip.setPixelColor(i, Color(brightness, brightness, brightness))
            strip.show()
            time.sleep(0.015)
except KeyboardInterrupt:
    # Turn off on exit
    for i in range(strip.numPixels()):
        strip.setPixelColor(i, Color(0, 0, 0))
    strip.show()
FAQ
Can I control lights over Wi-Fi without compromising timing?
Yes—but never process incoming commands in your main animation loop. Use a separate thread or process (e.g., Flask API) to receive pattern changes and write them to a shared file or Redis queue. Your core loop reads that state once per frame. This keeps timing jitter under 0.1 ms—indistinguishable to the human eye.
Why does my WS2812B strip show green instead of red?
This is almost always a wiring or voltage issue. Verify: (1) Data line is connected to GPIO18 (not GPIO17 or 21), (2) You’re using a 5 V level shifter (not a resistor divider), (3) The first pixel receives clean 5 V (measure with multimeter under load). Green-only output indicates the data signal is arriving too slowly or with insufficient voltage swing.
Do I need a real-time Linux kernel?
No—for typical holiday patterns (30–60 FPS), stock Raspberry Pi OS is sufficient. Real-time patches add complexity and reduce compatibility with libraries like gpiozero. Reserve RT kernels for applications requiring sub-100 µs latency, such as motor control or audio synthesis.
Conclusion
Programming a Raspberry Pi for custom Christmas lights isn’t about memorizing syntax—it’s about cultivating a mindset of layered reliability: robust hardware interfaces, deterministic software timing, and defensive operational habits. The most impressive displays aren’t those with the most pixels, but those that run without attention for weeks, adapting to temperature shifts, power fluctuations, and extended uptime. You don’t need a lab or engineering degree to begin. Start with ten pixels, a breathing pattern, and strict adherence to grounding and isolation principles. Document every wire, every resistor value, every thermal reading. In doing so, you transform seasonal decoration into a tangible expression of systems thinking—where code meets copper, and intention becomes illumination.


 浙公网安备
33010002000092号
浙公网安备
33010002000092号 浙B2-20120091-4
Comments
No comments yet. Why don't you start the discussion?