
Modern Christmas light controllers promise dazzling chases, fades, and synchronized effects—but they’re often expensive, proprietary, and prone to failure after one season. What if you could achieve dynamic lighting sequences without buying a dedicated controller? It’s not only possible—it’s surprisingly accessible. Thousands of homeowners, hobbyists, and community decorators have built reliable, repeatable light shows using everyday tools: mechanical timers, smart outlets, basic electronics, and even repurposed microcontrollers. This guide cuts through the marketing hype and delivers field-tested methods grounded in electrical safety, practical scalability, and real-world reliability. Whether you’re illuminating a porch railing, wrapping a tree, or outlining a roofline, these techniques let you move beyond static on/off patterns into true sequencing—without a single proprietary remote or app.
Understanding the Core Principles Behind Light Sequencing
“Programming” lights without a controller isn’t about writing code in the traditional sense—it’s about orchestrating timing, power delivery, and circuit configuration to create the *illusion* of motion or progression. Every effective sequence relies on three foundational elements: temporal control (when power is applied), spatial distribution (which lights receive power when), and electrical isolation (ensuring circuits don’t interfere). Traditional controllers handle all three internally. Without one, you must externalize them—either by physically separating circuits, staggering power sources, or introducing programmable logic at the power entry point.
Crucially, most plug-in mini light strings (especially incandescent and basic LED sets) are designed for simple on/off operation—not data-driven signaling. That means no DMX, no SPI, no pixel-addressing. But their simplicity becomes an advantage: because each string draws predictable current and operates at standard line voltage (120V AC in North America), they respond reliably to timed power switching. The key insight isn’t “how do I send data to the lights?” but rather “how do I route power to different groups at precisely staggered intervals?”
Method 1: Mechanical & Digital Timers — The Plug-and-Play Approach
This method requires no soldering, wiring, or coding. It leverages inexpensive, widely available timers to turn separate light strings on and off in sequence. While it won’t produce smooth chases or color fades, it creates compelling rhythmic patterns—such as alternating roof sections, pulsing porch columns, or cascading tree layers.
Here’s how it works: You divide your display into discrete zones (e.g., front roof left, front roof right, garage door, front steps). Each zone uses its own light string plugged into its own timer. You then set each timer to activate at slightly offset intervals—say, Zone 1 at 5:00 p.m., Zone 2 at 5:02 p.m., Zone 3 at 5:04 p.m., and so on—creating a visual “wave” effect across your property.
Digital timers with multiple daily programs (like the GE 15071 or Woods 59377) support up to 20 on/off events per day and retain settings during power outages—making them far more dependable than analog dial timers for multi-step sequences.
| Timer Type | Max Programs/Day | Battery Backup? | Ideal For | Limitations |
|---|---|---|---|---|
| Analog Dial | 1–2 on/off cycles | No | Single-zone static displays | No fine-grained sequencing; loses time during outages |
| Digital (Basic) | 6–12 events | Yes (CR2032) | 3–5 zone sequences with repeating patterns | Manual setup; no remote access |
| Smart Plug + App Timer | Unlimited (cloud-based) | N/A (Wi-Fi dependent) | Dynamic scheduling, weather-triggered effects, remote adjustments | Requires stable Wi-Fi; privacy considerations; potential latency |
Method 2: Manual Circuit Splitting & Multi-Outlet Power Strips
This technique transforms a single outlet into a sequenced output hub using nothing more than a heavy-duty power strip with individually switched outlets—like the Belkin Conserve Socket or the Tripp Lite Isobar 12. By assigning each outlet to a different light zone and controlling them manually or via external timers, you gain granular physical control over activation order.
A typical setup might use a 6-outlet strip: Outlets 1–3 wired to warm-white roofline lights, Outlets 4–5 to cool-white tree wraps, and Outlet 6 to a spotlight accent. A simple digital timer connected to the strip’s main input triggers the entire unit, while internal switches let you pre-set which outlets are live. For true sequencing, pair the strip with a programmable timer that supports “staggered start”—or use multiple timers feeding different outlets via Y-splitters (with proper load calculation).
One critical safety note: Never exceed the strip’s total amperage rating. A standard 15A circuit supports up to 1,800 watts. If each light string draws 24W (typical for 100-LED mini sets), you can safely run up to 75 strings—but only if distributed across properly rated circuits and strips. Overloading causes heat buildup, insulation degradation, and fire risk.
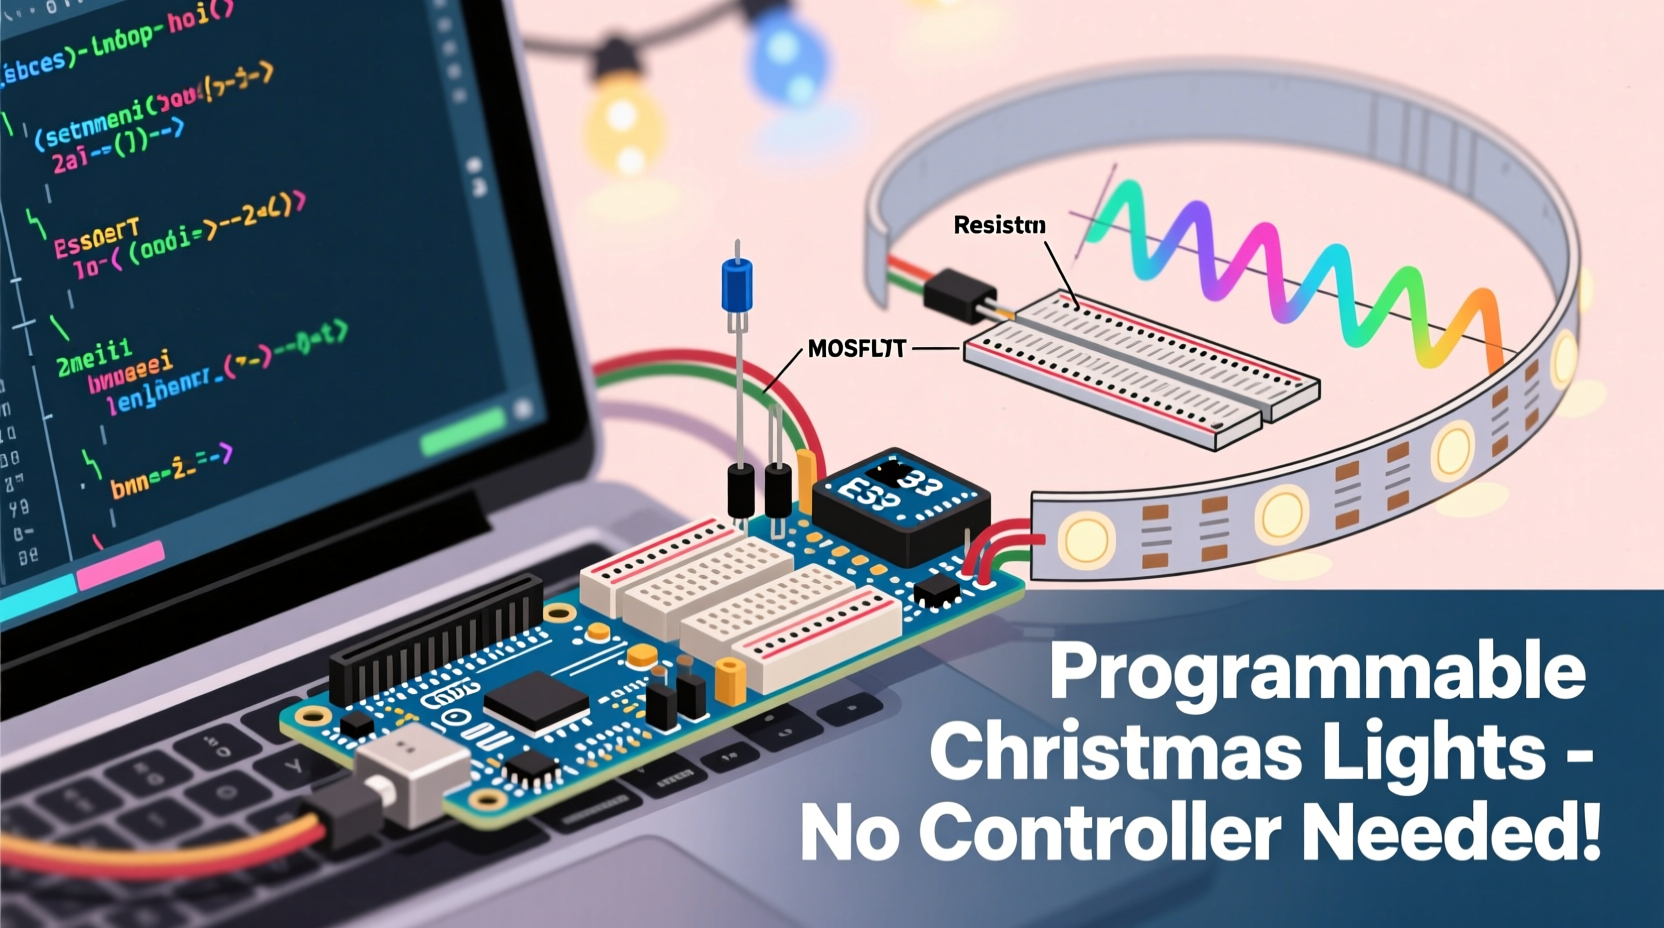
Method 3: Arduino or ESP32 Microcontrollers — The DIY Programmer
For those comfortable with basic electronics and willing to invest $15–$30 in parts, a microcontroller offers genuine programmability: custom timing curves, random twinkles, music-reactive pulses, and multi-channel coordination. Unlike commercial controllers, open-source platforms like Arduino Uno or ESP32 give full transparency—and decades of community-tested libraries.
The core hardware includes:
- An Arduino or ESP32 board ($5–$12)
- A relay shield or module (4–8 channel, 10A per channel, opto-isolated)
- Heavy-duty extension cords with cut ends (for safe wire termination)
- Wire nuts, electrical tape, and a UL-listed project enclosure
Wiring is straightforward: each relay channel connects in series between the hot leg of a dedicated outlet and one light string. The microcontroller grounds the relay coil to close the circuit—powering the lights. Code defines when and how long each relay activates. A simple chase sequence might look like this:
void loop() {
  digitalWrite(relay1, HIGH); delay(300);
  digitalWrite(relay2, HIGH); delay(300);
  digitalWrite(relay3, HIGH); delay(300);
  digitalWrite(relay4, HIGH); delay(300);
  // Then reset or reverse...
}
“The beauty of starting with Arduino is that you learn the physics of what ‘sequencing’ actually means—voltage, current paths, timing resolution,” says Dr. Lena Torres, Embedded Systems Instructor at Portland State University. “Students who begin here rarely go back to black-box controllers. They understand why a 10ms delay matters for perceived smoothness—and why galvanic isolation prevents ground loops in outdoor setups.”
Real-World Example: The Oak Street Porch Project
In December 2022, retired electrician Mark R. transformed his modest Craftsman bungalow’s porch into a neighborhood attraction—not with a $200 controller, but with four $8 digital timers, a salvaged 8-outlet industrial power strip, and meticulous planning. His goal: simulate a slow upward “crawl” of light along the porch columns, followed by a gentle fade across the eaves.
He divided the display into six zones: two column wraps (left/right), two eave sections (front/side), and two planter accents. Using a spreadsheet, he calculated ideal on-offsets: Column Left (0:00), Column Right (0:03), Eave Front (0:06), Planter Left (0:09), Eave Side (0:12), Planter Right (0:15). He wired each zone to its own outlet on the power strip, then fed the strip’s input through a master timer set to activate at dusk. To create the fade effect on the eaves, he used dimmable LED strings (designed for AC phase-cut dimming) paired with a $12 Lutron Maestro dimmer switch on that circuit—proving that sequencing doesn’t always mean binary on/off.
The result? A 22-second cycle repeated hourly from 5 p.m. to midnight. Neighbors reported watching it nightly. Mark spent under $60, reused materials from prior years, and documented every connection in a waterproof notebook mounted inside his outdoor junction box. “No app crashed. No firmware updated. No cloud went down,” he told us. “Just copper, timing, and knowing exactly where every hot wire ended.”
Step-by-Step: Building Your First Relay-Based Sequence (Under 90 Minutes)
- Gather components: Arduino Uno, 4-channel relay module, 4 identical LED light strings (120V, ≤48W each), UL-listed outdoor-rated power strip, 4 heavy-duty extension cords, wire strippers, screwdriver, multimeter.
- Test continuity: Use the multimeter to confirm each light string powers on independently when plugged directly into an outlet.
- Prepare cords: Cut the female end off each extension cord. Strip ½\" of insulation from hot (black), neutral (white), and ground (green) wires.
- Wire relays: Connect black (hot) wire from each cord to a separate relay’s “NO” (normally open) terminal. Connect the corresponding “COM” terminal to the hot output of your power strip’s outlet bank.
- Connect Arduino: Wire relay control pins to Arduino digital pins 2–5. Connect relay VCC to 5V, GND to GND. Ensure relay module is powered separately if required (check datasheet).
- Upload sketch: Install Arduino IDE, select board/port, upload a basic sequence sketch (available in Arduino Library Manager under “RelaySequenceExample”).
- Enclose & label: Mount all components in a NEMA 3R outdoor enclosure. Label each relay channel with its assigned zone (e.g., “Front Roof Left”).
- Test incrementally: Power up, verify one relay activates its string, then test two, then all four—with delays increasing by 500ms each.
FAQ
Can I use battery-operated lights for sequencing?
Only if they accept external power control. Most battery lights lack a switched power input—so adding a relay would require invasive modification and void safety certifications. Stick to AC-powered strings for reliable, code-compliant sequencing.
Will dimmable LED strings work with timer-based sequencing?
Yes—but only if the timer or dimmer is explicitly rated for LED loads. Many older dimmers cause flickering or failure with LEDs due to insufficient minimum load. Use trailing-edge (ELV) dimmers or LED-compatible smart switches like the Lutron Caseta PD-6WCL.
Is it safe to splice light strings together for longer runs?
No. Splicing bypasses built-in fusing and current-limiting, creating fire hazards and violating NEC Article 410.130(G). Instead, use UL-listed light-hanging accessories (e.g., quick-connect taps) or split circuits at outlets—never at the socket level.
Conclusion
You don’t need proprietary hardware, subscription services, or technical degrees to bring rhythm and intention to your holiday lighting. Programming a sequence without a controller is fundamentally an exercise in thoughtful design: observing how light interacts with architecture, understanding how electricity flows through circuits, and respecting the physical constraints of real-world components. Whether you choose the simplicity of staggered timers, the flexibility of relay logic, or the precision of microcontroller code, each path builds confidence—and reveals how much creative control lies within reach when you understand the fundamentals.
Start small: pick one section of your home—a window frame, a staircase railing, a single tree—and build a two-zone sequence this weekend. Document your wiring. Note what worked and what surprised you. Share your schematic online—not as polished perfection, but as honest iteration. Because the most powerful controllers aren’t made of silicon and firmware. They’re built in garages, on patios, and at kitchen tables—by people who decided the magic wasn’t in the box, but in the making.


 浙公网安备
33010002000092号
浙公网安备
33010002000092号 浙B2-20120091-4
Comments
No comments yet. Why don't you start the discussion?