
Transforming your home into a holiday light show doesn’t require professional gear or a six-figure budget. With the right approach, even beginners can create dazzling, music-synchronized Christmas displays for under $200. The key lies in smart planning, open-source software, and repurposing affordable hardware. Whether you're lighting up a small porch or an entire roofline, this guide walks through every step—from selecting low-cost components to programming dynamic effects that dance with your favorite holiday tunes.
Why Budget-Friendly Light Shows Are Possible Today
A decade ago, synchronized light shows were reserved for tech enthusiasts with deep pockets. Today, advancements in consumer electronics and the rise of community-driven open-source tools have democratized the craft. Platforms like xLights and Falcon Player (FPP) are free, powerful, and compatible with inexpensive microcontrollers such as ESP8266 and ESP32. These tiny boards, costing as little as $5–$10 each, can control dozens of individually addressable LED pixels.
The real cost saver is avoiding proprietary systems. Commercial light show kits often bundle overpriced controllers with limited flexibility. By building your own setup, you gain full creative control while spending only what’s necessary. Even complex sequences—like pulsing snowflakes, cascading icicles, or strobing reindeer—can be programmed at no additional software cost.
“With a $7 microcontroller and free software, anyone can achieve results that once required thousands.” — Derek Lang, DIY Holiday Lighting Enthusiast & Creator of LightShowPi Tutorials
Essential Components for a Low-Cost Setup
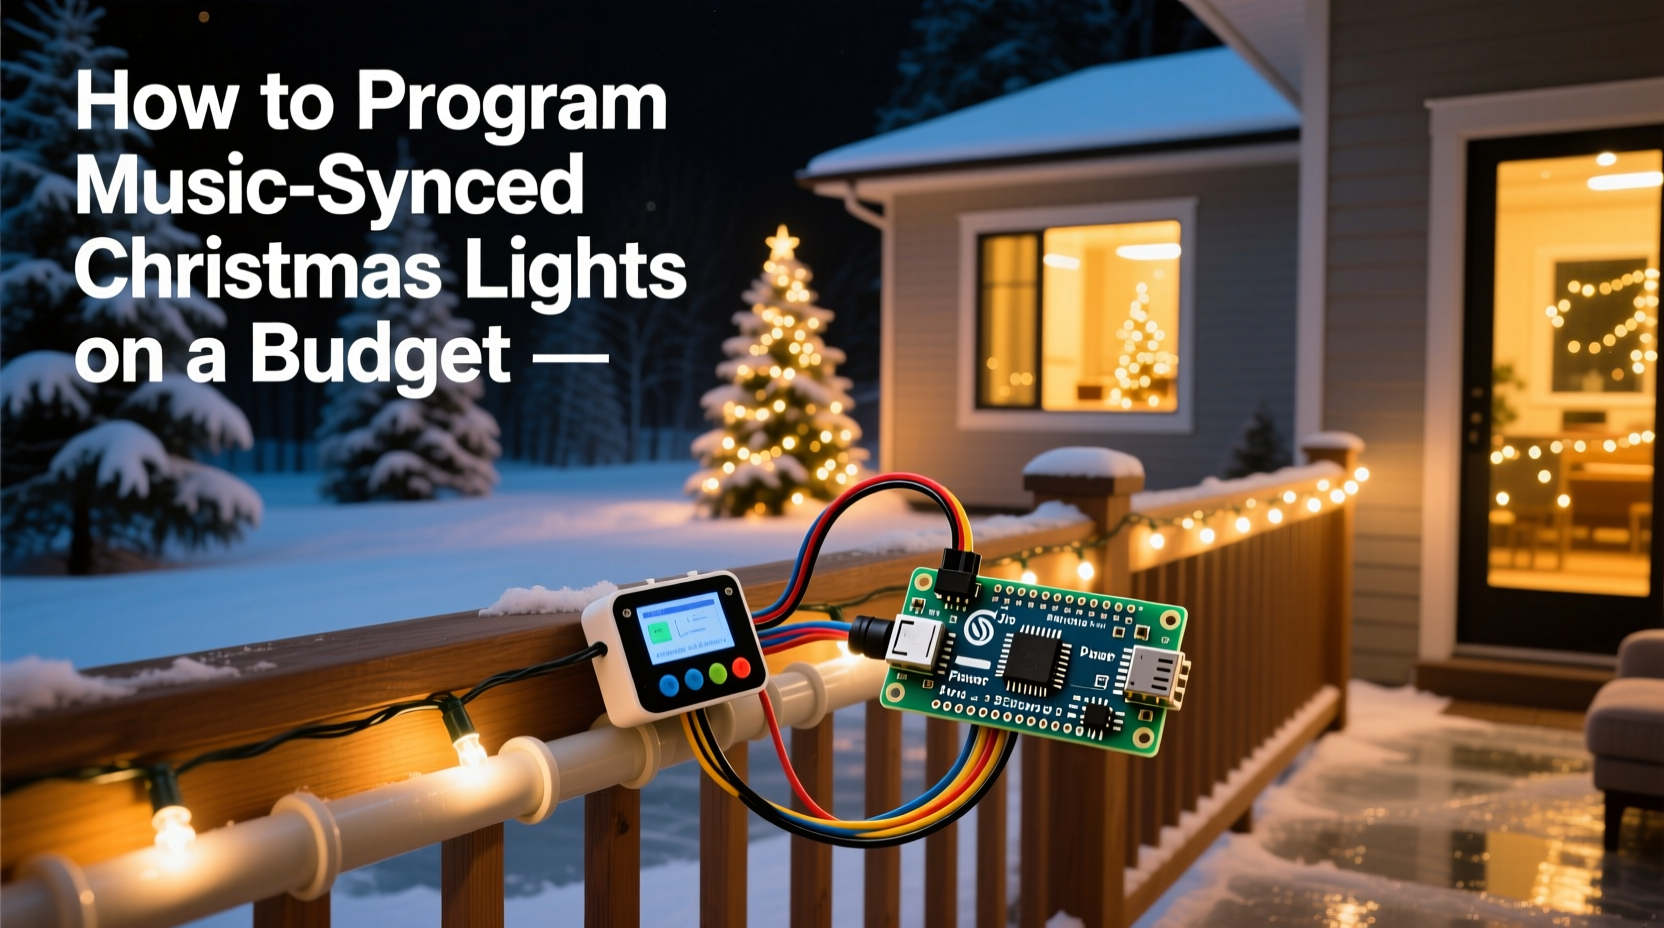
To build a music-synced display without overspending, focus on three core elements: lights, controllers, and a host device for sequencing. Below is a breakdown of recommended components with price estimates based on 2024 retail averages.
| Component | Recommended Option | Average Cost | Notes |
|---|---|---|---|
| LED Lights | WS2811 Addressable RGB Strings (50-count) | $12–$18 per string | Waterproof versions available; daisy-chain up to 500 pixels per controller |
| Microcontroller | ESP8266 (NodeMCU) | $6–$10 | Wi-Fi enabled; ideal for FPP or WLED integration |
| Power Supply | 5V 10A DC Power Adapter | $15–$25 | Supports ~300 LEDs; use one per 250–300 pixels |
| Sequencing Device | Old Laptop or Raspberry Pi 3+ | $0–$50 (used) | Pi runs Falcon Player; laptop runs xLights for design |
| Software | xLights, FPP, or WLED | Free | No licensing fees; large user communities |
| Cables & Connectors | JST-SM connectors, silicone wire | $10–$20 | For reliable pixel connections and weatherproofing |
A basic two-channel setup—one for roof outlines and one for tree animations—can be built for under $150 using used parts and careful sourcing. Expand incrementally by adding more strings and controllers as needed.
Step-by-Step Guide to Programming Your First Sequence
Programming synchronized lights involves designing visual effects that match the rhythm, melody, and mood of a song. Follow this timeline to create your first sequence using free tools.
- Choose Your Music (Day 1)
Select a holiday track under 3 minutes for your first attempt. Instrumental versions work well because they reduce vocal sync complexity. Popular choices include \"Carol of the Bells,\" \"Jingle Bell Rock,\" or Mariah Carey’s \"All I Want for Christmas Is You.\" - Set Up Your Hardware (Day 2–3)
Connect your LED string to the ESP8266. Solder data-in, ground, and power lines carefully. Use a breadboard for testing. Power the strip with a 5V supply and verify all pixels light up using a simple \"rainbow\" test code uploaded via Arduino IDE. - Install Sequencing Software (Day 4)
Download xLights on a Windows or Linux machine. Install the latest version and launch it. Create a new layout by adding a \"String\" model and specifying 50 nodes (or however many LEDs you’re using). - Map Your Lights (Day 5)
In xLights, assign physical placement: set start pixel location, direction (left-to-right or top-down), and grouping (e.g., tree spiral). Preview the layout using the virtual preview window to ensure alignment matches your actual setup. - Create the Sequence (Day 6–8)
Import your audio file into xLights. Use the beat detection tool to auto-generate beat markers. Then manually layer effects:- Use “Twinkle” during soft verses
- Apply “Chase” or “Bounce” on drum hits
- Add color morphs during key changes
- Export and Test (Day 9)
Once satisfied, export the sequence as an .fseq file. If using Falcon Player, copy it to the Pi’s media folder. Reboot and play the sequence. Observe timing accuracy and adjust if lights lag behind audio. - Deploy Outdoors (Day 10)
Weatherproof connections with heat shrink tubing and silicone sealant. Mount lights securely. Power the system from an outdoor-rated GFCI outlet. Run a final full-volume test after dark.
This process may take longer for first-timers, but repetition drastically reduces production time. Experienced users often complete a new 3-minute sequence in under 4 hours.
Real Example: A Suburban Family’s First Light Show
The Rivera family in Portland, Oregon wanted to spread holiday cheer but had a strict $200 limit. They started with a single 50-light WS2811 string from Amazon ($17), an ESP8266 board bought for $8, and a retired Chromebook running xLights.
They mounted the lights along their front porch railing and programmed a simple sequence to \"Rockin’ Around the Christmas Tree.\" Using YouTube tutorials, they learned to trigger color bursts on snare hits and fade transitions between choruses. After three weekends of tweaking, they debuted their display the weekend before Thanksgiving.
Neighbors began stopping by. One donated an extra power supply. Another shared a playlist of instrumental tracks optimized for syncing. By December, the Riveras had expanded to two channels and attracted local news coverage—all without exceeding $185 in total costs.
Their success wasn’t due to advanced gear but persistence and resourcefulness. As Maria Rivera said, “We didn’t know anything about coding or circuits. But we followed step-by-step videos and asked questions in Facebook groups. Now our kids help design the effects—it’s become a family tradition.”
Smart Tips to Maximize Impact Without Spending More
- Repurpose old electronics: An unused tablet or mini-PC can serve as a dedicated sequencer. Even a Raspberry Pi Zero W ($15) runs lightweight players like WLED.
- Use ambient sound triggering: Instead of pre-programmed sequences, use software like VU Meter Mode in xLights to generate real-time light reactions based on audio input. This creates instant synchronization with any song, live or recorded.
- Focus on choreography, not quantity: A single well-sequenced string dancing to the melody often impresses more than hundreds of randomly flashing bulbs.
- Leverage community libraries: Websites like the xLights Forum and Reddit’s r/ChristmasLights offer free .fseq files. Download and modify existing sequences instead of building from scratch.
- Time your display strategically: Run shows only between 5 PM and 10 PM. This saves energy, reduces wear, and increases perceived exclusivity.
Budget-Friendly Checklist: Build Your System in Order
- ☐ Choose 1–2 songs for initial sequencing
- ☐ Acquire at least one string of addressable RGB LEDs (50+ pixels)
- ☐ Purchase or repurpose a Wi-Fi-enabled microcontroller (ESP8266/ESP32)
- ☐ Obtain a 5V power supply rated for your LED count
- ☐ Install xLights or similar software on a computer <6>☐ Solder or connect data/power wires securely
- ☐ Test basic animations (solid color, rainbow cycle)
- ☐ Design your physical layout and map it in software
- ☐ Import music and mark major beats manually or automatically
- ☐ Layer effects frame-by-frame, focusing on musical highlights
- ☐ Export and transfer sequence to playback device
- ☐ Conduct outdoor tests and adjust timing if needed
- ☐ Weatherproof all connections and finalize mounting
- ☐ Share your show with neighbors and online communities
Frequently Asked Questions
Can I use regular Christmas lights instead of addressable LEDs?
No—standard incandescent or non-addressable LED strings cannot be individually programmed. Only digital strips like WS2811 or SK6812 allow pixel-level control needed for music synchronization. However, you can mix them: use addressable lights for animated sections and static strings for background illumination.
Do I need internet access during the show?
Not necessarily. Once sequences are loaded onto a Raspberry Pi or standalone player, they run offline. Internet is only required during setup—for downloading software, transferring files, or updating firmware.
How can I avoid flickering or dropped frames?
Flickering usually stems from insufficient power or poor grounding. Ensure your power supply can handle peak current (check datasheets). Also, inject power at both ends of long strips. For dropped frames, reduce Wi-Fi congestion by placing the controller close to the router during testing, or switch to wired Ethernet via USB adapter.
Final Thoughts: Start Small, Dream Big
Creating a music-synchronized Christmas light display on a budget isn’t just feasible—it’s one of the most rewarding DIY projects of the season. You don’t need fancy gear or engineering skills. What matters is curiosity, patience, and a willingness to learn from mistakes. Every expert once struggled with a miswired pixel or out-of-sync chorus.
Begin with a single strand and one song. Master the workflow. Then scale up thoughtfully. Soon, you’ll be crafting multi-zone spectacles that bring joy to your street—and maybe even go viral online. The holidays are about sharing, and there’s no better way to spread cheer than with lights that move in perfect harmony with the music we love.


 浙公网安备
33010002000092号
浙公网安备
33010002000092号 浙B2-20120091-4
Comments
No comments yet. Why don't you start the discussion?