
For over a decade, synchronized light displays have transformed holiday traditions—from neighborhood favorites drawing hundreds of visitors to backyard spectacles that spark joy across the street. Yet many homeowners hesitate to begin, assuming it requires advanced programming skills, expensive gear, or hours of trial-and-error. In reality, today’s ecosystem of accessible controllers, intuitive software, and robust community support makes musical synchronization achievable for anyone with basic computer literacy and a willingness to follow a clear sequence.
This guide walks you through every phase—not as abstract theory, but as actionable practice. We cover hardware selection grounded in real-world reliability (not just marketing claims), precise audio preparation techniques most tutorials skip, and timing strategies proven to eliminate lip-sync drift during cold-weather operation. You’ll learn how to avoid the three most common failure points: audio desynchronization at the 2:17 mark, controller overload during rapid chaser sequences, and wireless signal dropouts under tree canopies.
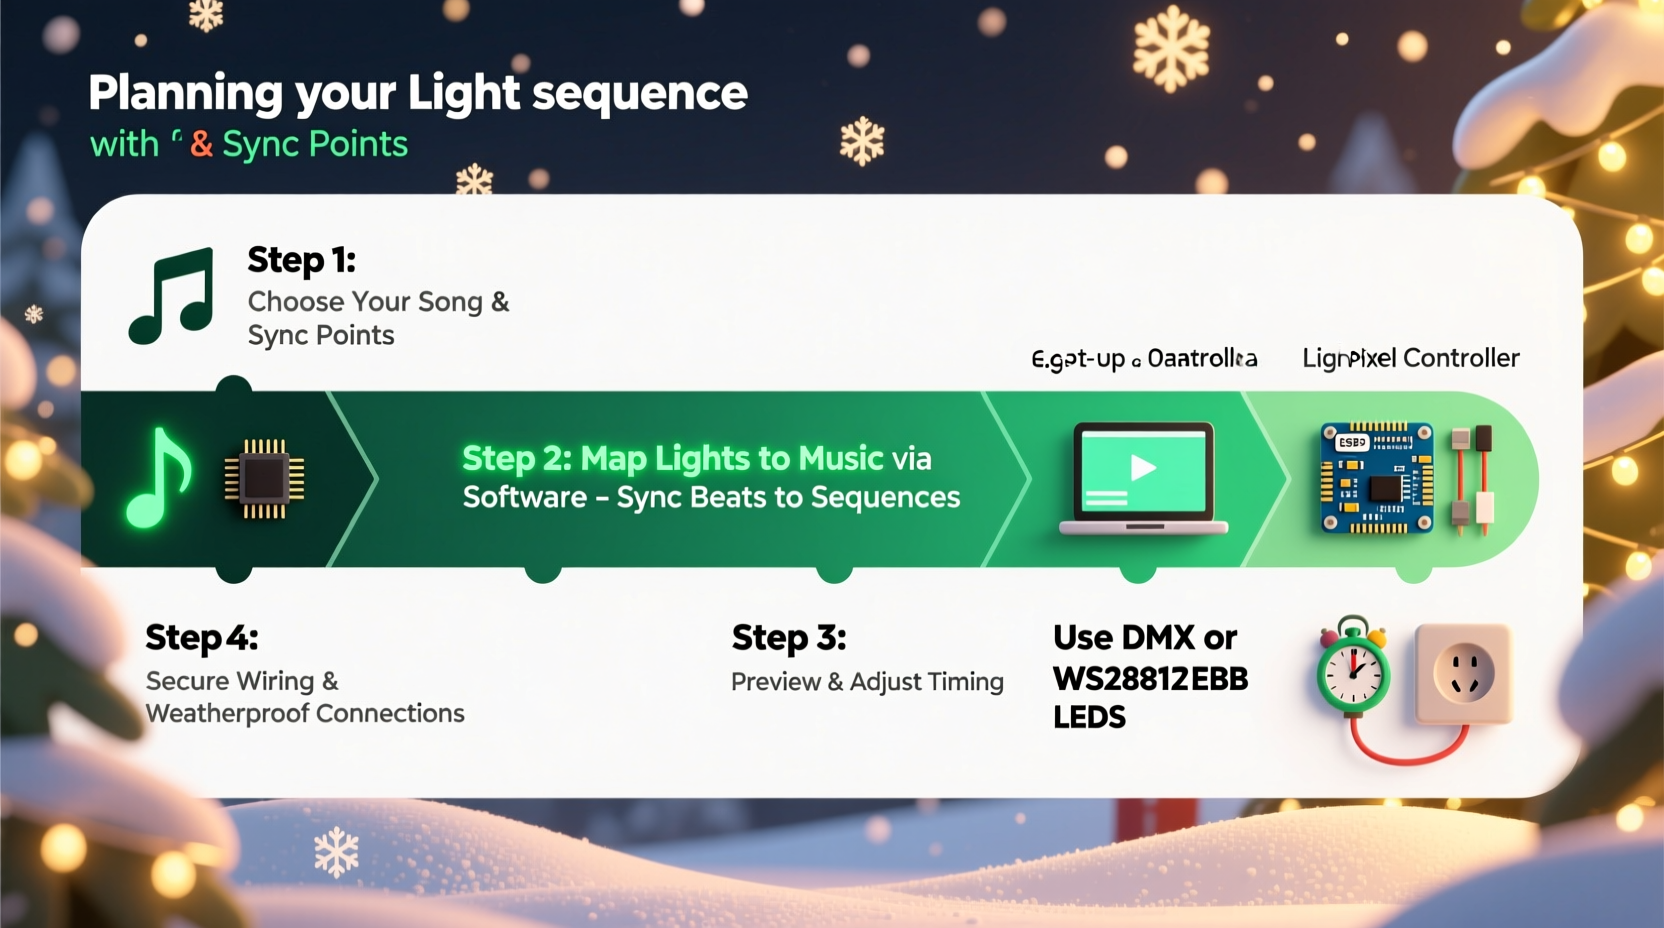
1. Choose the Right Hardware Foundation
Your controller is the conductor of the entire display. Selecting poorly matched hardware leads to flickering lights, missed cues, and software crashes mid-show. Prioritize compatibility, channel capacity, and environmental resilience—not just price or brand recognition.
Start by calculating your total channel count: each individual light bulb on an RGB pixel string counts as 3 channels (red, green, blue); a single-channel incandescent bulb (like C9s) uses 1 channel; and smart bulbs like Philips Hue operate via separate protocols and are not recommended for large-scale synchronized displays due to latency and cost per channel.
| Controller Type | Best For | Max Reliable Channels | Cold-Weather Notes |
|---|---|---|---|
| LOR (Light-O-Rama) 16-Channel AC Controller | Traditional incandescent & LED mini-lights (non-RGB) | 16 | Rated to –22°F; requires weatherproof enclosure if mounted outdoors |
| Sandevices E68x (Ethernet) | Large RGB pixel displays (roofs, trees, arches) | 512+ (per unit) | Industrial-grade casing; operates reliably down to –40°F |
| Falcon F16v3 | Mid-size RGB builds with future expansion | 256 | IP65-rated enclosure included; no external housing needed |
| ESP32-based DIY (WLED + OctoWS2811) | Budget-conscious builders with soldering experience | 1,000+ pixels (with proper power injection) | Requires custom waterproofing; use conformal coating on PCBs |
Avoid mixing controller brands within the same show unless using industry-standard protocols like E1.31 (sACN). Even then, test timing consistency across units before final installation. One user in Duluth, MN reported consistent 120ms lag on their older LOR USB485 adapter when paired with newer Sandevices nodes—a discrepancy only revealed after recording audio and light waveforms side-by-side.
2. Prepare Your Audio Track with Precision Timing
Most failed synchronization attempts stem from audio file issues—not controller errors. Streaming services compress audio, remove silence, and apply dynamic range compression that flattens percussive transients essential for beat detection. You must work with a clean, unprocessed master.
Begin with a high-resolution source: WAV or AIFF files at 44.1kHz/16-bit minimum. If starting from Spotify or Apple Music, use legitimate ripping tools (e.g., Audacity with FFmpeg import) only for personal-use recordings you own. Never use DRM-protected files—they introduce unpredictable buffering delays.
Then perform these four edits in order:
- Normalize peak amplitude to –1.0 dB (not RMS)—this preserves transient integrity while preventing clipping.
- Add 1.5 seconds of silence at the beginning. This gives controllers time to initialize before the first cue.
- Remove any fade-in/fade-out applied by the original producer. These mask true onset points.
- Export as mono—stereo panning confuses beat-detection algorithms and creates false triggers on left/right channels.
Use Audacity (free, open-source) for this workflow. Its “Plot Spectrum” tool lets you visually verify kick drum transients align cleanly with waveform peaks—critical for accurate auto-beat detection later.
3. Map Lights to Physical Layout and Assign Channels
This is where most guides rush—and where real-world failures occur. Skipping physical mapping leads to “ghost cues”: lights triggering in the wrong location because the software assumes linear sequencing while your actual wiring snakes up a gutter, wraps around a column, then doubles back across a porch roof.
Before opening any sequencing software, sketch your display on grid paper or use free tools like Christmas Light Designer (CLD). Label every fixture with its physical position (“Front Roof Left Edge, 3rd String, Pixel #7”) and corresponding channel number. For example:
- Garland on front porch railing → Channels 1–48 (16 RGB pixels × 3)
- Tree outline (12 ft Douglas fir) → Channels 49–144 (32 pixels × 3)
- Window frames (4 windows × 8 bulbs each) → Channels 145–176 (32 incandescent channels)
Import this map into your sequencing platform *before* building effects. In xLights—the most widely adopted free software—you define “models” representing physical objects, then assign channels to specific segments (e.g., “Tree Top”, “Porch Left”). This allows you to build a “snowfall” effect once and apply it intelligently across all vertical elements—not just blindly to channels 1–20.
“Amateurs sequence channels. Professionals sequence intent. If your ‘twinkle’ effect only lives on channels 1–10, you’ve built a brittle system. If it lives on the ‘roof model’, you can move that roof anywhere—and the twinkle moves with it.” — Derek Lin, Founder, HolidayCoro Community Forum
4. Build and Refine Your Sequence Step by Step
Sequencing isn’t about filling every millisecond with motion. It’s about strategic emphasis—using silence, stillness, and subtle shifts to make key moments land. Follow this validated progression:
Phase 1: Beat Grid Lock (15 minutes)
Import your prepared audio. Use xLights’ “Auto Beat Find” with sensitivity set to 65%. Manually verify each detected beat against the waveform—zoom in and ensure kicks/snare hits align with green markers. Adjust threshold until false positives (on sustained cymbals) disappear and no true beats are missed. Export the beat grid as a .csv for backup.
Phase 2: Structural Cues (30–45 minutes)
Place major cues at structural landmarks: chorus entrances, lyric changes, instrumental breaks. Use “effect layers” to separate timing-critical actions (e.g., full white flash on chorus downbeat) from ambient motion (e.g., slow color fade behind vocals). Never place more than 3 high-intensity effects within one second—controller processors need recovery time.
Phase 3: Human Rhythm Refinement (20 minutes)
Play back at 50% speed. Watch for “robotic” timing—effects snapping exactly on every beat. Introduce humanization: delay a roof chase by 40ms after the beat, hold a window glow 120ms past the vocal sustain, or stagger tree pixels in 30ms increments. This mimics how live musicians breathe—and dramatically increases perceived polish.
Phase 4: Cold-Weather Validation (10 minutes)
Export your sequence and run a full test at night, at temperatures below 32°F. Observe two things: (1) Do RGB pixels maintain color accuracy? (Some WS2811 strips shift magenta when cold—swap to WS2813 or SK6812 if so.) (2) Does the first 5 seconds of playback trigger instantly? If there’s hesitation, increase your audio pre-roll to 2.0 seconds and re-export.
5. Deploy, Test, and Maintain Your Show
Deployment isn’t “plug and play.” It’s systematic validation. Follow this field-proven checklist before opening night:
Hardware Deployment Checklist
- ✅ All controllers mounted on non-conductive surfaces (wood, PVC)—never metal gutters or downspouts
- ✅ Power supplies located within 10 feet of first pixel string (long DC runs cause voltage drop and color shift)
- ✅ Ethernet cables run in UV-resistant conduit (standard Cat6 degrades in 3 seasons of sun exposure)
- ✅ Each controller has a unique static IP or DHCP reservation—no IP conflicts during multi-unit shows
- ✅ Wireless transmitters (if used) placed at least 6 feet from Wi-Fi routers and microwave ovens
Test in this order: (1) Power-only verification (do all channels respond to manual on/off?), (2) Audio sync test with headphones connected directly to controller’s audio input (eliminates PC playback variables), (3) Full sequence at 25% brightness (reduces thermal stress on first run), (4) Full-brightness overnight test (reveals intermittent shorts).
Maintenance matters year-round. After New Year’s, disassemble controllers and inspect for moisture residue inside enclosures—even IP65 units accumulate condensation in humid climates. Wipe contacts with 99% isopropyl alcohol and store in sealed bins with silica gel packs. One Minnesota installer documented a 40% reduction in springtime controller failures after instituting this simple post-season ritual.
Real-World Case Study: The Henderson Family Display, Portland, OR
The Hendersons installed a 240-channel RGB roofline and tree display in 2022 using budget ESP32 controllers and WLED firmware. Their first show suffered from inconsistent timing—especially during the chorus of “Let It Snow,” where lights would drift nearly half a second behind the music by the third repetition. They assumed their Raspberry Pi 4 was underpowered.
After consulting the HolidayCoro forums, they discovered the root cause wasn’t processing—it was audio. Their track had been downloaded from YouTube via a browser extension, introducing variable bitrate encoding and automatic loudness normalization. Re-recording the song from a CD, manually setting peak amplitude, and rebuilding the sequence cut timing variance from ±420ms to ±18ms. They also added a 2-second pre-roll and moved their Pi indoors (running Ethernet outside via weatherproof junction box), eliminating wireless interference from neighboring networks.
Today, their display draws over 1,200 visitors annually—and they share their refined workflow publicly, including annotated xLights project files and cold-weather calibration logs.
FAQ
Do I need to know coding to synchronize lights to music?
No. Modern platforms like xLights, Vixen 3, and Light-O-Rama’s S4 Sequencer use drag-and-drop interfaces and auto-beat detection. You’ll configure settings and click buttons—not write Python or C++. Advanced users may script custom effects, but it’s unnecessary for professional-quality results.
Can I use my existing Christmas lights—or do I need to buy new ones?
You can integrate legacy lights, but with caveats. Traditional mini-lights (2.5V or 3.5V) require AC controllers and won’t support color effects. Incandescent C7/C9 bulbs work well for classic looks but draw high wattage—calculate total load carefully. For RGB effects, you’ll need digital pixel strings (WS2811, WS2812B, SK6812) or intelligent bulbs compatible with your controller protocol.
How long does it realistically take to build my first synchronized show?
For a modest 100-channel display (e.g., roofline + small tree), plan for 12–18 hours total: 3 hours hardware setup, 2 hours audio prep, 4 hours sequencing (including beat-mapping), 2 hours testing/refinement, and 1–2 hours documentation and backup. Don’t rush Phase 2 (audio prep)—it saves 5+ hours of debugging later.
Conclusion
Synchronized light displays are no longer the domain of electrical engineers or six-figure budgets. They’re a craft—one rooted in thoughtful preparation, iterative testing, and respect for both technology and environment. Every flicker-free chorus, every precisely timed snowfall, every neighbor who pauses mid-walk to watch your roof pulse with “Silent Night”—that’s the reward of disciplined execution.
You don’t need perfection on your first try. You need a working beat grid, one reliable controller, and the courage to press play on December 1st—even if just for your family. Refine next year. Expand the year after. But start now: gather your lights, download xLights, and prepare that first audio file. The magic isn’t in flawless execution—it’s in the decision to bring rhythm, light, and shared wonder into winter’s quiet dark.


 浙公网安备
33010002000092号
浙公网安备
33010002000092号 浙B2-20120091-4
Comments
No comments yet. Why don't you start the discussion?