
Pothos (Epipremnum aureum) is one of the most popular houseplants due to its resilience, rapid growth, and attractive trailing vines. Its ability to thrive in low light and survive occasional neglect makes it a favorite among beginners and seasoned plant keepers alike. One of the easiest ways to expand your collection or share plants with friends is through water propagation. However, a common issue that can derail this otherwise simple process is root rot. When roots turn brown, mushy, and emit a foul odor, the cutting often fails to establish. The good news is that root rot is largely preventable with the right approach.
Successfully propagating pothos in water without encountering root rot hinges on attention to detail—choosing the right cutting, maintaining clean conditions, managing water quality, and knowing when to transition to soil. This guide walks through every stage of the process, offering practical strategies backed by horticultural principles and real-world experience.
Selecting the Right Cutting
The foundation of successful propagation begins with the cutting itself. A healthy, well-prepared stem increases the odds of strong root development and reduces vulnerability to decay.
Look for a mature vine with vibrant green leaves and no signs of yellowing, spotting, or insect damage. Choose a section that includes at least two to three nodes—the small, bump-like areas along the stem where roots will emerge. Each cutting should be 4–6 inches long and include one or two leaves above the top node.
Cut just below a node using sterilized scissors or pruning shears. Sterilization prevents the transfer of bacteria or fungi that could initiate rot. A quick wipe with rubbing alcohol or a brief soak in a 10% bleach solution (1 part bleach to 9 parts water) followed by rinsing is sufficient.
Setting Up the Propagation Environment
Once you’ve prepared the cutting, the next step is creating an environment conducive to root formation while discouraging bacterial and fungal overgrowth.
Use a clean glass or jar. Even if the container looks clean, wash it with hot, soapy water and rinse thoroughly. Residual organic matter or mineral deposits can harbor pathogens. Clear glass allows you to monitor root development and spot early signs of trouble.
Fill the vessel with room-temperature water. Tap water is generally fine, but if your water is heavily chlorinated, let it sit uncovered for 24 hours to allow chlorine to dissipate. Avoid distilled or softened water, as both lack essential minerals or contain additives that may hinder root growth.
Submerge only the nodes. The stem and leaves should remain above water. Position the jar in a location with bright, indirect light—such as near an east-facing window. Direct sunlight can overheat the water and promote algae growth, which competes for oxygen and creates slimy conditions favorable to rot.
“Water propagation success depends more on consistency than complexity. Stable temperature, clean water, and proper node placement are non-negotiables.” — Dr. Lydia Chen, Urban Horticulturist, Brooklyn Botanic GardenStep-by-Step Guide to Prevent Root Rot
Following a structured routine dramatically improves outcomes. Here’s a timeline-based method designed to maximize root health:
- Day 1: Prepare and Place
Insert the cutting into clean water, ensuring nodes are submerged and leaves are dry. Label the jar with the date to track progress.- Days 3–5: First Water Change
Replace all the water to remove any cellular debris released during the initial cut. Use fresh room-temperature water.- Days 7–10: Inspect and Refresh
Check for early root nubs. Change water again, inspecting for cloudiness or film on the surface—both indicate microbial activity.- Weekly Thereafter: Routine Maintenance
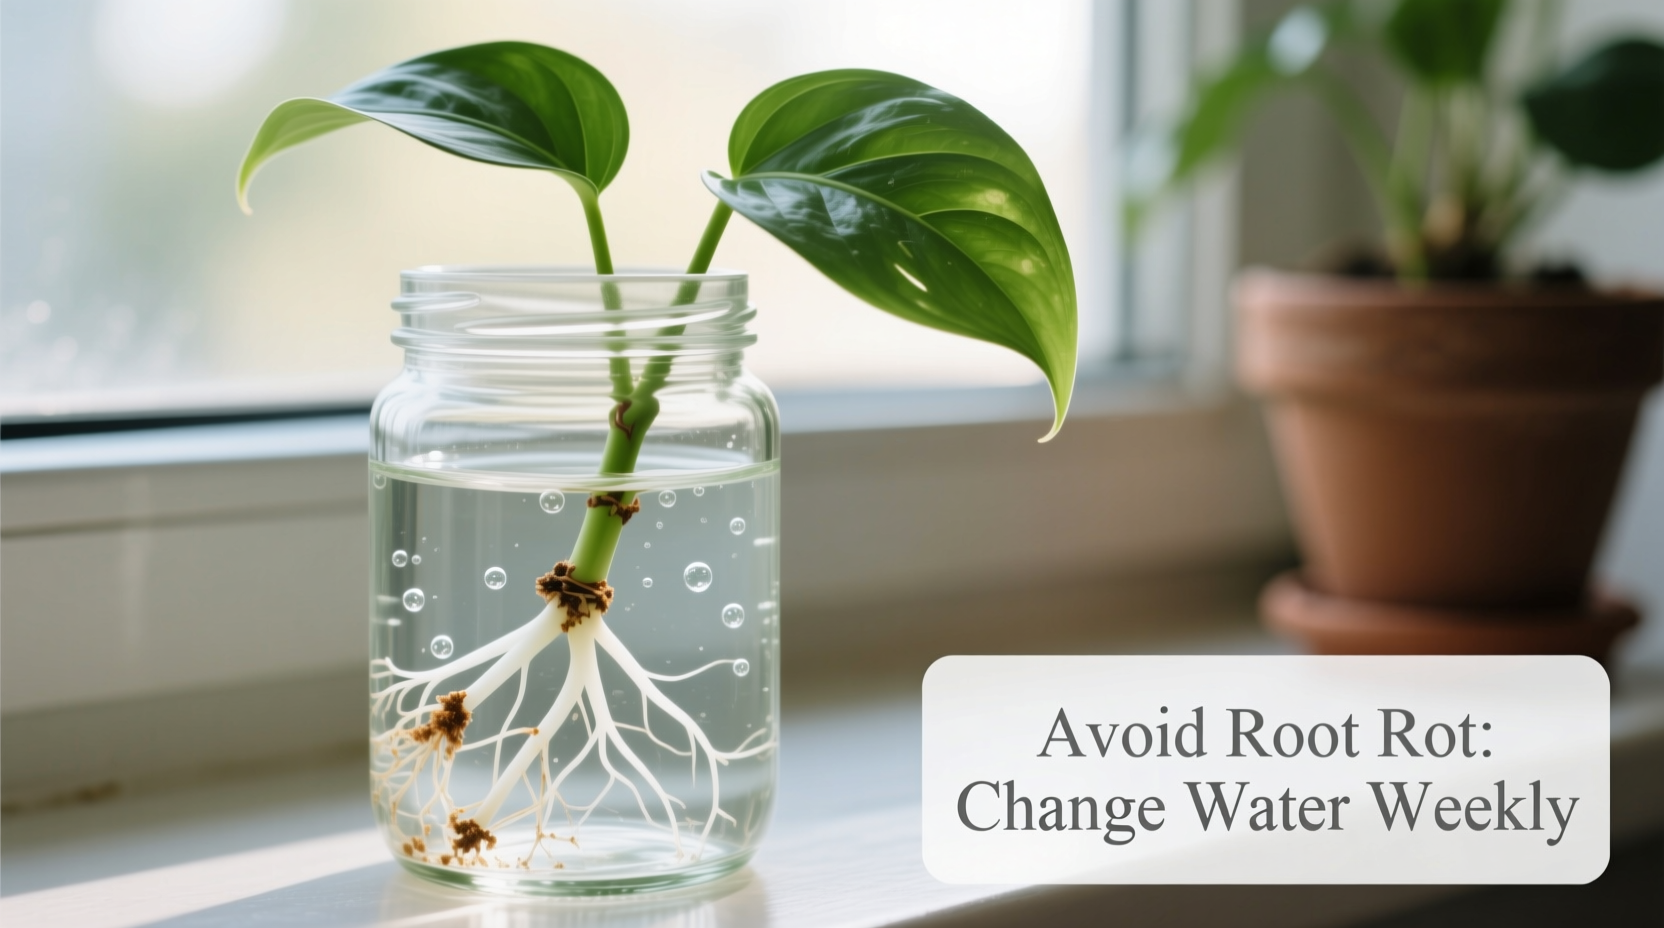
Change water every 5–7 days. Swirl the container gently before pouring out to dislodge biofilm. Rinse the container if needed.- Weeks 3–6: Monitor Root Development
Healthy roots appear white or light tan, firm to the touch, and grow outward. Discard any cutting with dark, soft, or smelly roots immediately.- When Roots Reach 1–2 Inches: Consider Transplanting
While pothos can live indefinitely in water, transitioning to soil at this stage often results in stronger, bushier growth.Tip: If you notice tiny bubbles forming around the nodes after a few days, that’s a positive sign—these are oxygen molecules released during early metabolic activity, indicating the cutting is alive and responding.Do’s and Don’ts of Water Propagation
Avoiding root rot means steering clear of common mistakes. The following table outlines key practices to embrace and those to avoid:
Do Don’t Change water weekly Let water become cloudy or scummy Use clean, sterilized tools Cut stems with dirty scissors Keep only nodes submerged Leave leaves in water Place in bright, indirect light Expose to direct sun or dark corners Inspect roots weekly Ignore foul odors or discoloration Real Example: Recovering from Early Rot
Sarah, a plant enthusiast in Portland, started propagating a golden pothos in mid-spring. After two weeks, she noticed the water had turned slightly cloudy and one cutting developed soft, brown roots. Instead of discarding everything, she isolated the affected cutting and sanitized her remaining jars.
She rinsed the healthy cuttings under lukewarm water, removed any deteriorating tissue with sterilized scissors, and placed them in fresh water in cleaned containers. She began changing water every five days instead of weekly and positioned the jars farther from the sunny windowsill to reduce heat exposure.
Within ten days, new white roots emerged. By adjusting her routine early, Sarah saved 80% of her propagation batch. Her experience underscores the importance of vigilance and timely intervention.
Enhancing Success with Natural Additives
Some growers use natural methods to inhibit microbial growth without resorting to chemicals. While not required, these can provide an extra layer of protection:
- Charcoal Chips: A small piece of horticultural charcoal added to the water helps absorb impurities and stabilize pH, reducing bacterial proliferation.
- Cinnamon Powder: Though typically used on soil cuttings, a light dusting on the cut end before placing in water may offer mild antifungal properties. Evidence is anecdotal but low-risk.
- Hydrogen Peroxide (Diluted): A single drop of 3% hydrogen peroxide per cup of water during a water change can oxygenate the solution and kill anaerobic bacteria. Do not use regularly—once every few weeks at most.
These additives are supportive, not substitutes for regular maintenance. Clean water and consistent care remain the most effective defenses against rot.
FAQ
Can I save a pothos cutting with minor root rot?
Yes, if caught early. Remove the cutting from water, trim away all brown or mushy parts with sterilized scissors, and rinse the healthy stem under running water. Place it in fresh, clean water and increase the frequency of water changes. Monitor closely for recovery over the next week.
How long does it take for pothos to root in water?
Most cuttings develop visible root nubs within 7–10 days. Functional roots suitable for transplanting typically reach 1–2 inches in length after 3–6 weeks, depending on light, temperature, and vine health.
Is it better to propagate pothos in water or soil?
Water propagation offers visibility and control, making it ideal for learning and sharing. Soil propagation avoids the shock of transitioning from water to soil but provides less visibility into root development. For beginners aiming to avoid rot, water with strict hygiene is often more reliable.
Checklist for Rot-Free Pothos Propagation
Follow this concise checklist to ensure every step supports healthy root growth:
- ☐ Select a healthy stem with 2–3 nodes
- ☐ Cut below a node using sterilized tools
- ☐ Remove leaves that would submerge
- ☐ Use a clean, transparent container
- ☐ Fill with room-temperature, dechlorinated water
- ☐ Submerge only the nodes
- ☐ Place in bright, indirect light
- ☐ Change water every 5–7 days
- ☐ Inspect roots weekly for color and texture
- ☐ Transition to soil when roots are 1–2 inches long (optional but recommended)
Conclusion: Healthy Roots, Healthier Plants
Propagating pothos in water doesn’t have to lead to disappointment. With mindful preparation and consistent care, you can produce strong, vibrant cuttings free from root rot. The key lies not in complex equipment or rare products, but in diligence—regular water changes, cleanliness, and observation. These simple habits create an environment where roots thrive and decay cannot gain a foothold.
Whether you're growing to fill a shelf, gift a friend, or simply enjoy the process, each successful propagation deepens your connection to the quiet rhythm of plant life. Start with one cutting, apply these guidelines, and watch your confidence—and your plant collection—grow.
💬 Have a propagation success story or tip? Share your experience in the comments—your insight might help another grower avoid rot and achieve thriving roots!


 浙公网安备
33010002000092号
浙公网安备
33010002000092号 浙B2-20120091-4
Comments
No comments yet. Why don't you start the discussion?