
A damp basement isn’t just uncomfortable—it can lead to mold growth, structural damage, musty odors, and even health issues over time. While dehumidifiers are the go-to solution, not everyone has access to one or wants to invest in electricity-heavy appliances. The good news is that you can effectively reduce humidity in your basement using simple, low-cost, and machine-free techniques. With the right combination of ventilation, moisture absorption, and environmental control, you can dry out a damp space fast—sometimes within 24 to 48 hours.
This guide walks through proven strategies backed by building science and real-world application. Whether you're dealing with seasonal moisture, minor flooding aftermath, or persistent humidity, these methods will help restore dryness and improve air quality—without plugging in a single appliance.
Understand the Source of Moisture First
Before launching into drying techniques, identify where the moisture is coming from. Treating symptoms without addressing causes leads to temporary fixes at best. Common sources include:
- Condensation: Warm, humid air meets cool basement walls or floors.
- Groundwater seepage: Water enters through cracks, joints, or porous concrete.
- Poor drainage: Gutters, downspouts, or grading direct water toward the foundation.
- Plumbing leaks: Hidden pipe leaks or malfunctioning sump pumps.
- Lack of ventilation: Stagnant air traps moisture indoors.
If water is actively entering your basement, stop the source first. Repair cracks, redirect downspouts, fix leaking pipes, or consult a foundation specialist if needed. Once the influx is under control, proceed with dehumidifying the existing moisture.
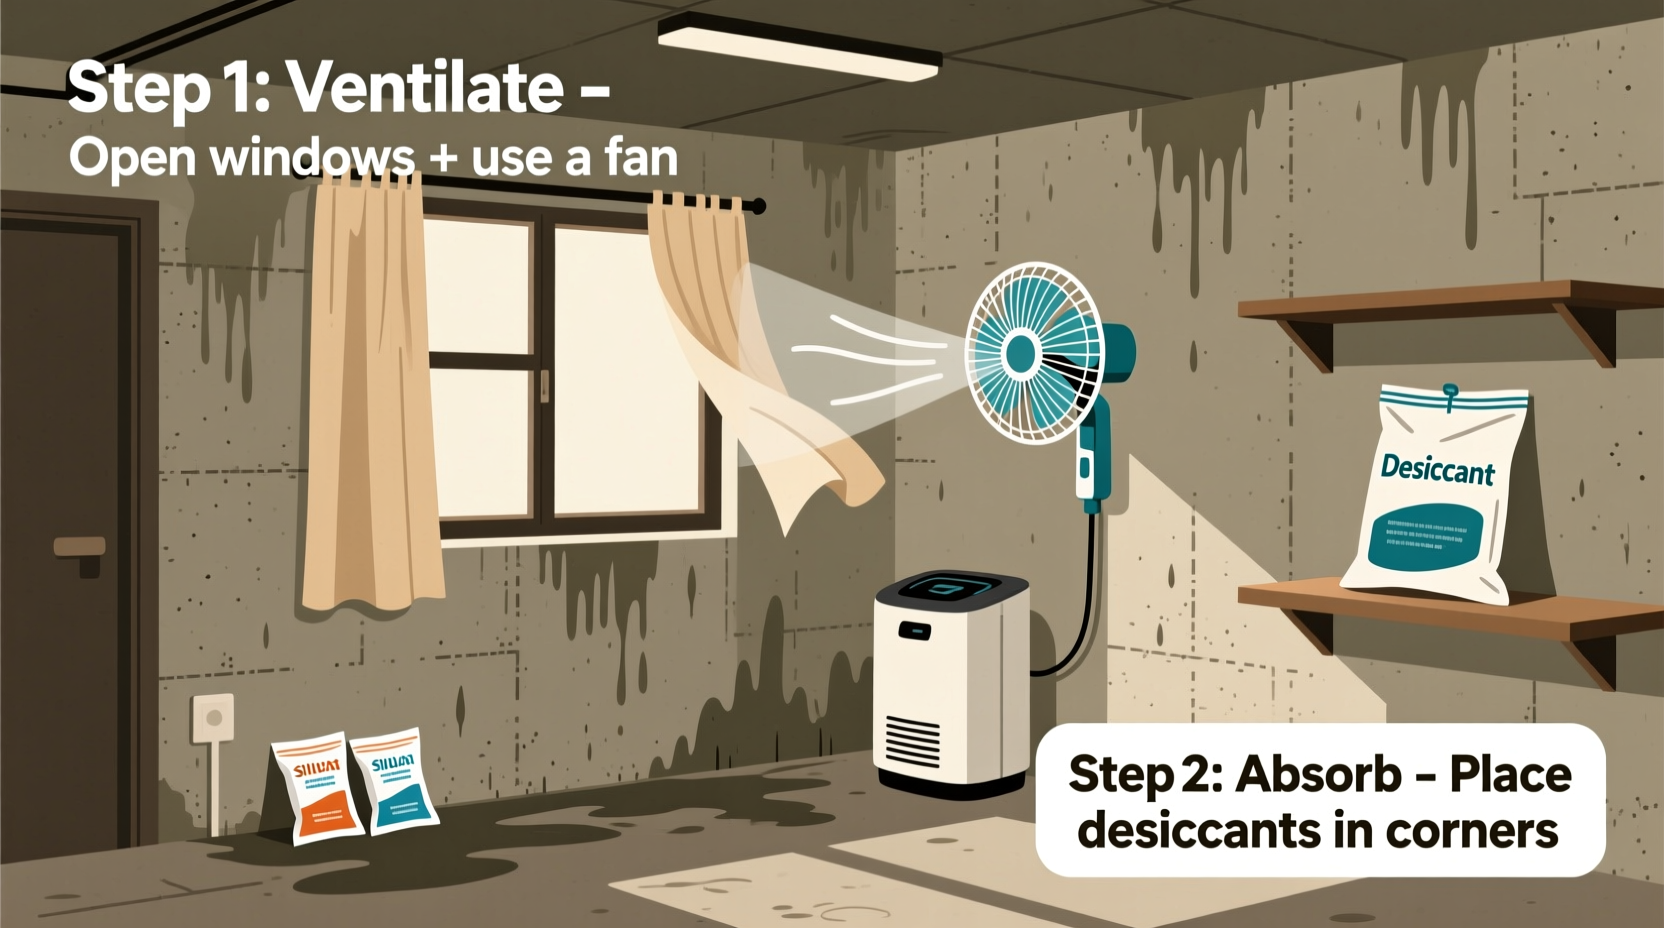
Maximize Natural Airflow and Ventilation
One of the fastest ways to remove humidity is by replacing moist indoor air with drier outdoor air. This works best when outdoor humidity is lower than indoor levels—typically during cooler, drier parts of the day.
Open windows and doors on opposite sides of the basement to create cross-ventilation. Use fans to push air out near high points (where warm, moist air rises) and pull fresh air in from lower openings. Ceiling vents or window exhaust fans can also accelerate air exchange.
Avoid ventilating during rainy periods or high-humidity days (above 60% relative humidity). Check your local weather app before starting. Early mornings in late spring, summer, or early fall often offer the driest outdoor conditions.
“Air movement is more critical than temperature when managing basement moisture. Even modest airflow can reduce surface condensation significantly.” — Dr. Alan F. Tenzer, Indoor Environmental Scientist
Step-by-Step: Creating Effective Cross-Ventilation
- Identify two or more access points (windows, doors, egress wells).
- Clear obstructions around openings (furniture, boxes, screens).
- Place a box fan in an exit opening, facing outward.
- Open an intake point on the opposite side of the room.
- Run fans for 4–6 hours during optimal outdoor conditions.
- Monitor humidity with a hygrometer; repeat as needed.
Use Natural Absorbents to Pull Moisture from the Air
When mechanical dehumidifiers aren’t available, hygroscopic materials—substances that attract and hold water molecules—can be highly effective. These act as passive dehumidifiers, especially in enclosed or poorly ventilated spaces.
Salt-Based Solutions
Rock salt (sodium chloride) is naturally hygroscopic. Placed in open containers, it draws moisture from the air and collects it at the bottom.
To use: Fill a large bucket with rock salt and place smaller perforated containers (like mesh bags or yogurt cups with holes) inside. As moisture accumulates, empty the collected water regularly. Replace salt when it dissolves completely.
Calcium Chloride: A More Powerful Alternative
Calcium chloride is far more effective than table or rock salt. It’s commonly sold as a pool chemical or ice melt product. One pound can absorb several pints of water vapor.
Place calcium chloride in breathable containers (e.g., nylon stockings or cheesecloth) suspended over collection trays. Avoid direct contact with concrete, as it can cause spalling over time.
Baking Soda and Silica Gel
While less powerful, baking soda helps reduce mild moisture and neutralizes odors. Place open boxes in corners or near damp walls. Silica gel packets (saved from shoeboxes, electronics, or purchased in bulk) can be reused by heating them in an oven at 200°F for 2–3 hours to release absorbed moisture.
| Absorbent Material | Effectiveness | Best For | Reusability |
|---|---|---|---|
| Rock Salt | Moderate | Small spaces, short-term use | No (dissolves) |
| Calcium Chloride | High | Large basements, high humidity | No (but long-lasting) |
| Baking Soda | Low | Odor control, light moisture | No |
| Silica Gel | Medium | Closets, storage bins | Yes (oven-dry) |
Deploy DIY Dehumidifying Traps
You can build simple, low-cost devices that enhance moisture capture. These work passively but become more effective when combined with airflow.
Charcoal Moisture Trap
Activated charcoal absorbs both moisture and odors. Fill a burlap sack or breathable cloth bag with activated charcoal and hang it in a damp corner. Replace every 2–3 weeks or when it feels heavy.
Rice Desiccant Jar
Uncooked rice is mildly hygroscopic. Place it in a wide-mouth jar covered with a cloth secured by a rubber band. Set it near problem areas. While not strong enough for whole-basement drying, it helps in cabinets or enclosed shelves.
Homemade Calcium Chloride Bucket System
Create a self-draining dehumidifier:
- Take a 5-gallon bucket and drill small holes in the lid.
- Pour 2–3 pounds of calcium chloride pellets into the bucket.
- Screw the lid on tightly and place the bucket on bricks or a stand.
- Put a second empty bucket underneath to catch dripping liquid.
The calcium chloride absorbs moisture through the holes, dissolves, and drains into the lower bucket. Empty weekly and refill as needed.
Control Temperature and Reduce Condensation Risks
Cool surfaces promote condensation when warm, humid air contacts them. Raising the basement temperature slightly—even by 5–10°F—can prevent dew formation on walls and floors.
If you have a furnace or radiant heating system, run it briefly each day during the drying phase. Avoid overheating, which can trap moisture if ventilation isn't adequate.
Insulate cold water pipes with foam sleeves to prevent sweating. Wrap exposed ductwork if condensation forms on metal surfaces. Seal gaps around windows and utility entries with caulk to reduce drafts that carry in humid air.
Also, avoid activities that add moisture—such as drying clothes indoors, showering, or cooking—in or near the basement until humidity drops below 50%.
Mini Case Study: Drying a Seasonally Damp Basement in Ohio
Mark, a homeowner in Columbus, noticed his unfinished basement felt clammy every spring. He didn’t own a dehumidifier and wanted a quick fix before storing winter gear. After checking for leaks and ensuring gutters diverted water away, he opened two egress windows on opposite ends. He placed a box fan in one, blowing air out, and ran it for six hours during a dry afternoon (outdoor RH: 45%).
He then set up three homemade calcium chloride buckets in corners and scattered open boxes of baking soda near stored items. Within 36 hours, the musty smell faded, and a handheld hygrometer showed humidity dropped from 72% to 48%. Mark repeated the process monthly during humid seasons and maintained a dry environment without purchasing equipment.
Checklist: Quick-Action Plan to Dehumidify Without a Machine
- ✅ Inspect for active water intrusion and repair leaks.
- ✅ Measure current humidity with a hygrometer (ideal target: 30–50%).
- ✅ Open windows during dry outdoor conditions (RH < 60%).
- ✅ Use fans to create cross-ventilation (exhaust + intake).
- ✅ Place calcium chloride or rock salt in strategic locations.
- ✅ Deploy DIY traps (charcoal, rice, or layered bucket systems).
- ✅ Raise basement temperature slightly if possible.
- ✅ Insulate cold pipes and seal air leaks.
- ✅ Monitor progress daily and replace absorbents as needed.
- ✅ Repeat airflow sessions until humidity stabilizes.
Frequently Asked Questions
How long does it take to dehumidify a basement without a machine?
With active ventilation and absorbents, noticeable improvement occurs within 24–48 hours. Full stabilization may take 3–7 days, depending on initial moisture levels, basement size, and consistency of efforts. Larger or severely damp spaces may require ongoing maintenance.
Can I use kitty litter to absorb basement moisture?
Yes, clay-based non-clumping kitty litter is hygroscopic and can help reduce humidity. Spread it in shallow pans or breathable bags around the basement. Replace when saturated. Avoid scented varieties, as they may introduce unwanted odors. Clumping litter is less effective for this purpose.
Is opening basement windows safe in terms of security and pests?
Ensure windows have secure grates or locks. Use window stops to limit opening width while allowing airflow. Install fine mesh screens to keep out insects and rodents. Never leave basement windows unattended during extended ventilation periods, especially at night.
Final Thoughts and Action Steps
Damp basements don’t require expensive machinery to fix. By combining smart airflow, natural desiccants, and basic home modifications, you can achieve significant dehumidification quickly and affordably. The key is acting promptly and consistently—especially during humid seasons.
Start today: assess your basement’s condition, gather inexpensive supplies like calcium chloride or fans, and implement one or more of the strategies outlined here. Monitor humidity levels and adjust your approach based on results. Over time, these habits not only dry your space but also prevent mold, protect stored items, and improve indoor air quality throughout your home.


 浙公网安备
33010002000092号
浙公网安备
33010002000092号 浙B2-20120091-4
Comments
No comments yet. Why don't you start the discussion?