
Water damage is one of the most common yet preventable issues affecting smartphones today. Whether it's a splash from the sink, an accidental drop in a puddle, or a drink spilled on your desk, moisture trapped in your phone’s speaker can lead to muffled sound, distortion, or even permanent hardware failure. The good news? Immediate action can make all the difference. With the right techniques, you can often restore full audio function within minutes—without needing professional repair.
This guide walks through scientifically backed, field-tested methods for removing water from your phone speaker quickly and safely. From immediate response steps to long-term prevention, you’ll learn exactly what to do—and what not to do—when liquid invades your device’s audio components.
Why Water in the Speaker Is a Serious Problem
The speaker on modern smartphones is a precision-engineered component designed to deliver clear audio at high efficiency. When water enters the speaker grille, it doesn’t just sit on the surface—it can seep into the internal diaphragm and voice coil, disrupting vibrations necessary for sound production. Even small amounts of moisture can cause:
- Muffled or distorted audio during calls and media playback
- Reduced volume output
- Short circuits if the phone is powered while wet
- Corrosion over time, leading to permanent speaker failure
Unlike older devices with removable batteries, most modern phones are sealed units. This means you can't simply open them up to dry internal parts. However, physics and airflow can work in your favor—if applied correctly.
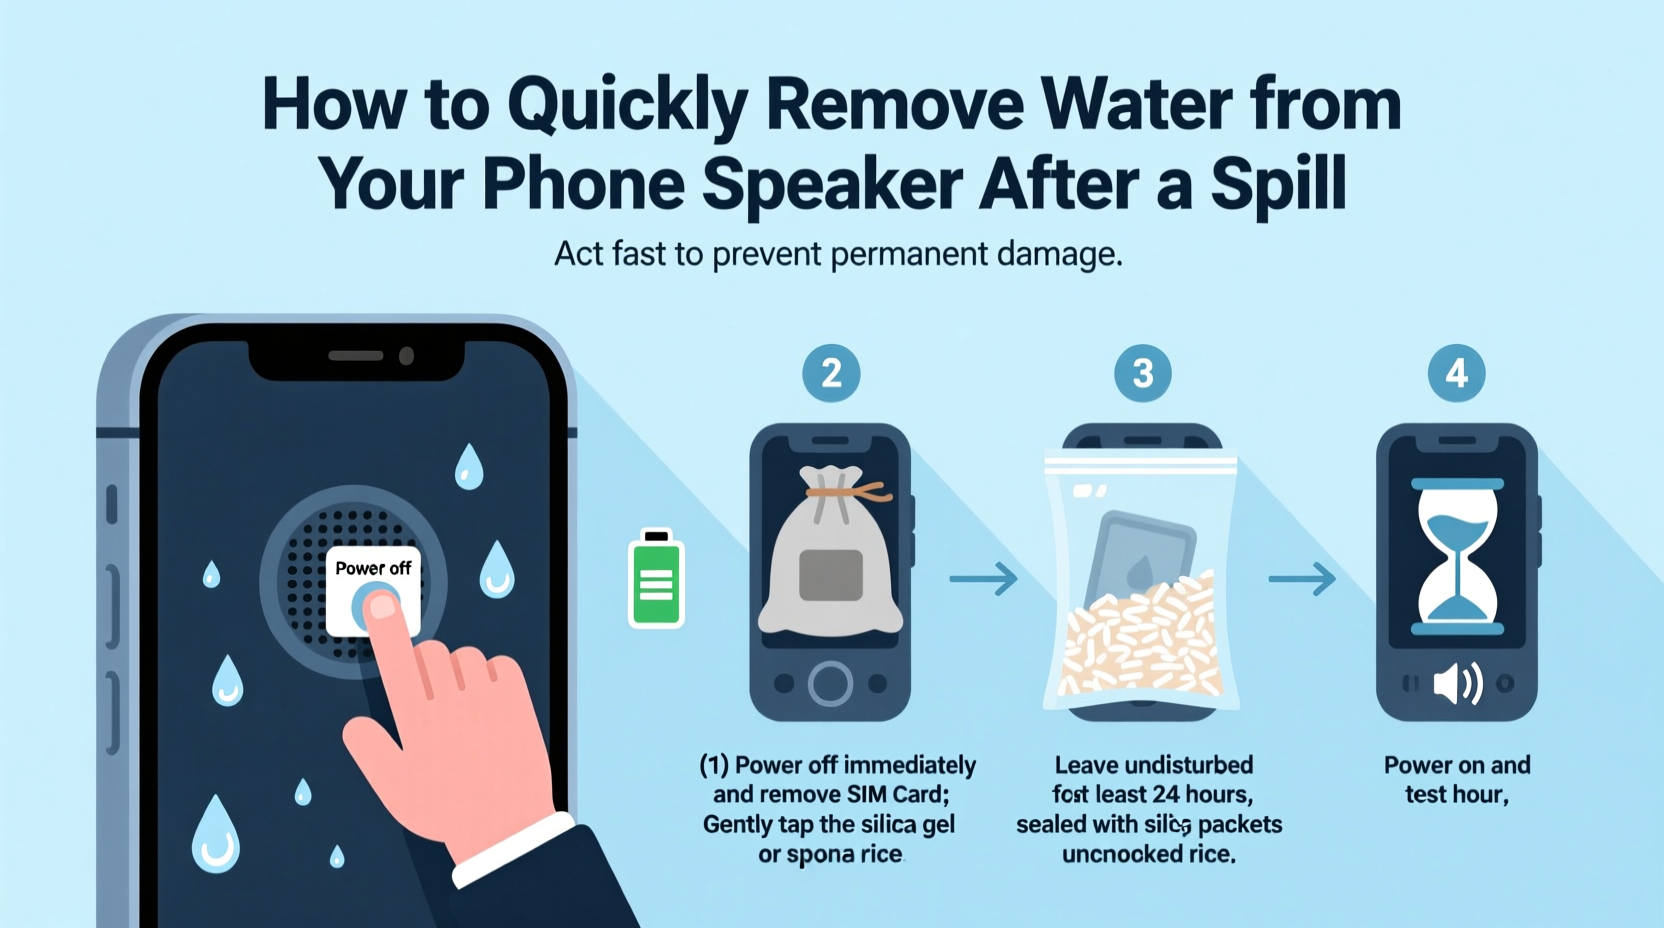
Step-by-Step Guide to Remove Water from Your Phone Speaker
Time is critical. The longer water remains inside the speaker, the higher the risk of permanent damage. Follow this 7-step process immediately after exposure:
- Power Off Immediately: If your phone is still on, turn it off right away. Operating a wet electronic device increases the chance of short circuits.
- Remove External Accessories: Take off cases, screen protectors, or charging cables. These can trap moisture against the phone body.
- Wipe Down the Surface: Use a soft, lint-free cloth (like microfiber) to gently dry the exterior. Tilt the phone with the speaker facing down to encourage drainage.
- Avoid Heat Sources: Do not use hairdryers, microwaves, or direct sunlight. Excessive heat can warp internal components or melt adhesives.
- Use Gravity and Motion: Hold the phone with the speaker side down and gently shake it in short, controlled motions. This helps dislodge trapped droplets.
- Activate Speaker-Drying Apps (Optional): Some Android phones support built-in tools like “Remove Liquid from Speaker” (found in Settings > Sounds and vibration). These emit low-frequency sound waves to vibrate water out.
- Wait and Air Dry: Place the phone in a dry, well-ventilated area for at least 2–3 hours before turning it back on.
For faster results, combine gravity with acoustic vibration—a method increasingly used by technicians.
Using Sound Frequencies to Expel Water
Low-frequency tones create vibrations that push water droplets out of tight spaces. You don’t need special equipment—just a YouTube video or app that plays a 165 Hz sine wave tone. Here’s how:
- Search “speaker dryer” or “water eject sound” on YouTube.
- Play the video at moderate volume (not maximum).
- Hold the phone upside-down, speaker facing the floor.
- Let the tone run for 1–2 minutes.
This technique leverages resonance to shake free trapped moisture without damaging the driver. It works best when combined with gentle tapping on the phone’s back to loosen water.
“Acoustic drying isn’t a myth—it’s rooted in physics. Low-frequency vibrations reduce surface tension and help water escape tiny ports.” — Dr. Alan Zhou, Electronics Engineer at Mobile Diagnostics Lab
Do’s and Don’ts: What to Avoid When Drying Your Phone
Many popular home remedies can do more harm than good. Below is a comparison of recommended actions versus dangerous myths.
| Do’s | Don’ts |
|---|---|
| Turn off the phone immediately | Keep using the phone while wet |
| Wipe with a microfiber cloth | Shake aggressively—this can spread water internally |
| Use silica gel packets for drying | Place in rice—ineffective and may introduce dust |
| Use speaker-drying apps or tones | Blow hot air from a hairdryer directly into ports |
| Air dry in a ventilated space | Charge the phone before ensuring it’s dry |
Real Example: Recovering Audio After a Coffee Spill
Sophie, a freelance designer in Portland, knocked over her latte while working at her kitchen table. Her iPhone landed screen-up in a shallow pool of coffee. She reacted quickly:
- She powered it off within 10 seconds.
- She wiped it down and removed the case.
- Holding it speaker-down, she gently tapped the back to drain liquid.
- She played a 165 Hz drying tone for 90 seconds.
- After two hours of air drying near a fan (not blowing directly), she turned it on.
The speaker initially sounded slightly muffled, so she repeated the sound frequency method. By the third round, audio returned to normal. No lasting damage occurred. Sophie credits her success to avoiding rice and acting fast—within the first five minutes.
Alternative Methods and Tools
While time and airflow are your best allies, some tools can accelerate the drying process:
1. Vacuum Method (Low Suction Only)
Using a vacuum cleaner on its lowest setting, hold the hose near—but not touching—the speaker grille. The suction can pull out moisture without introducing static. Never use a compressed air can; it forces moisture deeper.
2. Desiccant Chambers
Seal your phone in a container with desiccants like silica gel, calcium chloride, or even instant oats (in a cloth bag). These materials absorb ambient moisture more effectively than rice. Leave for 6–12 hours.
3. Professional Drying Devices
Products like Gadget Dry or DryBox use heated airflow and vacuum technology to extract moisture safely. While not essential for every user, they’re ideal for frequent travelers or those in humid climates.
Checklist: Emergency Response to Speaker Water Exposure
Print or save this checklist for quick reference:
- ✅ Turn off the phone immediately
- ✅ Remove case, SIM tray, and accessories
- ✅ Wipe exterior with a dry microfiber cloth
- ✅ Position phone speaker-down on absorbent material
- ✅ Gently tap the back to dislodge water
- ✅ Play a low-frequency drying tone (165 Hz)
- ✅ Place in a dry, ventilated area (use desiccants if available)
- ✅ Wait at least 2–3 hours before powering on
- ✅ Test speaker with a call or audio clip
- ✅ Repeat drying steps if sound remains muffled
If after 24 hours the speaker still sounds distorted and no method works, internal corrosion may have occurred. In such cases, professional repair may be necessary.
Frequently Asked Questions
Can I use rice to dry my phone speaker?
No. Despite being widely recommended, rice is ineffective at absorbing internal moisture and can leave starch particles in ports. Studies by the University of Illinois found rice removes only 13% of moisture after 48 hours—far less than silica gel or air circulation.
Will water evaporate on its own?
Yes, but slowly. Surface water may dry in a few hours, but trapped moisture can linger for days, increasing corrosion risk. Active drying methods speed up the process and improve recovery odds.
Is it safe to charge my phone after a spill if it turns on?
No. Charging introduces electrical current to potentially damp circuits. Always ensure the charging port and internal components are fully dry. Use a flashlight to inspect the port for visible moisture before connecting a cable.
Preventing Future Incidents
Once you’ve dealt with water damage, prevention becomes key. Consider these habits:
- Use waterproof cases if you frequently handle liquids near your phone.
- Enable water-repellent coatings—some newer phones come with IP67 or IP68 ratings, meaning they resist immersion up to 1.5 meters for 30 minutes.
- Avoid placing your phone near sinks, bathtubs, or drink containers.
- Invest in a portable drying kit with silica gel and a sealable pouch.
Even water-resistant phones aren’t immune to prolonged exposure. Seals degrade over time, especially after drops or repairs. Treat every spill as an emergency, regardless of your device’s rating.
Final Thoughts: Act Fast, Think Smart
Removing water from your phone speaker doesn’t require magic—just quick thinking and the right approach. The combination of immediate shutdown, strategic positioning, and targeted drying techniques gives your device the best chance of full recovery. Avoid outdated myths like rice, and instead rely on proven methods: gravity, sound vibration, and desiccants.
Most importantly, don’t panic. Stay calm, follow the steps outlined here, and give your phone time to recover. With practice, you’ll develop a routine that protects your investment and keeps your audio crystal clear—even after life’s little accidents.


 浙公网安备
33010002000092号
浙公网安备
33010002000092号 浙B2-20120091-4
Comments
No comments yet. Why don't you start the discussion?