
Recording gameplay has become a standard practice for streamers, content creators, and even casual gamers who want to preserve epic moments. However, many users face a common issue: lag during capture. This can degrade both the gaming experience and video quality. The good news is that you don’t need expensive software or hardware upgrades to achieve smooth, high-quality recordings. With the right tools and optimization techniques, it’s entirely possible to record gameplay on your PC without lag—using only free software.
The key lies in balancing system resources, selecting efficient recording software, and configuring settings that minimize CPU and GPU load. This guide walks through proven methods, top free tools, and expert-backed strategies to help you capture seamless gameplay footage without sacrificing performance.
Understanding Why Lag Occurs During Game Recording
Lag during gameplay recording isn’t just an annoyance—it’s often a symptom of resource mismanagement. When you record your screen, your PC performs additional tasks beyond running the game: encoding video data, writing files to disk, and managing input/output operations. These processes consume CPU, GPU, RAM, and storage bandwidth.
Most built-in or third-party screen recorders default to software encoding (using the CPU), which can overwhelm older or mid-tier processors. High-resolution captures at 60fps with stereo audio multiply this burden. As a result, frame rates drop, input response slows, and stuttering occurs.
Modern solutions leverage hardware-accelerated encoding (via GPU), which offloads video compression from the CPU to dedicated chips like NVIDIA NVENC, AMD VCE, or Intel Quick Sync Video. This dramatically reduces performance impact—and many free recording tools now support these technologies.
“Hardware encoding changed the game for PC recording. It allows real-time capture with minimal overhead, especially when paired with optimized bitrates.” — David Lin, Streaming Technology Analyst at GameDev Weekly
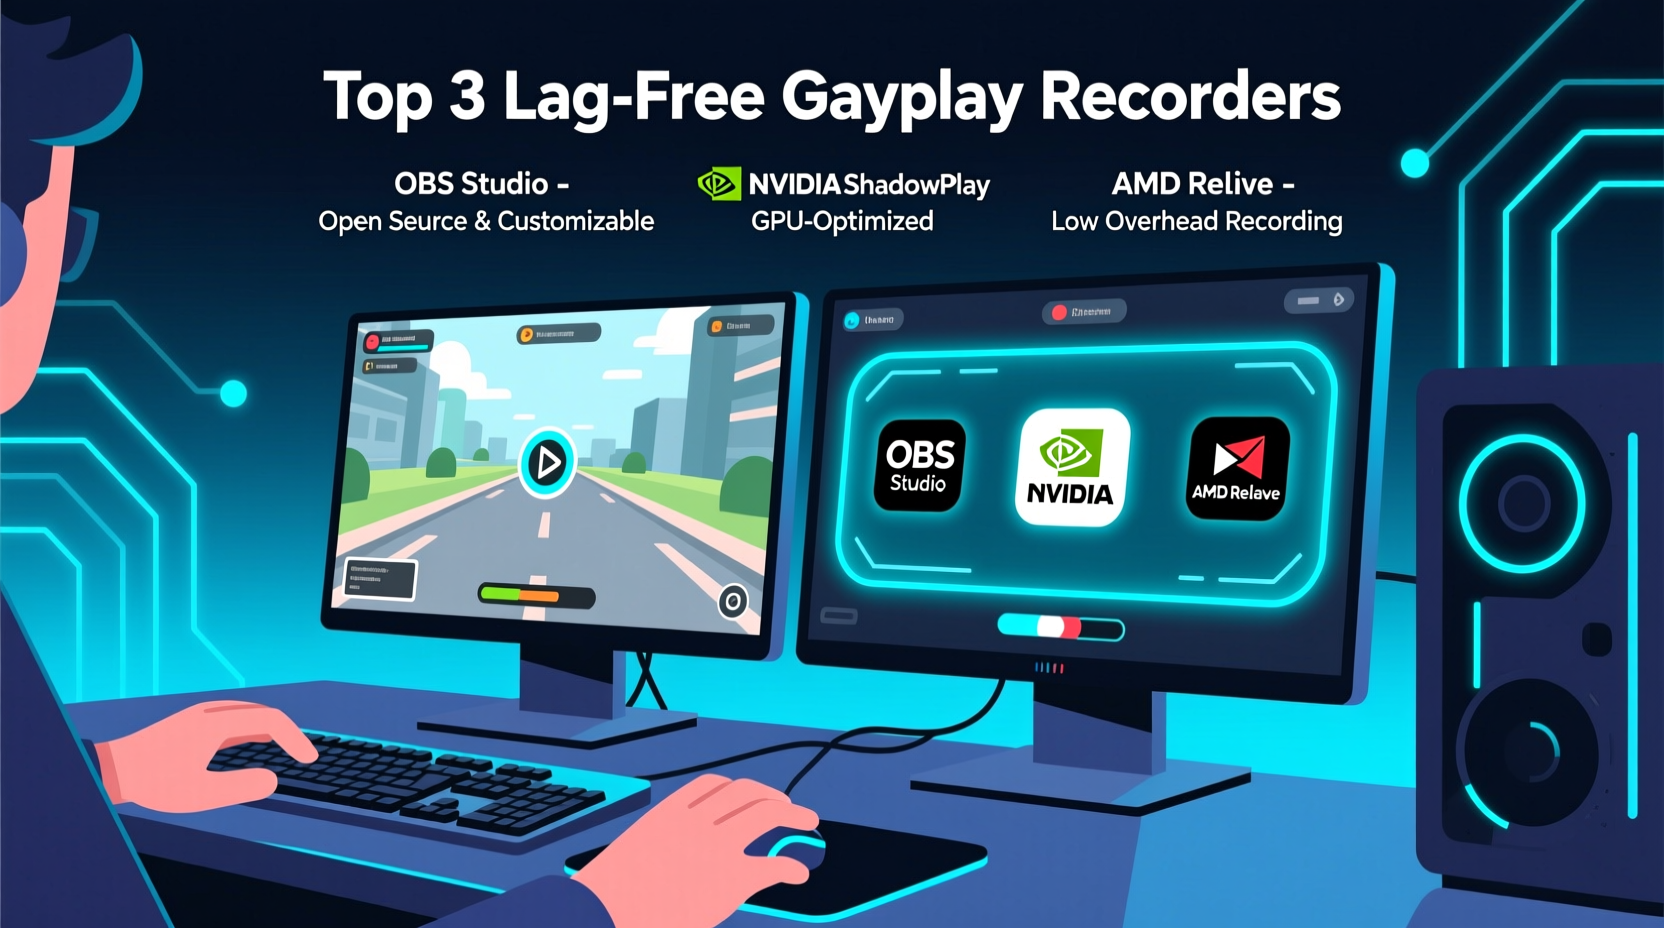
Top Free Software Options That Minimize Lag
Not all free screen recorders are created equal. Some drain system resources; others intelligently balance quality and performance. Below are five reliable, completely free tools known for low-latency gameplay capture.
| Software | Encoding Type | Max Quality | System Impact | Best For |
|---|---|---|---|---|
| OBS Studio | NVENC, VCE, QSV, x264 | 4K @ 60fps | Low (with GPU encoding) | Advanced users, live streaming + recording |
| Windows Game Bar | NVENC / VCE (auto) | 1080p @ 60fps | Very Low | Casual recording, quick clips |
| FlashBack Express | H.264 (GPU-assisted) | 1080p @ 30–60fps | Low | Simplicity-focused users |
| ShareX | FFmpeg + GPU encoders | Customizable | Moderate (configurable) | Power users needing automation |
| WD Black Dashboard (Free) | NVENC-only | 1080p @ 60fps | Low | NVIDIA GPU owners seeking simplicity |
Among these, OBS Studio stands out as the most powerful and flexible option. Despite its learning curve, it offers granular control over every aspect of capture, including scene composition, audio mixing, and encoder settings. Crucially, OBS supports all major hardware encoders and allows fine-tuning of bitrate and keyframe intervals—key factors in reducing lag.
Windows Game Bar, preinstalled on Windows 10 and 11, runs efficiently in the background and activates with Win+G. Its automatic use of GPU encoding makes it ideal for spontaneous recording without setup time.
Step-by-Step Guide to Lag-Free Recording Using OBS Studio
OBS Studio is free, open-source, and capable of producing broadcast-quality recordings with near-zero performance loss when configured correctly. Follow this sequence to set it up for optimal results.
- Download and install OBS Studio from obsproject.com. Choose the 64-bit version for better stability.
- Launch OBS and go to Settings > Video. Set the base and output resolution to match your monitor (e.g., 1920x1080). Set FPS to 60 if your game runs at high frame rates.
- Navigate to Settings > Output. Under “Output Mode,” select “Advanced” for full encoder access.
- In the “Recording” tab, choose your preferred format (MP4 or MKV recommended). Set the encoder to:
- NVIDIA NVENC H.264 (if using GTX 900 series or newer)
- AMD AMF H.265 (for Radeon RX 5000+ GPUs)
- Intel Quick Sync (for integrated UHD Graphics 600+)
- Set the rate control to CBR (Constant Bitrate) and adjust bitrate based on resolution:
- 720p: 15–20 Mbps
- 1080p: 20–30 Mbps
- 1440p+: 35–50 Mbps
- Under “Audio,” ensure desktop and mic sources are added and levels are balanced.
- Click “Apply” and return to the main window. Add a “Game Capture” source and select your target application.
- Test recording for 2 minutes while playing. Monitor system performance via Task Manager or OBS’s stats panel.
- If lag persists, lower the resolution or bitrate incrementally until performance stabilizes.
Optimizing Your System for Smooth Capture
Even the best software won’t eliminate lag if your system isn’t tuned properly. Background processes, outdated drivers, and inefficient storage setups can cripple recording performance.
Start by closing unnecessary applications—especially web browsers with multiple tabs, cloud sync tools, and chat clients. These consume RAM and CPU cycles that could otherwise support smooth encoding.
Ensure your graphics drivers are up to date. NVIDIA, AMD, and Intel regularly release optimizations for NVENC, VCE, and Quick Sync. Outdated drivers may lack proper encoder support or contain bugs affecting performance.
Use an SSD for recording output whenever possible. Writing large video files to a slow HDD increases I/O wait times and can cause dropped frames. If using an HDD, defragment it weekly and leave at least 15% free space for efficient writes.
- Disable fullscreen optimizations for your game (right-click .exe > Properties > Compatibility)
- Run games and OBS in high-performance power mode
- Set OBS process priority to “High” in Settings > Advanced > Process Priority
- Enable Game Mode in Windows Settings > Gaming
“Many users overlook disk speed. A fast NVMe drive can handle 4K recording smoothly, while a fragmented HDD might struggle with 720p.” — Maria Chen, Systems Performance Engineer
Real Example: Reducing Lag in Elden Ring Recordings
A user named Jordan attempted to record boss fights in Elden Ring using Fraps but experienced severe stuttering—dropping from 60fps to 25fps during intense scenes. After switching to OBS Studio and reconfiguring settings, performance improved drastically.
Jordan used a mid-range build: Ryzen 5 5600X, RTX 3060, 16GB RAM, and a SATA SSD. Initially, OBS was set to software encoding (x264), causing excessive CPU usage. By changing the encoder to NVIDIA NVENC and lowering the bitrate from 50 Mbps to 25 Mbps, CPU utilization dropped from 85% to 45%. Gameplay remained stable at 55–60fps, and recorded video retained sharp detail with no visible compression artifacts.
This case illustrates that even modest systems can handle high-quality recording when hardware acceleration is properly utilized. The bottleneck wasn’t the PC—it was inefficient software configuration.
Checklist: How to Record Gameplay Without Lag (Free Tools)
Follow this checklist before starting your next recording session:
- ✅ Confirm GPU supports hardware encoding (NVENC, VCE, or Quick Sync)
- ✅ Install latest graphics drivers
- ✅ Use OBS Studio or Windows Game Bar with GPU encoder enabled
- ✅ Close background apps (Discord, Chrome, etc.)
- ✅ Set recording bitrate appropriate to resolution
- ✅ Save videos to an SSD, not a mechanical hard drive
- ✅ Test recording with a short gameplay clip before long sessions
- ✅ Monitor performance using Task Manager or OBS stats
Frequently Asked Questions
Can I record 1080p gameplay at 60fps without lag on a budget PC?
Yes, provided your GPU supports hardware encoding (e.g., GTX 1050 or higher, RX 400 series+, Intel UHD 630+). Use OBS with NVENC/AMF and keep bitrates under 30 Mbps. Lower in-game graphics settings slightly if needed.
Why does my recording look choppy even though gameplay feels smooth?
Choppy playback usually indicates dropped frames during recording. Check OBS logs for \"skipped frames\" messages. Causes include insufficient disk speed, high bitrate, or incorrect encoder settings. Reduce resolution or switch to a faster drive.
Is Windows Game Bar good enough for YouTube uploads?
Absolutely. Game Bar records in high-efficiency H.265 (HEVC) when available, producing small file sizes with excellent quality. It’s perfect for vlog-style gameplay videos or highlights. Just ensure “Video Quality” is set to “High” in Xbox app settings.
Final Recommendations for Seamless Recording
Recording gameplay without lag doesn’t require premium software or a high-end rig. The foundation of smooth capture lies in smart tool selection and proper system tuning. Leverage hardware encoding, prioritize performance-friendly settings, and maintain a clean computing environment.
OBS Studio remains the gold standard among free tools due to its flexibility and robust feature set. Meanwhile, Windows Game Bar offers plug-and-play convenience for everyday use. Both are capable of producing professional-grade results when used correctly.
Remember, optimization is iterative. Start with conservative settings, test thoroughly, and adjust based on actual performance. Small tweaks—like lowering bitrate by 5 Mbps or switching from MP4 to MKV—can make a noticeable difference.


 浙公网安备
33010002000092号
浙公网安备
33010002000092号 浙B2-20120091-4
Comments
No comments yet. Why don't you start the discussion?