
Recording gameplay has become essential for players who want to share highlights, create walkthroughs, or analyze performance. While third-party software like OBS or Streamlabs is popular, not everyone wants the complexity or system overhead. The good news: modern operating systems and consoles come equipped with powerful built-in recording tools that deliver crisp, lag-free captures—when used correctly. With the right settings and workflow, you can produce professional-grade footage without installing a single additional program.
Understanding Built-In Game Recording Capabilities
Most current platforms include native screen capture features optimized specifically for gaming. These tools run efficiently in the background, minimizing performance impact while offering solid video quality. They also integrate seamlessly with your hardware, ensuring compatibility and stability.
Key platforms with robust built-in recording:
- Windows 10/11 – Game Bar (via Xbox Game Bar)
- macOS – Screenshot tool with game recording mode
- Xbox Series X|S and Xbox One – Instant-on recordings and clips
- PlayStation 5 and PS4 – Create button and automatic saving
- Nintendo Switch – Basic clip capture through the HOME menu
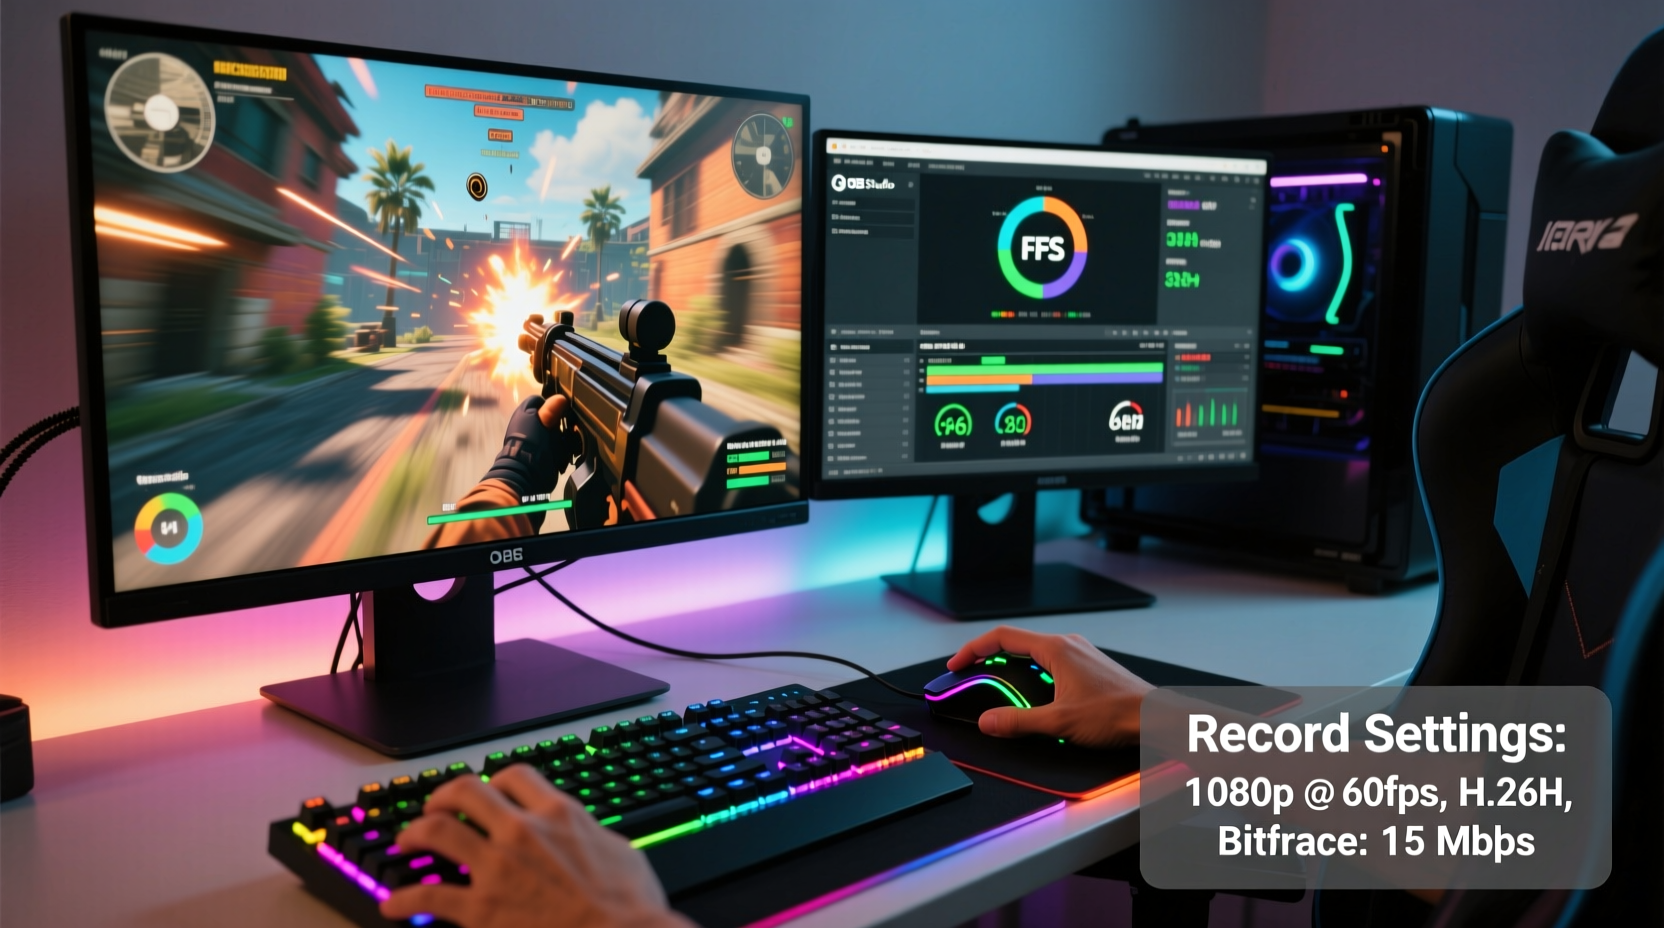
These tools typically support up to 1080p at 60fps, with audio mixing options for system and microphone input. While they may lack advanced editing features, their simplicity makes them ideal for quick, high-quality captures.
Step-by-Step Guide: Recording on Windows 10/11 Using Game Bar
The Xbox Game Bar is Microsoft’s integrated solution for capturing gameplay, accessible across all DirectX 12-compatible games. It's lightweight, fast, and supports full HD recording out of the box.
- Enable Game Bar: Press Win + G during a game session. If prompted, confirm that the app is a game.
- Check Settings: Click the Settings icon (gear) in Game Bar. Navigate to Captures.
- Set Video Quality: Choose “High” quality under “Recorded video quality.” This enables 1080p at 60fps if supported by your GPU.
- Configure Audio Mix: Under “Audio,” ensure both system sound and microphone are enabled if you plan to narrate.
- Select Save Location: Set your default save folder—preferably an SSD or fast drive to avoid write bottlenecks.
- Start Recording: Click the red record button or press Win + Alt + R to begin.
- Stop & Review: Press the same shortcut to stop. Your clip will save automatically to the Videos/Captures folder.
To access longer recordings, use the Widgets panel (Win + Alt + W) for a compact overlay that shows recording time and mic levels.
“We designed Game Bar to be invisible until you need it. Performance impact should be under 3% on modern systems.” — Mike Angiulo, Former Corporate VP, Microsoft Gaming Platforms
Optimizing macOS for High-Quality Game Capture
While macOS isn’t traditionally seen as a gaming platform, Apple Silicon Macs now support many Apple Arcade and Steam titles. The built-in Screenshot tool doubles as a capable recorder for these sessions.
Starting a recording:
- Press Cmd + Shift + 5 to open the Screenshot control panel.
- Select “Record the entire screen” or “Record a selected portion.”
- Click “Options” to choose audio source (internal mic or none), and set save location.
- Click “Record” and then click anywhere to start.
For fullscreen games running in dedicated windows (e.g., via Cider or PlayOnMac), this method works reliably. However, some full-screen Metal-based games may not allow audio capture due to system restrictions.
Maximum output is limited to 1080p at 30fps unless recorded via external loop-through devices. For higher frame rates, consider QuickTime Player with screen recording permissions enabled in Security & Privacy settings.
Console Recording: PlayStation, Xbox, and Switch
Gaming consoles offer the most streamlined experience for built-in recording, thanks to deep firmware integration and standardized hardware.
PlayStation 5/PS4 – Use the Create Button
The Create button (replacing Share on PS4) allows instant clip creation:
- Press Create during gameplay to open the menu.
- Select “Start New Broadcast” or “Save Recent Gameplay.”
- By default, PS5 saves the last 60 minutes of gameplay in 1080p at 60fps (configurable in Settings > Captures).
- Trim clips directly on console or upload to YouTube from the Media Gallery.
You can also stream live to Twitch or YouTube via the “Broadcast Gameplay” option without additional hardware.
Xbox Series X|S and One – Clip That Moment
Xbox’s system-level recording is among the most reliable:
- Press the Xbox button, then select “Capture” > “Start recording.”
- Or press Win + Alt + R if linked to PC via Game Bar.
- Clips are saved to internal storage and synced to the cloud if enabled.
- Use “Record That” feature to retroactively save the last 30 seconds (up to 5 minutes).
All recordings default to 1080p60, with HDR passthrough available when supported by display and game.
Nintendo Switch – Simple but Limited
The Switch offers basic functionality:
- Press the Capture button (camera icon) on the left Joy-Con or Pro Controller.
- Saves up to 30–60 seconds of recent gameplay, depending on resolution and motion.
- Stored locally; must be transferred to a smartphone via the Nintendo Switch Online app for sharing.
Limitations include no microphone input, fixed duration, and compression artifacts in fast-paced scenes. Still, it’s sufficient for casual sharing.
Do’s and Don’ts of Built-In Game Recording
| Do | Don’t |
|---|---|
| Set recordings to 1080p60 where supported | Assume all games support background recording |
| Test audio mix before long sessions | Store clips on slow HDDs or near-full drives |
| Use keyboard shortcuts for faster access | Run multiple capture tools simultaneously |
| Enable cloud backup for critical clips | Ignore overheating signs during extended recording |
| Trim and rename files immediately after capture | Expect 4K recording from built-in tools (except PS5 in select cases) |
Real Example: Capturing a Competitive Win on Xbox
Daniel, a ranked Halo Infinite player, wanted to preserve his first 10-win streak. He didn’t want to install OBS due to storage limits on his older laptop. Instead, he relied solely on his Xbox Series S and Game Pass.
Before playing, he opened the Xbox Accessories app and verified that “Record That” was enabled and set to save 3-minute clips. During each match, he kept the Home screen glance active to monitor storage usage. After securing his final kill in a close 4v4 Slayer game, he pressed the Xbox button and selected “Save Recent Gameplay.”
The clip captured the entire final round in full 1080p60 with crisp spatial audio. He later uploaded it directly to Twitter via the Xbox mobile app. No extra software, no dropped frames—just seamless, built-in functionality delivering exactly what he needed.
Maximizing Quality Within Limits
Built-in tools have constraints, but smart practices can stretch their potential:
- Pre-allocate space: Reserve at least 20GB of free storage. Fragmented or full drives cause stuttering and failed writes.
- Close background apps: Reduce CPU load so more resources go to rendering and encoding.
- Adjust game settings: Lower non-essential graphics options (e.g., shadows, anti-aliasing) to maintain stable frame rates during capture.
- Use wired controllers: Avoid Bluetooth interference that can desync audio or cause input lag during playback.
- Update firmware: Console and OS updates often improve encoder efficiency and reduce file size without sacrificing clarity.
For platforms like Windows, enabling Hardware-Accelerated GPU Scheduling (in Graphics Settings) can improve recording smoothness by offloading encoding to the GPU.
FAQ
Can I record gameplay in 4K using built-in tools?
Native 4K recording is limited. The PS5 supports 2160p30 for broadcasts and some clips, but most built-in tools max out at 1080p60. True 4K capture usually requires external capture cards or premium third-party software.
Why is my microphone not showing up in recordings?
This is often a permissions issue. On Windows, go to Settings > Privacy > Microphone and ensure “Allow desktop apps to access your microphone” is enabled. On consoles, verify that your headset is properly detected in audio settings before starting a capture.
How long can I record continuously?
It depends on available storage and system thermal management. Most tools will stop automatically when space runs low or temperatures exceed safe thresholds. As a rule of thumb, 1 minute of 1080p60 footage takes ~150–200MB. A 1TB drive can hold roughly 5–6 hours of gameplay.
Checklist: Ready-to-Go Recording Setup
- ✅ Enable built-in recorder (Game Bar, Create menu, etc.)
- ✅ Set resolution to 1080p and frame rate to 60fps
- ✅ Test both system and mic audio
- ✅ Confirm save location has 20GB+ free space
- ✅ Update OS/console firmware
- ✅ Disable unnecessary overlays (Discord, Steam)
- ✅ Practice starting/stopping a test clip
Conclusion
High-quality gameplay recording doesn’t require complex setups or expensive software. With thoughtful configuration, the tools already on your device can produce sharp, reliable footage suitable for sharing, reviewing, or archiving. Whether you're on Windows, macOS, or a major console, leveraging built-in capabilities simplifies the process and keeps your system lean and efficient.
Take control of your gaming memories today. Optimize your settings, follow best practices, and start capturing your best moments—without ever downloading another app.


 浙公网安备
33010002000092号
浙公网安备
33010002000092号 浙B2-20120091-4
Comments
No comments yet. Why don't you start the discussion?