
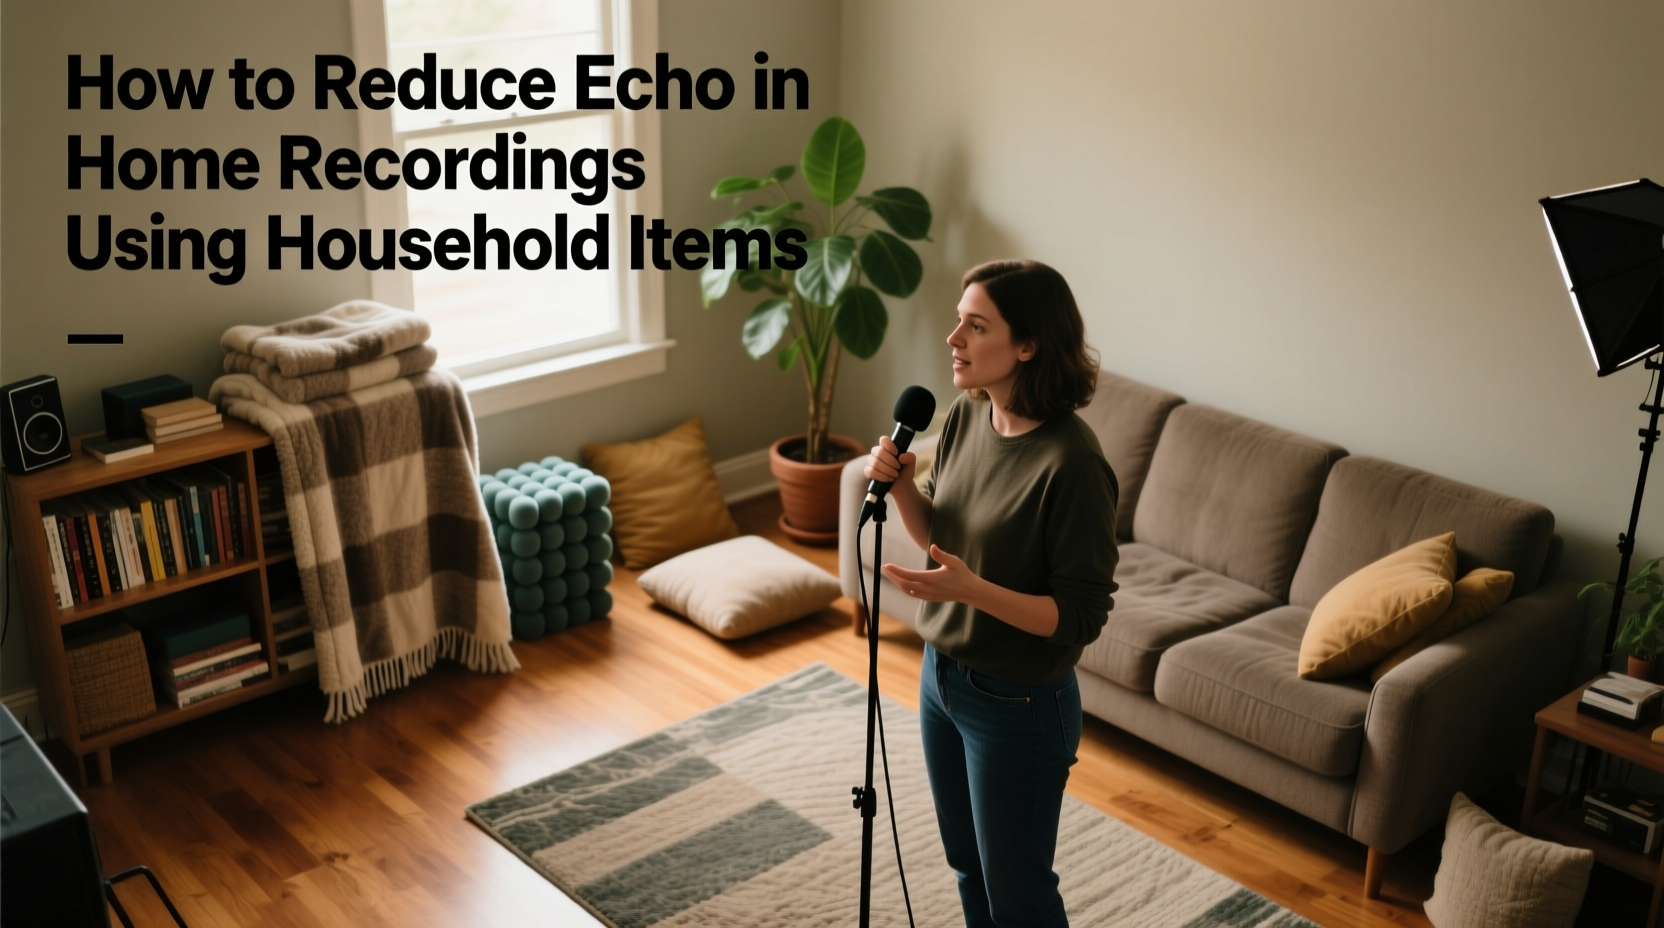
Recording voiceovers, podcasts, or music at home often comes with an unexpected challenge: echo. That hollow, distant sound can ruin even the most well-delivered performance. While professional studios use acoustic panels and soundproofing materials, most people don’t have access to those tools—or the budget to buy them. The good news is that you don’t need fancy equipment to significantly improve your recording environment. With a few clever uses of common household items, you can dramatically reduce echo and achieve cleaner, more professional-sounding audio.
Echo occurs when sound waves bounce off hard surfaces like walls, ceilings, and floors, then return to the microphone after a delay. These reflections create a smeared version of your original voice. Soft, absorbent materials break up these reflections by trapping sound energy. The trick is knowing which items around your home work best—and how to position them effectively.
Understanding Room Acoustics Basics
Before diving into solutions, it helps to understand why echo happens. Every room has unique acoustic properties based on its size, shape, and surface materials. Rooms with large, flat, hard surfaces—like bare walls, hardwood floors, and glass windows—are especially prone to reverberation. Even small spaces can suffer from echo if they lack absorption.
The goal isn’t complete silence but balanced acoustics. You want to minimize early reflections (sound bouncing directly from walls to mic) without making the room too “dead” or muffled. Strategic placement of soft materials between your voice and reflective surfaces can achieve this balance.
“Even modest treatment with household fabrics can reduce mid-to-high frequency reflections by 60% or more.” — Dr. Lena Torres, Audio Acoustics Researcher, MIT Media Lab
Effective Household Items That Reduce Echo
You likely already own several items capable of absorbing sound. The key is repurposing them strategically. Below are some of the most accessible and effective options:
- Thick blankets or moving quilts: Dense, layered fabric absorbs mid and high frequencies. Drape them over chairs or hang them on walls behind and beside your recording spot.
- Pillows and cushions: Especially memory foam or down-filled ones. Stack them in corners or place them behind your back to block rear wall reflections.
- Carpets and rugs: If you have hardwood or tile floors, placing a thick rug under and around your recording area reduces floor bounce.
- Curtains or drapes: Heavy blackout curtains are excellent sound absorbers. Hang them over windows and adjacent walls.
- Bookshelves filled with books: Books of varying sizes scatter sound waves, reducing standing waves and flutter echo. Place one behind or to the side of your setup.
- Towels: Folded bath towels can be tucked behind microphones or draped over mic stands to dampen close reflections.
Step-by-Step Guide to Building a DIY Reflection Filter
A reflection filter surrounds your microphone and blocks sound from reaching nearby walls. You can build one using simple materials found at home.
- Gather materials: Two stiff cardboard sheets (from large shipping boxes), three thick comforters or moving blankets, duct tape, and binder clips or clamps.
- Create a frame: Tape the two cardboard panels together in a wide “V” shape, about 120 degrees apart. This will sit behind your mic.
- Add absorption: Drape a folded blanket over each panel, securing it with clips. Overlap layers for better density.
- Position it: Place the filter behind your microphone, with the point of the “V” aligned with the mic’s rear. Sit close to the front opening.
- Test and adjust: Record a short clip. Listen for reduced room tone and tighter vocal presence. Adjust thickness or angle as needed.
This setup mimics commercial vocal booths and can cut down on ambient reflections by creating a localized quiet zone around your microphone.
Do’s and Don’ts of Using Household Materials
| Do | Don’t |
|---|---|
| Use multiple layers of fabric for better absorption | Hang thin bed sheets—they offer minimal sound control |
| Fill corners with pillows or clothes to trap bass buildup | Completely seal the room—some natural airflow is important |
| Place rugs under desks and chairs to reduce floor reflections | Block ventilation or fire exits with makeshift barriers |
| Angle reflective surfaces away from the mic path | Overload your space with clutter—this can cause diffused echo |
| Record facing soft furnishings like couches or bookshelves | Ignore ceiling reflections—hang a blanket above if possible |
Real-World Example: A Podcaster’s Bedroom Studio
Samantha, a freelance podcaster, recorded her show from a spare bedroom with hardwood floors and large windows. Early episodes had a noticeable echo, making editing time-consuming and listener experience poor. She didn’t want to spend hundreds on acoustic treatment.
Her solution? She hung two moving blankets over the window during recording sessions. She placed a thick wool rug beneath her desk and leaned a full bookshelf against the wall behind her chair. She also stacked four throw pillows in the corner behind her right shoulder. Finally, she draped a folded quilt over a clothes rack positioned behind her microphone.
The results were immediate. Post-processing required less noise reduction, voices sounded clearer, and listeners commented on improved audio quality. Total cost: $0. All materials were already owned.
“It wasn’t about making the room perfect—it was about breaking up the main reflection paths. That changed everything.” — Samantha Reed, independent podcaster
Optimizing Your Recording Space: A Checklist
Follow this checklist before every recording session to ensure minimal echo:
- ✅ Face away from bare walls; position yourself toward soft furniture like sofas or beds
- ✅ Hang heavy blankets or quilts on walls within 3–6 feet of your mic
- ✅ Place a thick rug or carpet under your recording area
- ✅ Fill empty corners with stacked pillows, folded clothes, or storage bins
- ✅ Cover windows with curtains or blankets, especially if opposite your mic
- ✅ Suspend a blanket above your head (using hooks or a tension rod) to dampen ceiling reflections
- ✅ Keep the microphone close to your mouth (4–6 inches) to increase direct sound over reverb
- ✅ Test with a short recording and listen back critically through headphones
Advanced Tips for Better Results
Once you’ve covered the basics, consider these refinements:
Use clothing closets as temporary vocal booths. Stand inside a walk-in closet filled with hanging clothes. The fabric-covered garments act as highly effective broadband absorbers. Just leave the door slightly open for airflow and monitor your levels.
Repurpose old suitcases filled with soft items. Pack jackets, scarves, or towels into a hard-shell suitcase and lean it against a wall near your recording zone. It acts as a compact bass trap.
Create a canopy effect. If ceiling reflections are problematic, stretch a heavy blanket across the top of two tall furniture pieces (like dressers) and drape it over your recording spot. Secure with clips or hooks.
Turn your bed into a shield. Position your recording setup so that your back faces the foot of the bed. The mattress and bedding absorb rear-wall reflections far better than drywall.
Frequently Asked Questions
Can I eliminate all echo without spending money?
While you may not achieve studio-level silence, you can drastically reduce perceptible echo using only household items. Focus on covering primary reflection points—walls, floor, and ceiling near the mic. Combine materials for layered absorption and maintain close mic technique.
Will stuffing towels around my microphone damage the equipment?
No, as long as the towels aren’t pressed against the mic grille and airflow remains unobstructed. Avoid enclosing condenser mics in tight fabric enclosures, as moisture buildup could affect sensitive components. Keep fabric a few inches away from the capsule.
What’s the single most effective item for reducing echo at home?
A thick moving blanket or quilt is arguably the most effective multipurpose item. It’s dense, large enough to cover significant surface areas, and easily repositionable. Hanging one behind your recording spot often yields the biggest improvement.
Final Thoughts and Action Plan
Reducing echo in home recordings doesn’t require technical expertise or financial investment. It requires awareness of sound behavior and creative use of what you already own. By identifying reflective surfaces and interrupting sound paths with soft, absorbent materials, you transform any room into a more acoustically friendly space.
Start small. Hang a blanket behind your mic. Lay down a rug. Stack some pillows in the corner. Then record a test clip. Listen closely. Make adjustments. The improvements may surprise you.
Great audio isn’t reserved for professionals with treated rooms. It’s accessible to anyone willing to experiment thoughtfully. Take control of your sound today—your audience will hear the difference.


 浙公网安备
33010002000092号
浙公网安备
33010002000092号 浙B2-20120091-4
Comments
No comments yet. Why don't you start the discussion?