
Virtual reality gaming offers immersive experiences that traditional platforms can’t match. Yet, for many players, the thrill comes with an unwelcome side effect: motion sickness. Also known as cybersickness, this condition affects up to 40% of VR users, causing dizziness, nausea, and fatigue. Unlike simulator sickness in vehicles, VR-induced discomfort stems from sensory conflict—your eyes perceive movement while your body remains still. The good news is that thousands of users have developed effective strategies through trial, error, and community collaboration. This guide compiles real-world-tested methods backed by user reports and emerging research to help you enjoy VR without discomfort.
Understanding the Causes of VR Motion Sickness
Motion sickness in VR occurs when there’s a mismatch between visual input and vestibular (inner ear) signals. In a VR environment, your eyes may see rapid movement—like sprinting through a city or flying over terrain—but your body doesn’t feel corresponding acceleration or resistance. This discrepancy confuses the brain, triggering symptoms such as nausea, sweating, headache, and disorientation.
Several factors amplify this effect:
- Low frame rates: Below 72–90 FPS,画面 stutter increases perceptual lag.
- Latency: Delay between head movement and screen response disrupts immersion.
- Artificial locomotion: Smooth walking, teleportation mismatches, or joystick-based movement often cause discomfort.
- Field of view (FOV): Wider FOVs increase immersion but also raise sensory load.
While hardware improvements continue to reduce these issues, individual sensitivity varies widely. Some users play for hours without issue; others feel sick after five minutes. Fortunately, adaptation is possible—and many users report complete desensitization over time.
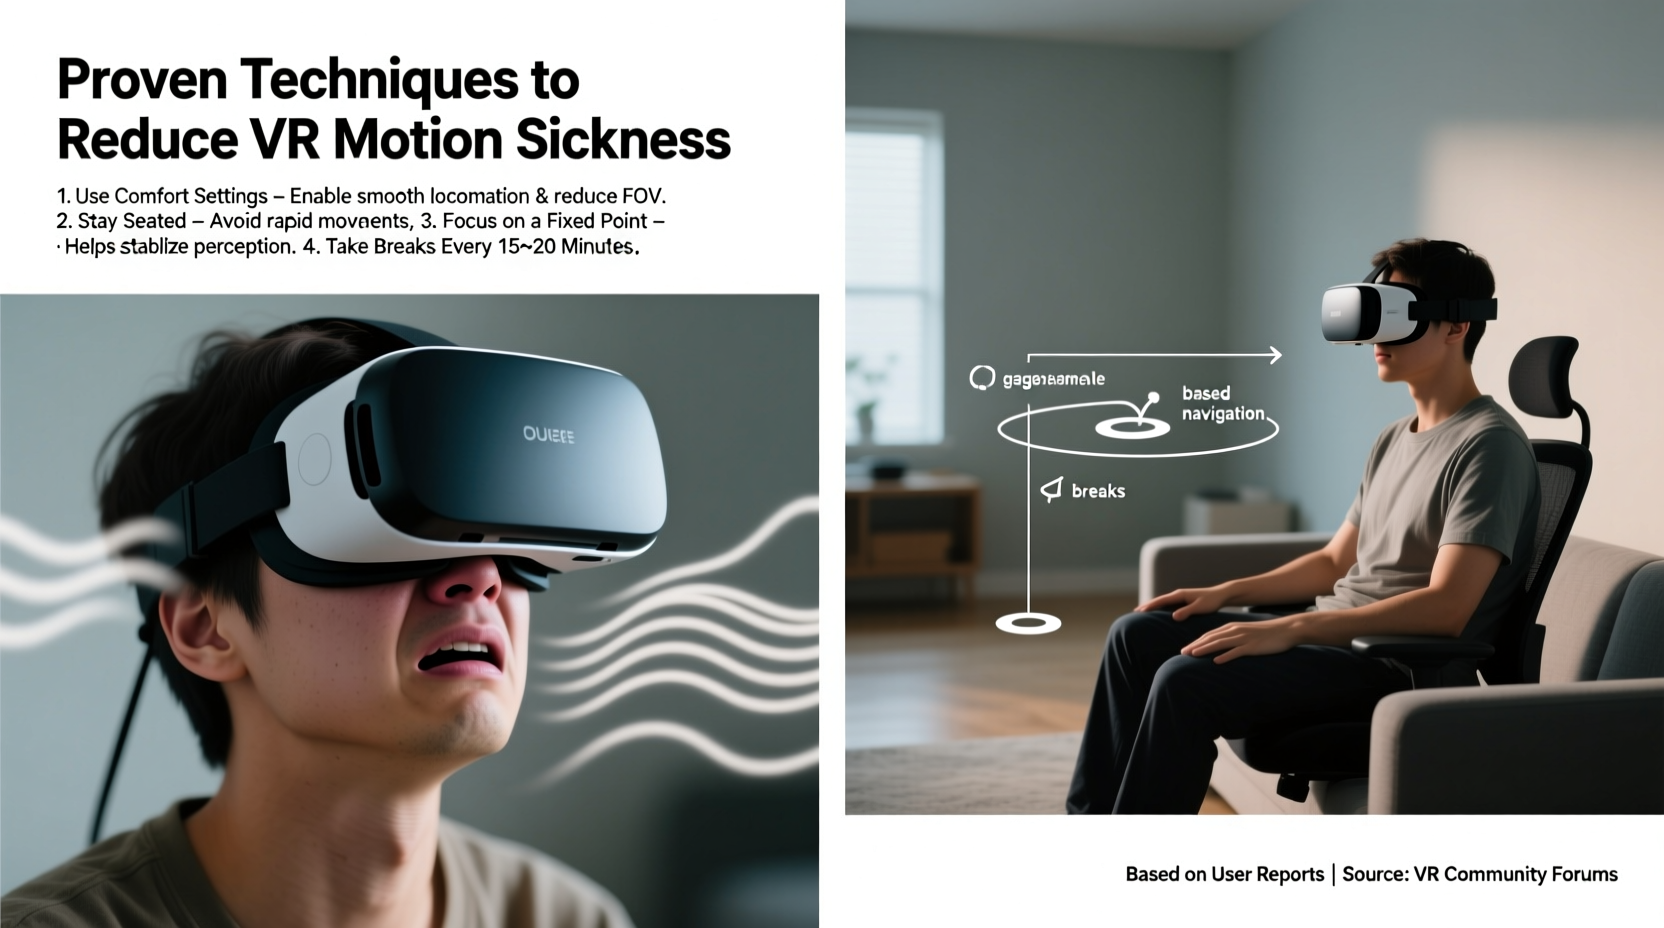
Proven User-Tested Techniques to Reduce Discomfort
The most effective solutions come not just from labs, but from forums like Reddit’s r/virtualreality, Steam discussions, and Discord communities where players share what works. These strategies combine physiological awareness, environmental control, and smart gameplay choices.
1. Optimize Your Setup for Comfort
Hardware configuration plays a critical role. Even minor adjustments can significantly reduce strain.
| Setting | Recommended Adjustment | User Feedback |
|---|---|---|
| IPD (Interpupillary Distance) | Adjust headset dial to match measured IPD | Reduces eye strain and double vision |
| Headset Fit | Tight enough to prevent slippage, not pressing on temples | Minimizes visual drift during movement |
| Brightness & Contrast | Avoid overly dark scenes; increase gamma if needed | Better visibility reduces cognitive load |
| Audio | Use spatial audio headphones | Synchronizes auditory cues with visuals, improving coherence |
2. Choose the Right Locomotion Method
How you move in-game is the single biggest factor affecting comfort. Many users find success by switching default controls:
- Teleportation: Instant repositioning eliminates perceived motion. Ideal for puzzle and exploration games.
- Arm Swinging (Natural Locomotion): Mimics walking by swinging arms. Reduces sensory conflict because motion correlates with physical effort.
- Room-Scale Movement: Physically walk within safe boundaries. Most natural but limited by space.
- Vignetting: A subtle darkened ring around the periphery during movement. Simulates tunnel vision during real motion, reducing disorientation.
“We ran a blind test with 68 players using vignetting vs. no vignetting during smooth locomotion. Over 70% reported less nausea with the vignette enabled.” — Dr. Linda Chen, Human-Computer Interaction Lab, University of Waterloo
3. Control Your Environment
Your physical surroundings impact how well your brain processes virtual stimuli.
Avoid playing in dimly lit or cramped spaces. Ambient lighting helps anchor your sense of reality, reducing the intensity of immersion-induced disorientation. Ensure your play area allows full range of motion without obstacles. Users frequently report that bumping into furniture—even lightly—breaks immersion and increases post-session dizziness.
Step-by-Step Guide to Building VR Tolerance
Like acclimating to high altitudes, your body can adapt to VR over time. Follow this gradual progression used successfully by hundreds of users:
- Day 1–3: Play seated experiences with teleportation (e.g., *I Expect You to Die*). Limit to 10 minutes per session, twice daily.
- Day 4–7: Introduce arm-swing locomotion in open environments (*The Walking Dead: Saints & Sinners*). Increase to 15–20 minutes.
- Week 2: Try smooth locomotion with vignetting enabled. Use only for short bursts (e.g., combat segments).
- Week 3: Incorporate standing-room-scale titles (*Beat Saber*, *Superhot VR*). Focus on lateral movement, not forward/backward travel.
- Week 4+: Gradually reintroduce free-roam games (*Half-Life: Alyx*) with breaks every 20 minutes.
One key insight from long-term users: consistency matters more than duration. Daily 15-minute sessions yield better adaptation than sporadic 60-minute marathons.
Mini Case Study: Sarah’s Journey from Nausea to Marathon Play
Sarah, a 32-year-old teacher from Portland, tried VR three times before giving up due to severe dizziness. After reading community tips, she restarted with strict adherence to a tolerance-building plan. She began with *Job Simulator*, playing 10 minutes each morning while seated at her kitchen table. She avoided any game with artificial walking for two weeks. By week three, she transitioned to *Moss*, which uses cinematic movement cuts instead of continuous motion. Within six weeks, she completed *Boneworks* in multiple 30-minute sessions. Today, she regularly plays for over two hours without symptoms.
“The turning point,” she said, “was accepting that I had to treat VR like training for a sport. You don’t run a marathon on day one.”
Checklist: Pre-Session Preparation for Comfort
Before launching any VR game, run through this checklist to minimize risk of motion sickness:
- ✅ Calibrate IPD and ensure headset fits snugly
- ✅ Enable vignetting or comfort settings in game options
- ✅ Select teleportation or arm-swing locomotion if available
- ✅ Clear play area of tripping hazards
- ✅ Open blinds or turn on ambient lights
- ✅ Hydrate and avoid heavy meals 1 hour prior
- ✅ Set a timer for 15–20 minute play window
- ✅ Position fan nearby for airflow (cool air reduces nausea)
This routine, adopted by competitive VR esports players, creates optimal conditions for extended comfort.
Advanced Strategies from Veteran Users
Beyond basics, experienced users employ nuanced tactics:
Use Fixed Reference Points
In open environments, adding a static visual anchor tricks the brain into stabilizing perception. Some users attach a small virtual object—like a floating orb or dashboard—to their in-game view. Others prefer games that include cockpit interfaces (*Star Wars: Squadrons*, *Elite Dangerous*), which provide consistent peripheral structure.
Leverage Breathing Techniques
Controlled breathing regulates the autonomic nervous system. When dizziness starts:
- Inhale slowly for 4 seconds
- Hold for 4 seconds
- Exhale for 6 seconds
- Repeat 3–5 times
This method, shared widely in VR fitness communities, helps users push through mild discomfort without removing the headset.
Post-Session Recovery Rituals
After exiting VR, some users experience lingering imbalance. Recommended recovery steps:
- Sit quietly for 2–3 minutes with eyes open
- Focus on a distant stationary object
- Drink water or ginger tea (natural anti-nauseant)
- Avoid immediate transitions to screens or driving
Frequently Asked Questions
Can children use VR safely without getting sick?
Children under 12 are generally more susceptible to motion sickness due to developing vestibular systems. Most manufacturers recommend age 13+. If younger users try VR, limit sessions to 5–10 minutes, use only teleportation, and supervise closely for signs of discomfort.
Does upgrading to a higher-refresh-rate headset help?
Yes. Headsets with 90Hz, 120Hz, or higher refresh rates (like Meta Quest 3 or Valve Index) significantly reduce motion blur and latency. Users consistently report smoother experiences and fewer symptoms compared to 72Hz models. However, high refresh alone won’t fix poor locomotion design.
Why do some VR games make me sick even with all settings adjusted?
Game design itself can be the culprit. Titles with rapid camera shakes, artificial zooming, or inconsistent physics break immersion and heighten sensory conflict. Check community forums before purchasing—if multiple users warn of motion sickness, consider waiting for patches or alternative mods.
Conclusion: Take Control of Your VR Experience
Motion sickness doesn’t have to end your VR journey. Thousands of users have overcome initial discomfort through deliberate practice, smart settings, and patience. The techniques outlined here—grounded in real user experiences and supported by human factors research—offer a clear path to longer, more enjoyable sessions. Whether you're a new adopter struggling with your first headset or a seasoned player battling recurring nausea, small adjustments can make a dramatic difference.


 浙公网安备
33010002000092号
浙公网安备
33010002000092号 浙B2-20120091-4
Comments
No comments yet. Why don't you start the discussion?