
Artificial Christmas trees are a long-term investment, often lasting for years or even decades. But over time, repeated assembly, storage conditions, and general wear can leave them looking sparse, faded, or misshapen. Instead of discarding your old tree and purchasing a new one—costly and wasteful—you can breathe fresh life into it by replacing or adding new branches. This process not only restores visual appeal but also extends the usable life of your centerpiece. With careful selection, strategic placement, and proper technique, you can transform a tired tree into a lush, vibrant display that rivals any store-bought model.
Why Refresh Rather Than Replace?
Purchasing a new artificial tree every few years is neither economical nor environmentally responsible. High-quality trees cost hundreds of dollars, and even mid-range models add up over time. Additionally, discarded synthetic trees contribute to landfill waste and take centuries to decompose. By refreshing your existing tree, you reduce environmental impact while preserving sentimental value—especially if the tree has been part of family traditions for years.
Many modern artificial trees are designed with modular construction, meaning their branches attach via metal or plastic sockets built into the central pole. These connection points allow for easy removal and replacement. If some sections have thinned out due to broken stems or missing tips, targeted repairs using compatible replacement branches can make a dramatic difference.
“With the right parts and attention to detail, most artificial trees can be restored to near-original condition. It’s like giving your tree a second life.” — Marcus Langley, Holiday Display Designer & Retail Consultant
Step-by-Step Guide: How to Add New Branches to Your Tree
Refreshing your tree isn’t complicated, but it does require patience and precision. Follow this detailed sequence to ensure professional-looking results.
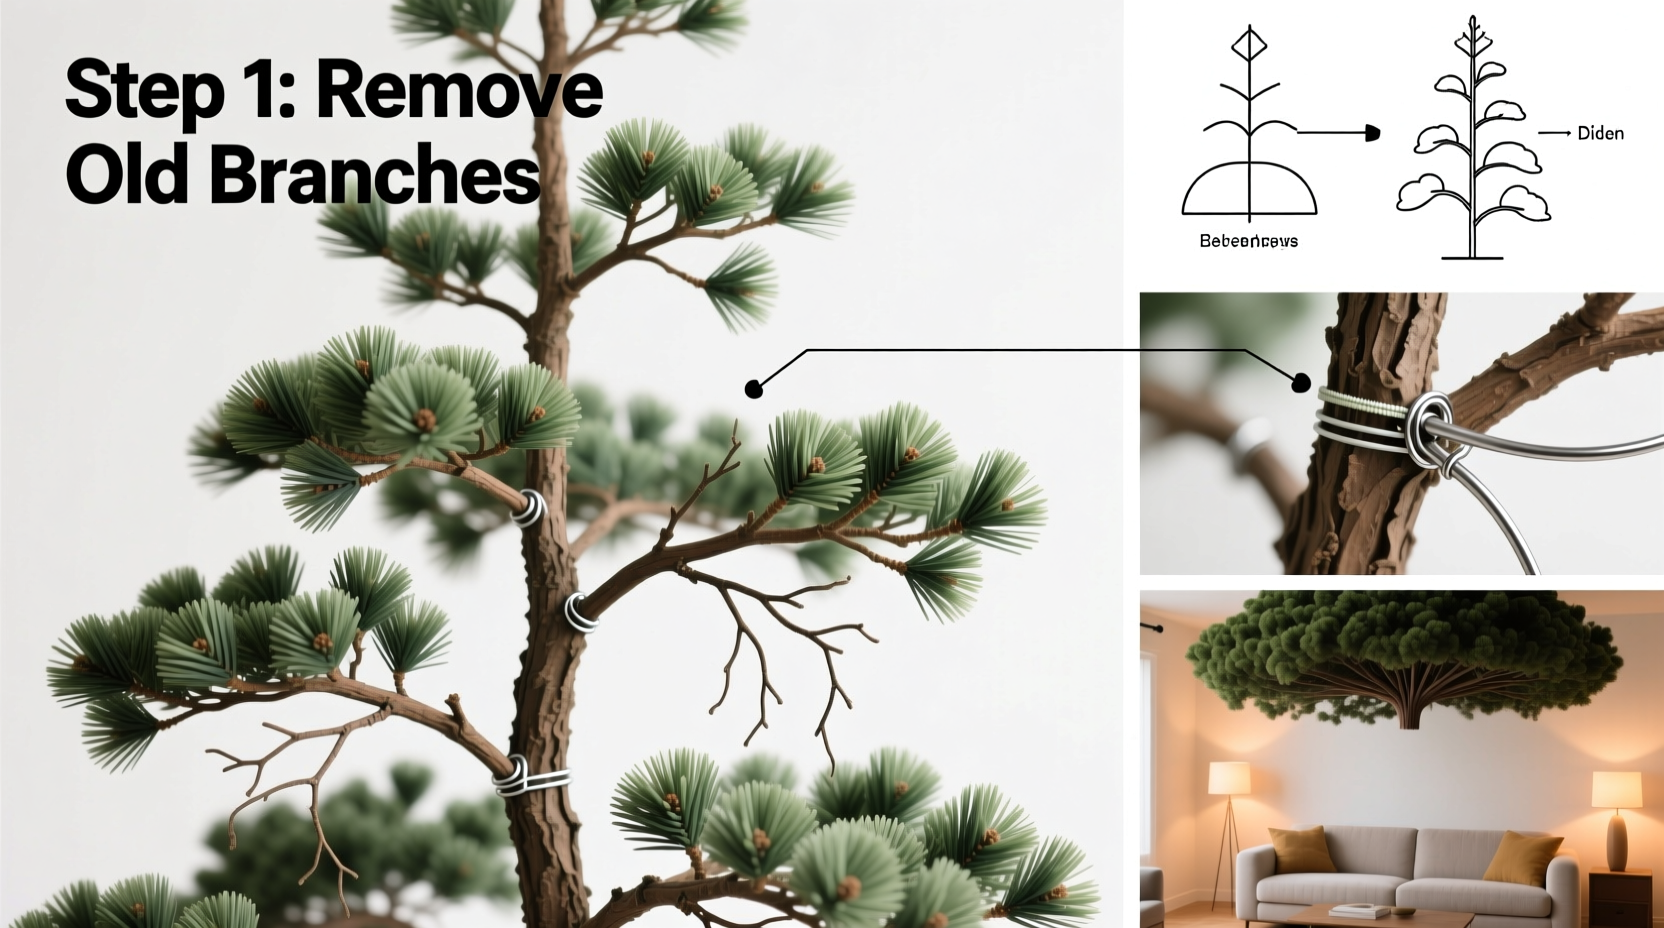
- Disassemble the Tree Completely
Begin by taking down the tree and removing all decorations, lights, and garlands. Lay each section flat on a clean surface such as a tarp or large table. Work in a well-lit area so you can clearly see damaged areas. - Inspect Each Section Thoroughly
Examine every branch cluster. Look for:- Frayed or crushed needle tips
- Bent or broken wire stems
- Gaps where clusters were pulled out during past setup
- Fading, especially at the outer edges exposed to light
- Determine Compatibility of Replacement Branches
Not all replacement branches fit every tree. Check the following:- Diameter of the stem: Most use either 3/16\", 1/4\", or 5/16\" diameter connectors.
- Type of socket: Some trees use friction-fit holes; others use locking clips or twist-lock mechanisms.
- Branch length and fullness: Match the size (e.g., 18\", 24\") and foliage density to maintain proportion.
- Order Replacement Branches
You can find compatible replacements through:- The original manufacturer (check product manuals or website)
- Specialty retailers like Christmas Lights, Etc., Balsam Hill, or ReplacementParts.com
- Marketplaces like Amazon or eBay (search by brand, model number, and branch type)
- Remove Damaged Clusters
Carefully pull out broken or unsightly branch sets from the trunk sockets. Use pliers wrapped in cloth if resistance is high, but avoid forcing them to prevent socket damage. Keep removed pieces for reference. - Insert New Branches Strategically
Start with the lower third of the tree—the most visible area—and work upward. Rotate each section as you go to maintain balance. Insert new clusters at slight outward angles to mimic natural growth patterns. For maximum realism, stagger longer and shorter branches within the same level. - Blend Old and New Foliage
After installing replacements, gently bend surrounding older branches to cover seams between old and new sections. Fluff thoroughly to create uniform volume. Avoid clustering too many new branches together, which creates unnatural “patches” of freshness. - Reassemble and Evaluate
Stack the sections back onto the stand. Step back and view the tree from multiple angles. Fill any remaining gaps with additional small clusters or decorative elements like pinecones or oversized ornaments.
Choosing the Right Replacement Parts: A Comparison Table
| Feature | What to Look For | Avoid |
|---|---|---|
| Stem Diameter | Match exactly: 3/16\", 1/4\", or 5/16\" | Universal-fit claims without verification |
| Needle Material | PVC or PE plastic matching existing texture | Matte vs. glossy mismatch |
| Color Tone | Warm green, cool green, or frosted white based on current tree | Overly bright or yellowed hues |
| Fullness Level | Measured in tips per branch (e.g., 72-tip cluster) | Under-filled replacements that look sparse |
| Socket Type | Friction-fit, clip-in, or screw-on compatibility | Forcing incompatible connections |
Tips for Long-Term Maintenance After Refreshing
Once your tree looks revitalized, protect your investment with smart care habits moving forward.
- Fluff Every Branch Individually: Don’t just shake the tree. Bend each cluster outward and separate tangled tips to preserve shape and prevent compaction.
- Use Proper Storage: Always break the tree down into sections and store upright in cylindrical bags designed for artificial trees. Avoid compressing branches under heavy items.
- Dust Regularly Before Storing: Wipe down branches with a microfiber cloth or use a hairdryer on cool setting to remove dust and pet hair. Dust buildup accelerates fading.
- Keep Away From Heat Sources: Place the tree away from radiators, fireplaces, or HVAC vents. Excessive heat dries out plastic needles and causes brittleness.
- Rotate Ornaments Yearly: Change up decoration placement to prevent consistent weight on the same branches, which leads to sagging.
Real Example: Restoring a 12-Year-Old Pre-Lit Tree
Sarah M., a homeowner in Vermont, inherited a 7.5-foot pre-lit artificial tree from her parents. By its twelfth season, the lower half had become noticeably thin—many branch clusters had broken during moves between homes, and the tips were flattened from poor storage in a compressed bag.
She identified the model number on the base and contacted the manufacturer’s customer service. They provided a list of available replacement parts. Sarah ordered six 24-inch full-bodied replacement clusters in matching warm green PVC. She also bought two smaller 18-inch accent branches for mid-level layering.
During summer cleanup, she disassembled the tree and replaced damaged sections, focusing on the front-facing quadrants. After reassembly, she used strategic fluffing and added heavier bottom ornaments to enhance fullness. The result was indistinguishable from a newer model. “It looks better than it did five years ago,” she said. “And I saved over $200 compared to buying new.”
Checklist: Refreshing Your Artificial Tree Like a Pro
Use this actionable checklist to guide your restoration project from start to finish:
- □ Disassemble tree completely and lay sections flat
- □ Inspect all branches for damage, fading, and gaps
- □ Identify model number and manufacturer
- □ Measure stem diameter and socket type
- □ Order compatible replacement branches (include extras)
- □ Remove damaged clusters carefully
- □ Install new branches starting from bottom up
- □ Blend new and old foliage with proper fluffing
- □ Reassemble tree and evaluate from multiple angles
- □ Store properly after season ends using vertical storage bag
Frequently Asked Questions
Can I mix different brands of replacement branches?
Only if they match mechanically and visually. While some universal-fit branches exist, color tone, needle texture, and stem size often vary between brands. Mixing may result in noticeable inconsistencies. When possible, stick to the original manufacturer or verified compatible suppliers.
How many replacement branches do I need?
There’s no fixed number—it depends on the extent of damage and desired fullness. As a rule of thumb, replace at least one cluster per foot of tree height per quadrant. For example, a 6-foot tree might need 6–8 replacement clusters evenly distributed. Focus on high-visibility zones like the front and lower levels.
Will adding new branches affect my pre-lit lights?
No, if done correctly. Replacement branches don’t interfere with internal wiring unless you’re modifying lighted sections directly. However, always inspect light strings during disassembly and replace burnt bulbs or damaged wires at the same time. Consider upgrading to LED string replacements for greater efficiency and cooler operation.
Conclusion: Extend the Life and Beauty of Your Tree
Reviving an older artificial tree with new branches is a practical, sustainable, and cost-effective alternative to replacement. With attention to compatibility, thoughtful installation, and ongoing care, your tree can remain a stunning focal point for many holiday seasons to come. The effort invested pays off in both aesthetics and savings, not to mention the satisfaction of preserving a tradition rather than contributing to consumer waste.
Whether your tree has seen ten Christmases or twenty, don’t assume it’s beyond repair. Assess it honestly, source the right components, and apply these techniques with care. You’ll be amazed at how much life is left in your beloved centerpiece.


 浙公网安备
33010002000092号
浙公网安备
33010002000092号 浙B2-20120091-4
Comments
No comments yet. Why don't you start the discussion?