
Makeup brushes are essential tools for achieving flawless application, but over time, they accumulate product buildup, oils, and bacteria. When neglected, brushes become stiff, smelly, and less effective—what many describe as “stale.” A deep cleaning routine not only revives their texture and performance but also protects your skin from breakouts and irritation. Unlike quick wipe-downs between uses, a thorough deep clean dissolves hardened foundation, melts dried pigments, and sanitizes bristles at a microscopic level. This guide walks you through a professional-grade method to restore even the most neglected brushes to like-new condition.
Why Deep Cleaning Matters for Makeup Brushes
Every time you use a makeup brush, it absorbs more than just product. Skin oils, dead cells, environmental pollutants, and residual cleansers cling to bristles and settle into the ferrule—the metal part holding the bristles to the handle. Over weeks and months, this residue hardens, especially in dense foundation or concealer brushes. The result is a loss of softness, poor blending ability, and increased risk of acne or infections.
According to Dr. Lindsey Zubritsky, a board-certified dermatologist specializing in cosmetic safety, “Brushes used daily on the face should be deep cleaned every 7 to 10 days. Failure to do so creates a breeding ground for bacteria like Staphylococcus epidermidis, which can trigger folliculitis and inflammatory breakouts.”
“Clean brushes aren’t just about aesthetics—they’re a critical part of skincare hygiene.” — Dr. Lindsey Zubritsky, Dermatologist
Regular maintenance prevents long-term damage to bristle fibers, particularly in natural hair brushes made from goat or sable. These materials are porous and absorb more product than synthetic alternatives, making them prone to odor retention if not properly cleaned.
The Science Behind Stiff, Smelly Brushes
A stale brush isn’t just unpleasant—it’s chemically transformed. Foundations and concealers contain emollients and waxes that solidify when exposed to air. Powder products like blush and eyeshadow bind with sebum to form a cement-like layer near the base of the bristles. Meanwhile, humid bathroom environments encourage microbial growth, including mold spores in extreme cases.
When left uncleaned, these compounds degrade bristle integrity. Natural hairs become brittle; synthetics lose elasticity. Worse, repeated exposure to dirty brushes may lead to chronic skin issues such as perioral dermatitis or milia formation around the eyes.
Step-by-Step Deep Cleaning Routine
This five-stage process is designed to safely dissolve stubborn buildup while preserving brush structure. Follow each step carefully for optimal results.
- Dry Brush Pre-Treatment
Use a soft toothbrush or specialized brush cleaner mat to gently dislodge dry powder and flaked product from the surface. Focus on the area where bristles meet the ferrule—this zone traps the most residue. - Select the Right Cleanser
Choose based on brush type:- Natural Hair Brushes: Use sulfate-free, pH-balanced shampoo or dedicated brush cleanser (e.g., Cinema Secrets).
- Synthetic Brushes: Mild dish soap (like Dawn) effectively cuts through oil without drying fibers.
- Hybrid Mix: A 50/50 blend of olive oil and liquid castile soap helps loosen caked makeup without stripping moisture.
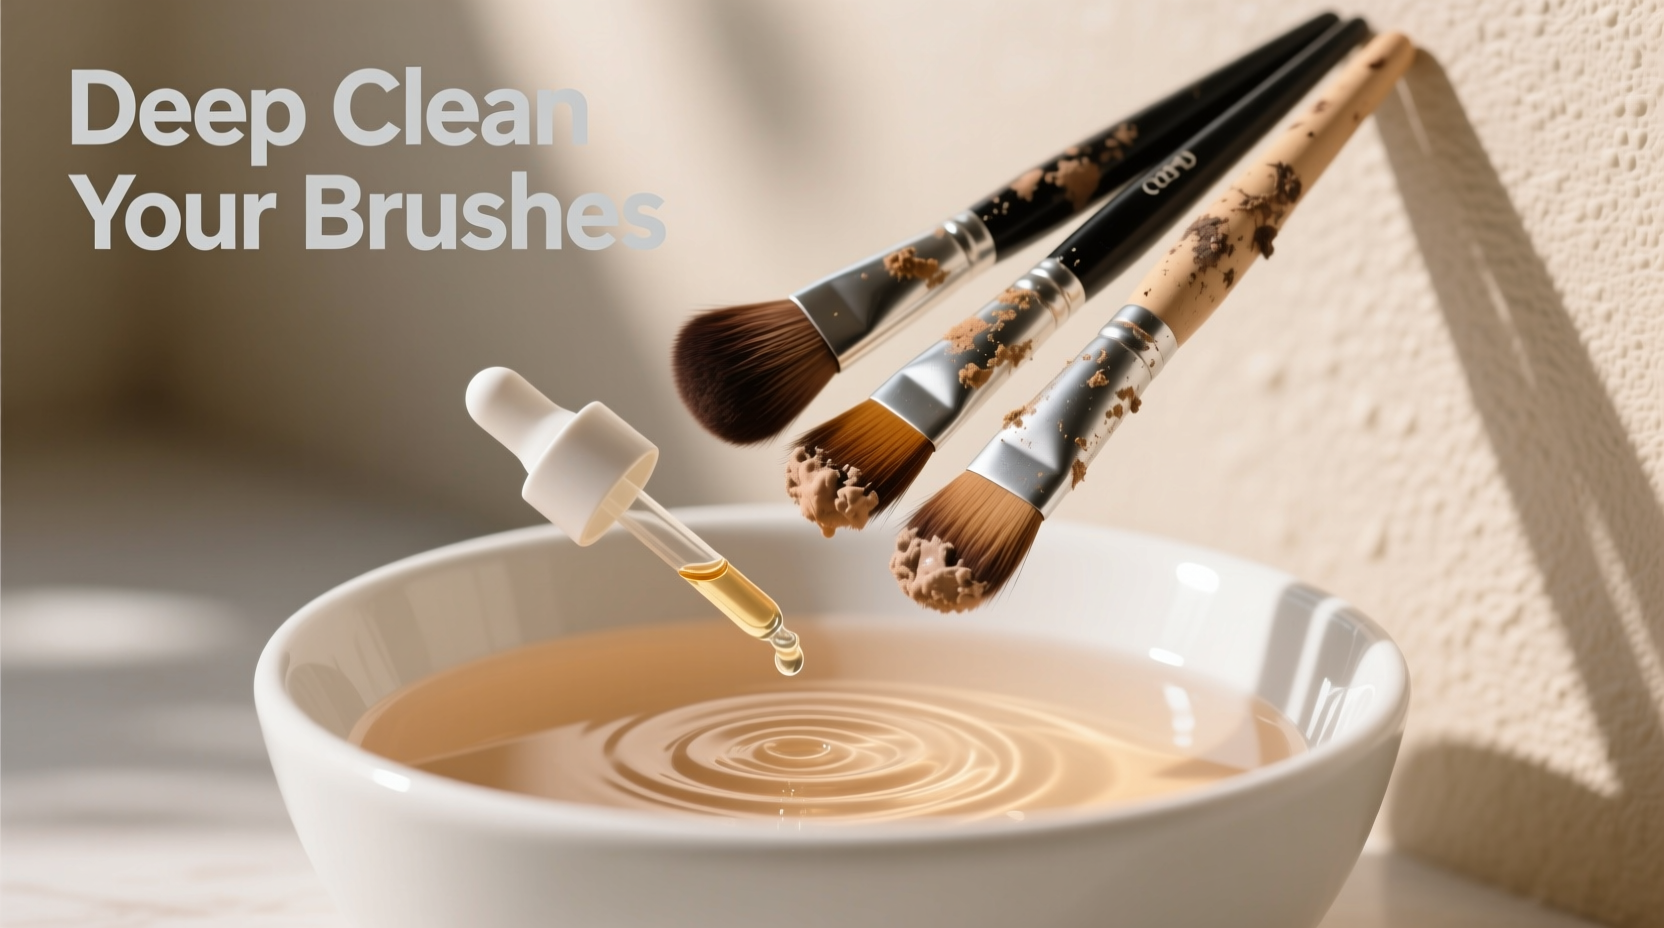
- Wet and Swirl Method
Fill a shallow bowl with warm (not hot) water. Dip only the bristles—not the entire head—to avoid waterlogging the glue in the ferrule. Swirl gently against the bottom of the bowl or a silicone cleansing mat with textured ridges. Continue until water runs clear, changing water as needed. - Deep Soak for Stubborn Buildup
For brushes that remain stiff after initial washing, prepare a soak solution:- 1 cup warm water - 1 tbsp white vinegar (antibacterial, deodorizing) - 1 tsp baking soda (gentle abrasive) - 1 pump of mild shampoo
Submerge bristles for 15–20 minutes. Avoid soaking handles to prevent warping or loosening of bristles. - Rinse, Reshape, Dry
Rinse thoroughly under lukewarm running water until no suds remain. Gently squeeze out excess moisture with fingers, reshaping bristles to their original contour. Lay flat on a clean towel with tips extending slightly off the edge to allow airflow and prevent pooling. Never store upright until fully dry—this encourages water seepage into the handle.
Do’s and Don’ts of Brush Maintenance
| Do’s | Don’ts |
|---|---|
| Use lukewarm water to preserve adhesive strength | Soak entire brush heads—water weakens glue over time |
| Clean weekly for frequently used brushes | Use bleach or ammonia-based cleaners—they corrode bristles |
| Reshape bristles before drying | Dry brushes vertically with bristles facing up—causes water damage |
| Spot-clean midweek with 70% isopropyl spray | Apply excessive pressure during washing—can bend ferrules |
| Store in breathable containers away from humidity | Leave wet brushes in closed drawers—promotes mildew |
Real Example: Reviving a Neglected Kabuki Brush
Jessica, a freelance makeup artist in Portland, noticed her favorite kabuki brush had become scratchy and failed to buff foundation smoothly. It hadn’t been cleaned in over three months due to back-to-back client sessions. After inspecting it, she found yellowish buildup near the base and a faint sour smell.
She followed the deep cleaning protocol: first dry-brushing, then swirling in diluted Dawn soap on a silicone mat. Still stiff, she soaked it in the vinegar-baking soda solution for 18 minutes. Upon rinsing, dark gray water revealed years of trapped residue. After reshaping and 24 hours of horizontal drying, the brush regained its plush density and applied product evenly again.
“I almost threw it away,” Jessica said. “But now it feels better than when I bought it. I’ve added a rotating cleaning schedule to my Sunday night routine.”
Essential Tools for Effective Brush Care
You don’t need expensive gadgets, but a few key items improve cleaning efficiency:
- Silicone Cleansing Mat: Textured surface mimics skin, helping lift debris from bristle clusters.
- Brush Guard (Optional): A flexible mesh sleeve that maintains shape during drying—ideal for domed powder brushes.
- Microfiber Towel: Absorbs water quickly without shedding lint.
- Isopropyl Alcohol (70%): For disinfecting between deep cleans—spray bristles and swirl on paper towel.
- Gentle Shampoo or Brush Cleaner: Baby shampoo works well for sensitive bristles; Cinema Secrets offers fast-drying formulas popular among professionals.
Brush Care Checklist
Follow this checklist monthly to keep all your brushes fresh and functional:
- ✔ Inspect each brush for stiffness, odor, or discoloration
- ✔ Remove loose debris with a dry microfiber cloth or brush comb
- ✔ Prepare cleaning solution based on bristle type
- ✔ Wash using circular motion on cleansing mat
- ✔ Soak heavily soiled brushes for up to 20 minutes
- ✔ Rinse completely until water runs clear
- ✔ Squeeze gently and reshape bristles
- ✔ Lay flat on towel in ventilated area
- ✔ Allow 24–48 hours to dry fully before reuse
- ✔ Store in upright holder with airflow
Frequently Asked Questions
How often should I deep clean my makeup brushes?
Foundation, concealer, and cream-blending brushes should be deep cleaned every 7–10 days due to high oil and product load. Powder, blush, and eyeshadow brushes can go 2–3 weeks between deep cleans if wiped down weekly.
Can I use hand sanitizer to clean makeup brushes?
No. While alcohol kills germs, hand sanitizers often contain thickeners, fragrances, and gels that coat bristles and attract dirt. Stick to pure 70% isopropyl alcohol diluted with water (1:1 ratio) for spot sanitation only.
Why do my brushes still smell after washing?
Odors indicate lingering bacteria inside the ferrule. Try inserting a cotton swab dipped in rubbing alcohol into the base of the bristles (avoid soaking). Let sit for 10 minutes, then air dry. If smell persists, the glue may be compromised—retire the brush.
Extending Brush Lifespan Beyond Cleaning
Cleaning is just one component of longevity. Proper storage matters equally. Keep brushes in vertical holders made of breathable materials like ceramic or bamboo. Avoid sealed plastic cases unless fully dry. Humidity-prone areas like steamy bathrooms accelerate bacterial regrowth and weaken wooden handles.
Additionally, consider usage habits. Using separate brushes for liquid and powder products reduces cross-contamination and cleaning frequency. Replace any brush with frayed, shedding, or misshapen bristles—even meticulous cleaning won’t restore structural damage.
“The best makeup artists treat their brushes like surgical tools: sanitized, respected, and maintained.” — Carlos Mendez, Lead Educator at Global Beauty Academy
Conclusion: Make Clean Brushes a Non-Negotiable
Reviving stale makeup brushes isn’t just about restoring softness—it’s an investment in your skin’s health and your artistry’s precision. With a consistent deep cleaning routine, even the most neglected tools can regain their performance and comfort. The process takes less than 30 minutes a week and pays dividends in smoother application, reduced breakouts, and longer-lasting tools.


 浙公网安备
33010002000092号
浙公网安备
33010002000092号 浙B2-20120091-4
Comments
No comments yet. Why don't you start the discussion?