
Makeup brushes are essential tools in any beauty routine, but over time they accumulate product buildup, oils, and bacteria that can lead to breakouts, uneven application, and even infections. A brush that feels stiff, smells musty, or sheds excess product is a clear sign it’s gone stale. Regular cleaning not only restores performance but also extends the lifespan of your tools. The key lies in using gentle, effective cleaners and proper drying methods that preserve bristle integrity. This guide walks through proven techniques to revive stale brushes safely and efficiently—without damaging delicate fibers.
Why Stale Brushes Are More Than Just Unpleasant
A stale makeup brush isn’t just unhygienic—it compromises both your skin health and makeup results. When bristles become clogged with old foundation, dried eyeshadow, or sebum from your skin, they lose their ability to pick up and distribute product evenly. This leads to patchy blending, poor coverage, and increased tugging on sensitive areas like the eyelids.
Beyond cosmetic concerns, dirty brushes harbor bacteria such as Staphylococcus aureus and Pseudomonas aeruginosa, which thrive in moist environments and can cause acne, folliculitis, or even eye infections. A 2020 study published in the *Journal of Cosmetic Dermatology* found that nearly 70% of used makeup brushes tested positive for harmful microbes after six weeks without cleaning.
“Many clients come to me with recurring skin issues, only to discover their brushes haven’t been cleaned in months. It’s one of the most overlooked aspects of skincare.” — Dr. Lena Torres, Board-Certified Dermatologist
Reviving stale brushes isn’t about aesthetics alone; it’s a necessary step in maintaining healthy skin and professional-quality makeup application.
Gentle Cleaners That Actually Work
Not all cleansers are suitable for delicate brush bristles. Harsh soaps or alcohol-based solutions may strip natural oils from synthetic or natural fibers, causing fraying, shedding, or permanent stiffness. The goal is to remove grime while preserving softness and shape.
The best options combine mild surfactants with skin-friendly ingredients. Here’s a breakdown of effective yet gentle cleaners:
| Cleaner Type | Best For | Benefits | Caution |
|---|---|---|---|
| Brush cleansing drops (e.g., Cinema Secrets, BeautyBlender Liquid) | All brush types, especially dense synthetics | Fast-drying, antibacterial, no rinsing required | Can be drying if overused; follow with conditioner |
| Castile soap (diluted) | Natural hair brushes (sable, goat) | Plant-based, non-toxic, deeply cleansing | Must be thoroughly rinsed; avoid concentrated use |
| Baby shampoo | Mixed sets, sensitive users | pH-balanced, tear-free, widely available | May leave residue if not rinsed well |
| Dish soap (a drop in water) | Stubborn oil and silicone buildup | Cuts through grease effectively | Too harsh for frequent use; always dilute |
| DIY vinegar-water rinse (1:4 ratio) | Deodorizing and disinfecting | Natural antimicrobial, removes odors | Strong smell; never mix with bleach or hydrogen peroxide |
Step-by-Step Guide to Reviving Stale Brushes
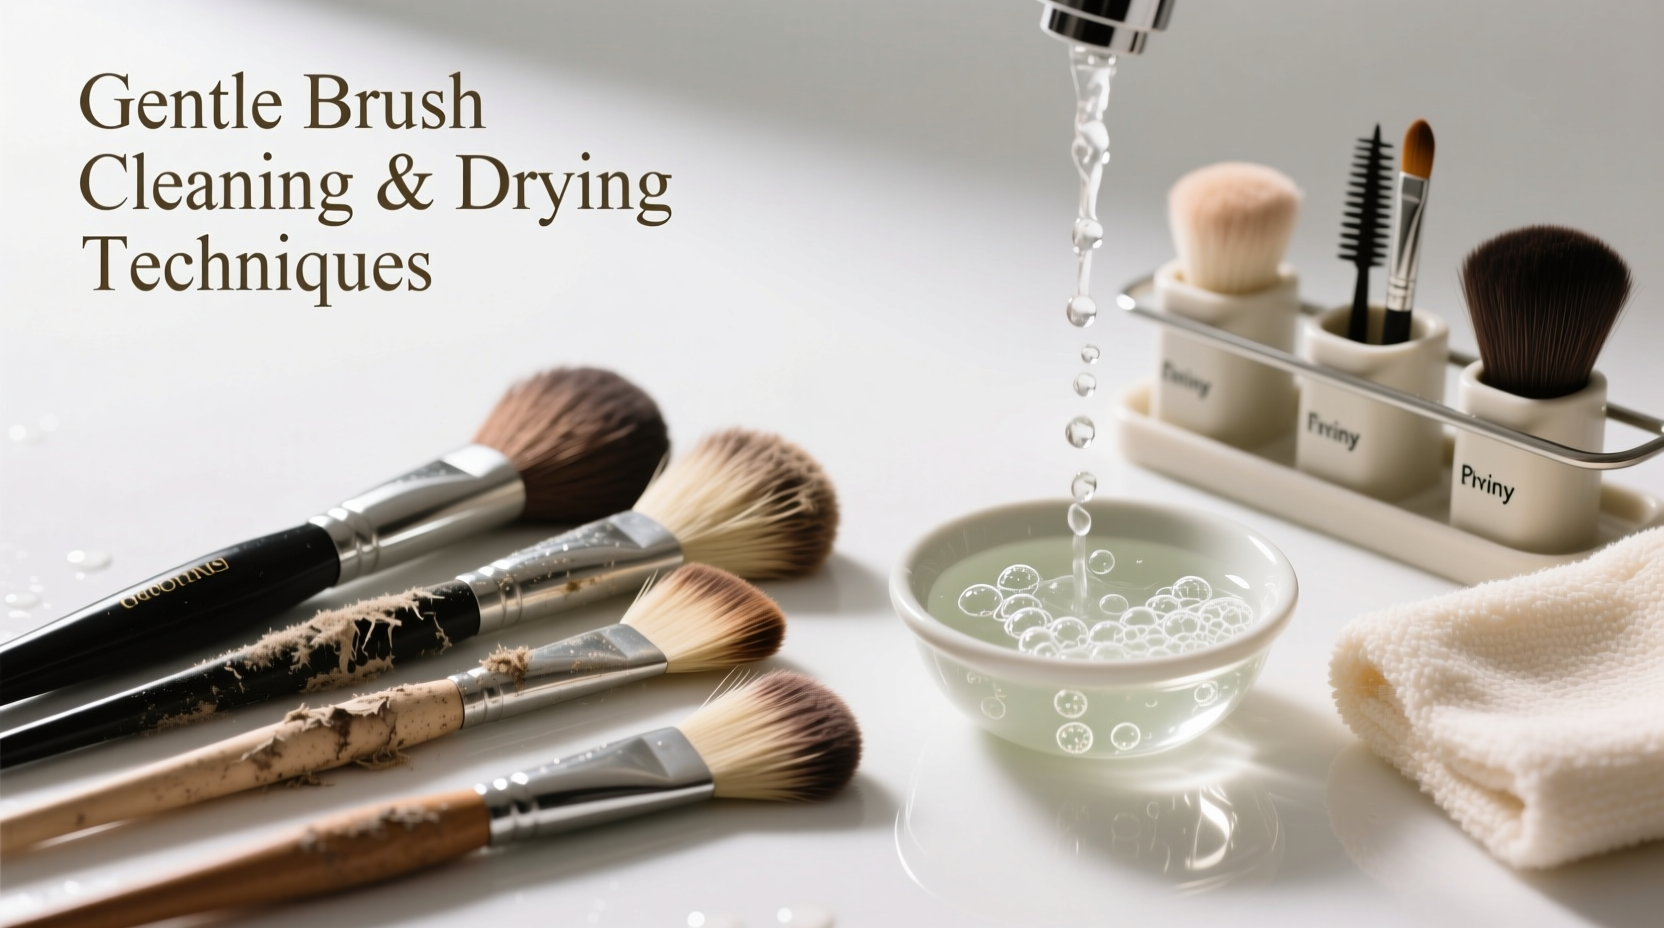
Revitalizing neglected brushes requires more than a quick rinse. Follow this detailed process to deep-clean and restore functionality:
- Pre-rinse under lukewarm water: Hold brushes at an angle to prevent water from seeping into the ferrule (metal part). Saturate bristles gently, ensuring no standing water pools near the base.
- Apply cleaner to palm or silicone mat: Place a small amount of chosen cleanser on a textured surface. Swirl the brush in circular motions to work up a lather. Focus on areas where product has built up.
- Rinse thoroughly: Continue rinsing until water runs clear. For heavily soiled brushes, repeat the lathering and rinsing cycle two to three times.
- Treat odor with vinegar soak (optional): If brushes have a musty smell, submerge bristles in a 1:4 white vinegar-water solution for 5–10 minutes. Rinse immediately afterward.
- Reshape bristles: Gently squeeze out excess water with fingers and realign bristles to their original form. This prevents splaying during drying.
- Lay flat or hang to dry: Never stand brushes upright in a cup—water will drip into the handle, loosening glue and promoting mold. Use a brush drying rack or lay them flat on a clean towel.
This full process should take 15–20 minutes per brush set. For best results, perform it weekly for frequently used brushes and monthly for occasional ones.
Drying Techniques That Prevent Damage
Improper drying is the leading cause of premature brush failure. Water trapped in the ferrule weakens adhesive bonds, causing bristles to fall out. Humid conditions encourage bacterial regrowth, negating the benefits of cleaning.
Choose a drying method based on brush type and urgency:
- Flat drying on a towel: Ideal for natural hair brushes. Lay them horizontally with bristles slightly overhanging the edge to allow airflow. Flip halfway through drying (about 3–4 hours).
- Brush drying rack with angled slots: Designed to keep bristles downward while allowing handles to breathe. Best for synthetic and duo-fiber brushes.
- Hanging with clips: Use soft-grip clothespins to suspend brushes upside down. Ensures gravity pulls moisture away from the base. Avoid metal clips that can crush ferrules.
- Fan-assisted drying (low setting): In humid climates, place brushes near a cool fan to accelerate drying. Never use heat, as it can warp plastic handles or melt glue.
Mini Case Study: From Musty to Flawless in One Weekend
Sophia, a freelance makeup artist in Portland, noticed her favorite concealer brush had become stiff and left streaks under clients’ eyes. She hadn’t cleaned her kit in over two months due to a busy schedule. After a client mentioned irritation, she inspected her tools and detected a faint sour odor from several brushes.
She followed the deep-cleaning protocol using diluted castile soap and a silicone cleansing mat. Two brushes with severe buildup required a second wash and a 10-minute vinegar soak. All were laid flat on a drying rack overnight in a low-humidity room with a dehumidifier running.
By morning, the bristles were soft, odor-free, and springy. During her next session, she achieved seamless coverage with minimal product waste. “I didn’t realize how much the dirty brushes were affecting my work,” she said. “Now I clean them every Sunday without fail.”
Checklist: How to Refresh Stale Makeup Brushes
Use this checklist to ensure you don’t miss a critical step when reviving old or neglected brushes:
- ☐ Gather all brushes needing attention
- ☐ Choose a gentle, appropriate cleaner
- ☐ Pre-rinse bristles under lukewarm water (angled)
- ☐ Lather on palm or cleansing mat until water runs clear
- ☐ Soak in vinegar solution if odor is present (optional)
- ☐ Reshape bristles with fingers
- ☐ Remove excess water gently—no wringing
- ☐ Lay flat or hang upside down to dry
- ☐ Store only when completely dry
- ☐ Schedule next cleaning session (weekly or monthly)
Frequently Asked Questions
How often should I clean stale makeup brushes?
For brushes used daily, clean them weekly. Occasional-use brushes can go 3–4 weeks between cleanings. If a brush already feels stiff or smells off, clean it immediately—don’t wait.
Can I use olive oil to condition stiff bristles?
In small amounts, yes. After washing, mix a drop of olive oil with your regular cleaner to help recondition natural hair bristles. Rinse thoroughly, as leftover oil can attract dust and bacteria.
Is it safe to use hydrogen peroxide for disinfecting?
Only in extreme cases and never undiluted. A 3% hydrogen peroxide solution can be used sparingly to sanitize, but prolonged exposure damages bristles and fades colored handles. Stick to vinegar or dedicated brush sanitizers instead.
Final Thoughts: Make Brush Care Part of Your Routine
Refreshing stale makeup brushes isn’t a luxury—it’s fundamental hygiene. With the right gentle cleaners and intelligent drying practices, you can restore even the most neglected tools to peak performance. The investment of 15 minutes a week pays off in smoother application, clearer skin, and longer-lasting brushes.


 浙公网安备
33010002000092号
浙公网安备
33010002000092号 浙B2-20120091-4
Comments
No comments yet. Why don't you start the discussion?