
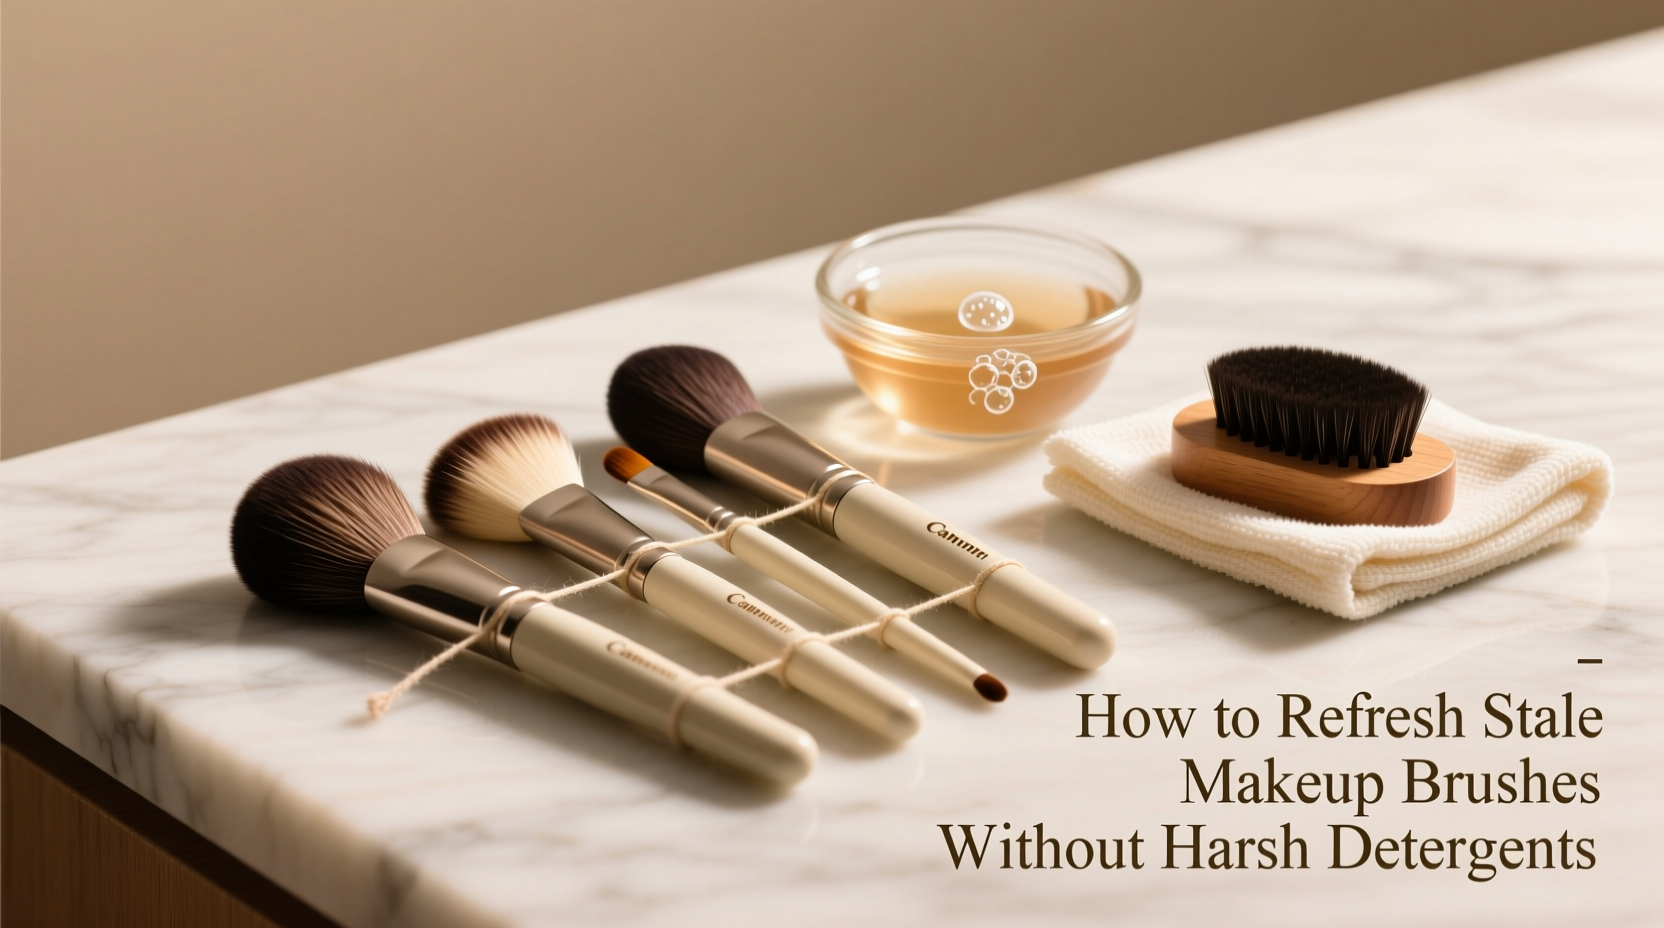
Makeup brushes are essential tools for achieving a flawless finish, but over time, they accumulate product buildup, oils, and bacteria. This residue can lead to unpleasant odors, discoloration, and even skin irritation. While many turn to strong detergents or chemical cleaners, these can damage delicate bristles and irritate sensitive skin. The good news is that you don’t need aggressive formulas to restore your brushes to their former glory. With thoughtful, natural methods, you can refresh stale makeup brushes effectively—preserving their integrity while ensuring hygiene.
Why Harsh Detergents Harm Your Brushes
Conventional brush cleansers often contain sulfates, alcohol, and synthetic fragrances designed to cut through grease and kill bacteria. While effective in the short term, these ingredients degrade natural bristles, strip protective oils from synthetic fibers, and weaken glue at the ferrule—the metal part holding bristles to the handle. Repeated exposure leads to shedding, splaying, and shortened brush life.
Additionally, harsh chemicals can linger in the bristles, transferring to your skin during application. For those with acne-prone, rosacea-affected, or sensitive skin, this residue may trigger breakouts or inflammation. Over-cleaning with abrasive agents also disrupts the balance of beneficial microbes on the skin’s surface, potentially worsening long-term skin health.
“Many professionals overlook how much detergent strength impacts brush longevity. A gentler approach not only protects the tool but supports better skin outcomes.” — Lena Tran, Cosmetic Hygiene Consultant
Natural Alternatives That Actually Work
Effective brush cleaning doesn’t require laboratory-grade formulas. Common household items like vinegar, olive oil, and baking soda offer powerful yet non-toxic solutions. These ingredients work synergistically to dissolve buildup, neutralize odors, and condition bristles—all without compromising structural integrity.
Vinegar and Water Soak
White vinegar acts as a natural disinfectant due to its acetic acid content, which kills bacteria and mold. When diluted properly, it removes odor-causing microbes without damaging fibers.
Mix one part white vinegar with two parts lukewarm water. Submerge only the bristle tips (never the ferrule) for 5–10 minutes. Swirl gently in the solution, then rinse thoroughly under running water until clear. Vinegar’s mild acidity helps dissolve mineral deposits from hard water, restoring softness.
Baking Soda Paste for Deep Deodorizing
For brushes with persistent smell or caked-on foundation, a light baking soda paste offers gentle abrasion. Mix half a teaspoon of baking soda with a few drops of water or castile soap to form a spreadable paste.
Using fingertips, massage the paste into the bristles in circular motions. Focus on areas near the base where product accumulates. Rinse completely—any leftover granules can scratch skin during use. Baking soda neutralizes pH imbalances caused by sebum and oxidized makeup, eliminating sour or rancid notes.
Olive Oil and Dish Soap Blend
A blend of olive oil and plant-based dish soap tackles stubborn waxes and silicones found in cream products. Use one drop of mild liquid soap (like Dr. Bronner’s) with half a drop of extra virgin olive oil.
The oil breaks down greasy residues, while the soap emulsifies them for easy rinsing. This method is ideal for stippling or buffing brushes used with concealers and primers. After cleansing, wash again with plain water to remove any oily film.
Step-by-Step Guide: Refreshing Stale Brushes Safely
Follow this routine monthly—or more often if you use brushes daily—to maintain freshness and performance without wear and tear.
- Pre-Rinse: Hold brushes under lukewarm water, pointing downward to prevent water from entering the ferrule. Gently squeeze bristles to release loose debris.
- Choose Your Cleanser: Select one of the natural options above based on brush type and level of soiling. For light maintenance, use vinegar solution; for deep refresh, opt for baking soda or oil blend.
- Clean Gently: Apply cleanser to palm or silicone mat. Swirl brush in small circles to lift grime. Avoid scrubbing aggressively—this frays bristles.
- Rinse Thoroughly: Continue rinsing until water runs clear and no suds remain. Squeeze gently from base to tip to expel trapped liquid.
- Reshape and Dry: Pat dry with a microfiber cloth. Reshape bristles with fingers. Lay flat on a clean towel with handles elevated so moisture drains away from the ferrule.
- Air Out Completely: Allow 12–24 hours to dry fully before reuse. Never store damp brushes—they breed bacteria and mildew.
Brush Care by Type: Tailored Approaches
Different brush materials respond uniquely to cleaning agents. Treating all brushes the same way risks damage. Here’s how to adjust your method based on construction:
| Brush Type | Recommended Method | Avoid |
|---|---|---|
| Natural Hair (Sable, Goat, Pony) | Vinegar soak + olive oil conditioning | Baking soda (too abrasive), hot water (causes swelling) |
| Synthetic Fiber (Nylon, Taklon) | Baking soda paste, vinegar rinse | Excessive oil (can attract dust) |
| Hybrid (Mixed Bristles) | Mild castile soap + brief vinegar dip | Soaking longer than 10 minutes |
| Dense Buffing or Stippling Brushes | Olive oil + soap blend for base buildup | Standing upright to dry (traps moisture) |
Natural hair brushes absorb more moisture and are prone to misshaping. Always reshape immediately after washing. Synthetic brushes resist water absorption but can harbor oils in dense cores—pay special attention to the inner layers during cleaning.
Mini Case Study: Reviving a Professional Artist’s Kit
Jamie R., a freelance makeup artist in Portland, noticed her favorite blending brush had developed a sour smell after months of heavy use. She’d been using a commercial foaming cleanser weekly, but the odor persisted—and bristles began shedding.
Instead of replacing it, she tried a vinegar-water soak followed by a light olive oil treatment. After soaking the tips for eight minutes and massaging with diluted castile soap, she rinsed thoroughly and laid the brush flat overnight. By morning, the smell was gone, the bristles were softer, and shedding stopped. Three months later, the brush remains in rotation—proof that gentler methods can outperform harsh detergents when applied correctly.
Checklist: Monthly Brush Refresh Routine
Use this checklist to stay consistent without over-cleaning:
- ☐ Inspect each brush for stiffness, discoloration, or odor
- ☐ Pre-rinse under lukewarm water (tip-down position)
- ☐ Choose appropriate natural cleanser based on brush type
- ☐ Clean using palm or mat in circular motions
- ☐ Rinse until water runs clear
- ☐ Reshape bristles with fingertips
- ☐ Lay flat on clean towel with handle elevated
- ☐ Allow 12–24 hours to dry completely
- ☐ Store in breathable container away from humidity
Do’s and Don’ts of Natural Brush Cleaning
To maximize results and avoid common pitfalls, follow this simple guide:
| Do | Don’t |
|---|---|
| Use lukewarm water to preserve bristle structure | Use hot water—it weakens glue and warps natural fibers |
| Store brushes in open-air holders or fabric rolls | Keep them in sealed plastic cases where moisture collects |
| Clean every 1–3 weeks depending on usage | Wait until visible mold or smell appears |
| Condition natural bristles occasionally with almond oil | Apply oil to synthetic brushes—they don’t benefit and attract lint |
| Replace brushes every 1–2 years with proper care | Hold onto severely frayed or mold-damaged tools |
Frequently Asked Questions
Can I use apple cider vinegar instead of white vinegar?
Yes, but dilute it further—one part ACV to three parts water. It’s less potent than white vinegar and contains sugars that could feed bacteria if not rinsed well. Best reserved for sensitive bristles or fragrance-sensitive users.
How do I know when a brush needs replacement?
If bristles shed excessively after cleaning, feel brittle, or no longer spring back into shape, the brush has degraded beyond repair. Also replace if the ferrule is loose or shows rust. Even with perfect care, most brushes last 12–24 months with regular use.
Is it safe to share cleaned brushes with others?
Even after thorough cleaning, brushes can retain microbial traces. Dermatologists advise against sharing facial tools due to risks of transferring bacteria, viruses (like herpes), or fungal infections. Each person should have their own set.
Conclusion: Gentle Care, Lasting Results
Refreshing stale makeup brushes doesn’t require chemical warfare. By understanding the materials you’re working with and choosing mild, intelligent methods, you protect both your tools and your skin. Vinegar, baking soda, and plant-based oils offer real cleaning power without the collateral damage of synthetic detergents. Regular maintenance prevents buildup before it becomes problematic, extending the life of every brush in your collection.
You’ve invested in quality tools—now give them the care they deserve. Start tonight: pull out your most-used brush, assess its condition, and apply one of these natural techniques. With just a few minutes a month, you’ll keep your brushes fresh, functional, and safe for flawless application every time.


 浙公网安备
33010002000092号
浙公网安备
33010002000092号 浙B2-20120091-4
Comments
No comments yet. Why don't you start the discussion?