
Removing audio from a video is a common task for content creators, educators, marketers, and everyday users who want to repurpose footage without sound. Whether you're preparing a silent social media clip, creating a visual presentation, or protecting privacy by muting background noise, knowing how to strip audio efficiently across devices is essential. The good news: you don’t need advanced editing skills or expensive software. This guide walks you through proven methods that work on Windows, Mac, iPhone, Android, and directly in your browser—no downloads required.
Why Remove Audio from a Video?
There are many practical reasons to remove audio from a video. You might be sharing footage that contains private conversations, background chatter, or copyrighted music. In educational settings, silent videos allow instructors to add their own voiceovers. Marketers often use muted clips in ads where text overlays carry the message. Social media platforms like Instagram and TikTok favor videos that play well without sound, since most users scroll with audio off.
Whatever your reason, removing audio cleanly ensures your visuals remain uninterrupted while eliminating distractions or legal risks tied to sound.
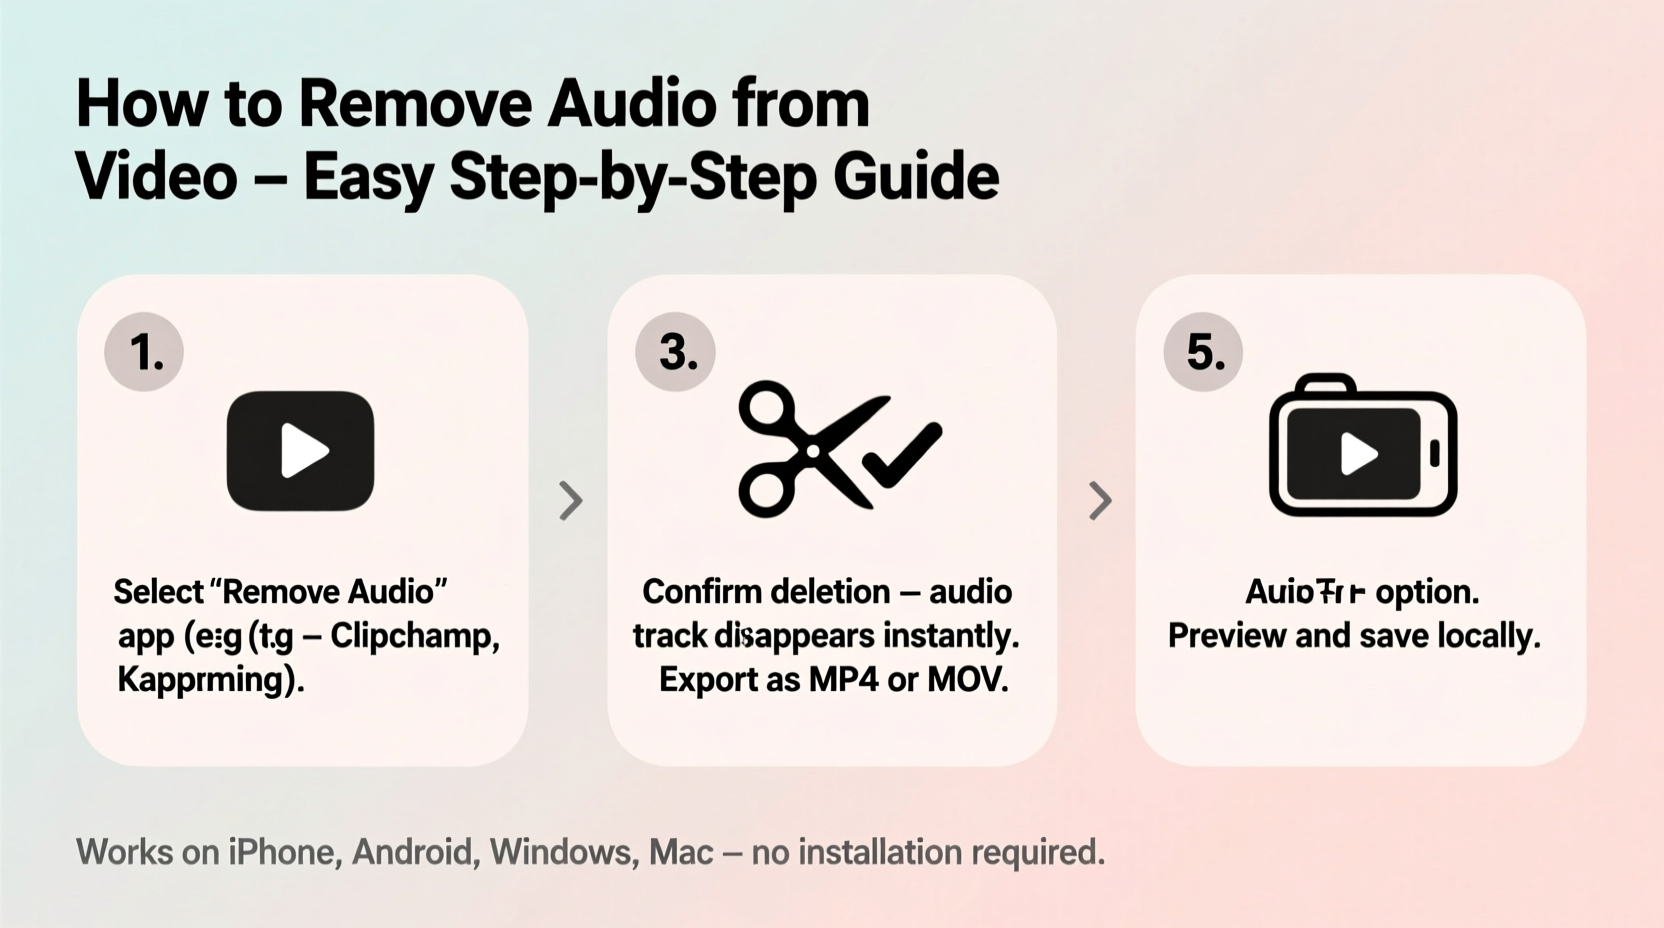
Step-by-Step Guide to Removing Audio by Device
Different devices offer different tools—some built-in, others free or low-cost. Below are reliable methods categorized by platform, each tested for simplicity and effectiveness.
On Windows (Using Built-in Photos App)
- Open the **Photos** app (pre-installed on Windows 10 and 11).
- Click **Create** > **Video project** > **New video from file**.
- Select your video and click **Open**.
- In the editor, go to the timeline and click the **Audio** track attached to your clip.
- Click the speaker icon to **mute** the audio. For complete removal, drag the volume slider to 0%.
- Click **Export** > choose resolution and quality > save the file.
On Mac (Using QuickTime Player)
- Right-click your video file and select **Open With** > **QuickTime Player**.
- Go to **Edit** > **Unlink Audio from Video** (this separates the tracks).
- Select the audio portion by clicking it in the timeline (it will highlight blue).
- Press **Delete** on your keyboard to remove the audio completely.
- Save the file: **File** > **Save As**, then choose location and filename.
This method permanently deletes the audio track. QuickTime is lightweight and comes free with every Mac, making it ideal for quick edits.
On iPhone (Using iMovie)
- Download and open **iMovie** (free from the App Store).
- Create a new project: Tap **+** > **Movie** > select your video.
- Tap the video clip in the timeline to select it.
- Tap the **speaker icon** at the bottom to mute the audio.
- To fully detach and delete: Tap **Detach** when prompted, then tap the audio segment and press **Delete**.
- Tap **Done**, then **Share** > **Save Video** to export.
iMovie gives precise control and supports most common formats, including 4K. It’s perfect for mobile-first editors.
On Android (Using CapCut)
- Install **CapCut** from the Google Play Store (free with no watermark).
- Open the app and tap **New Project** > select your video.
- Tap the clip in the timeline, then tap **Volume** in the toolbar below.
- Drag the volume slider to **0**.
- To remove entirely: Tap **Detach Sound**, then tap the audio track and select **Delete**.
- Tap **Export** in the top-right corner to save the silent video.
CapCut is one of the most user-friendly Android editors, supporting high-resolution exports and offering additional features like trimming and filters.
Using Online Tools (No Installation Required)
If you’re on a public computer or just want a fast solution, web-based tools are excellent. One of the most reliable is **Clideo’s “Remove Audio” tool**.
- Visit clideo.com/remove-audio.
- Upload your video by dragging it or selecting from device/cloud.
- Wait for processing—usually under a minute.
- Preview the result. If satisfied, click **Export**.
- Download the audio-free video to your device.
No registration is needed for basic use, and Clideo supports MP4, MOV, AVI, and more. Other reputable alternatives include **Kapwing**, **Online Video Cutter**, and **Veed.io**.
“Removing audio doesn’t have to mean losing quality. Modern tools preserve resolution while cleanly separating sound.” — Daniel Reyes, Digital Media Editor at PixelFrame Studios
Comparison Table: Best Methods by Use Case
| Method | Best For | Pros | Cons |
|---|---|---|---|
| Windows Photos | Quick edits on PC | Free, pre-installed, simple | Limited format support, basic controls |
| Mac QuickTime | Precise audio removal | Native app, clean output | Only on macOS, no batch processing |
| iMovie (iPhone) | Mobile editing | Intuitive, powerful, free | iOS only, larger file sizes |
| CapCut (Android) | Fast mobile workflow | Modern UI, high-quality export | Ads in free version |
| Clideo / Kapwing (Online) | Cross-device access | No install, works anywhere | Slower with large files, internet required |
Common Mistakes to Avoid
- Forgetting to unlink audio: On some apps (like QuickTime), simply muting isn’t enough—you must detach the audio before deleting.
- Overwriting the original: Always export as a new file to preserve your source video.
- Ignoring file size limits online: Many web tools cap uploads at 500MB. Compress large videos first if needed.
- Assuming all formats are supported: Check compatibility—older tools may not handle HEVC or high-bitrate files.
Real-World Example: Muting a Travel Vlog Clip
Sophie, a travel blogger, filmed a scenic sunrise at a crowded beach. While the visuals were stunning, the audio captured loud chatter and distant music. She needed a silent version for her Instagram Reel, where she’d overlay calming instrumental music and captions.
Using her iPhone, she opened iMovie, imported the clip, detached the audio, and deleted it. Within three minutes, she had a clean, silent video ready for upload. By avoiding third-party apps or desktop software, she completed the edit on the go—proving that efficient audio removal is possible even in time-sensitive situations.
FAQ
Can I remove audio without losing video quality?
Yes. Most modern tools—including QuickTime, iMovie, and Clideo—preserve the original video resolution and compression when stripping audio. Just avoid re-encoding unnecessarily.
Is it legal to remove audio from any video?
It depends. If you own the video or have permission, yes. However, removing audio from copyrighted content (e.g., movie clips) to redistribute may violate laws. Always consider usage rights.
Will removing audio reduce file size?
Yes, but usually only slightly. Audio takes up far less space than video. Removing it might reduce file size by 5–15%, depending on bitrate and length.
Final Checklist: Remove Audio Like a Pro
- ✅ Identify your device and choose the right tool.
- ✅ Back up the original video before editing.
- ✅ Unlink audio from video if required by the software.
- ✅ Delete or mute the audio track completely.
- ✅ Export as a new file to avoid overwriting.
- ✅ Test playback to confirm audio is gone.
Take Control of Your Content Today
Removing audio from a video shouldn’t be complicated. Whether you're on a laptop, smartphone, or shared computer, there’s a fast, free, and effective way to create clean, silent footage. The key is choosing the right method for your device and workflow. From built-in apps to powerful online editors, today’s tools put professional-grade control in everyone’s hands.


 浙公网安备
33010002000092号
浙公网安备
33010002000092号 浙B2-20120091-4
Comments
No comments yet. Why don't you start the discussion?