
Permanent marker stains on wood can be frustrating—especially when they appear on cherished furniture, cabinetry, or trim. While the ink is designed to resist fading and smudging, it doesn’t have to be permanent on your wooden surfaces. With the right techniques and materials, you can lift these marks effectively without harming the wood’s finish or integrity. The key lies in understanding the type of wood surface you're dealing with and choosing a removal method that matches its sensitivity.
Whether it's a child’s artwork on a dining table, an accidental swipe on a door frame, or a misplaced label on a wooden shelf, this guide provides tested, safe solutions. From household staples like rubbing alcohol to specialized wood cleaners, we’ll walk through proven approaches, precautions, and real-world scenarios so you can restore your wood confidently and efficiently.
Understanding Wood Surfaces and Marker Stains
Before attempting any removal technique, it’s essential to recognize that not all wood surfaces are created equal. The success of stain removal depends heavily on two factors: the type of wood finish and how deeply the ink has penetrated.
Wood finishes fall into several categories:
- Lacquer – Hard, glossy, and common on modern furniture; sensitive to solvents.
- Polyurethane – Durable and water-resistant; often found on floors and high-use tables.
- Shellac – Natural resin-based finish; vulnerable to alcohol-based solutions.
- Oiled or waxed wood – Porous and less protected; requires gentler treatment.
- Unfinished wood – Absorbs liquids quickly, making stain removal more difficult.
Permanent markers contain alcohol-based dyes that bond well with porous materials. On sealed wood, the ink sits mostly on the surface, making it easier to remove. On unfinished or poorly sealed wood, the dye may penetrate deeper, requiring more aggressive (but still careful) action.
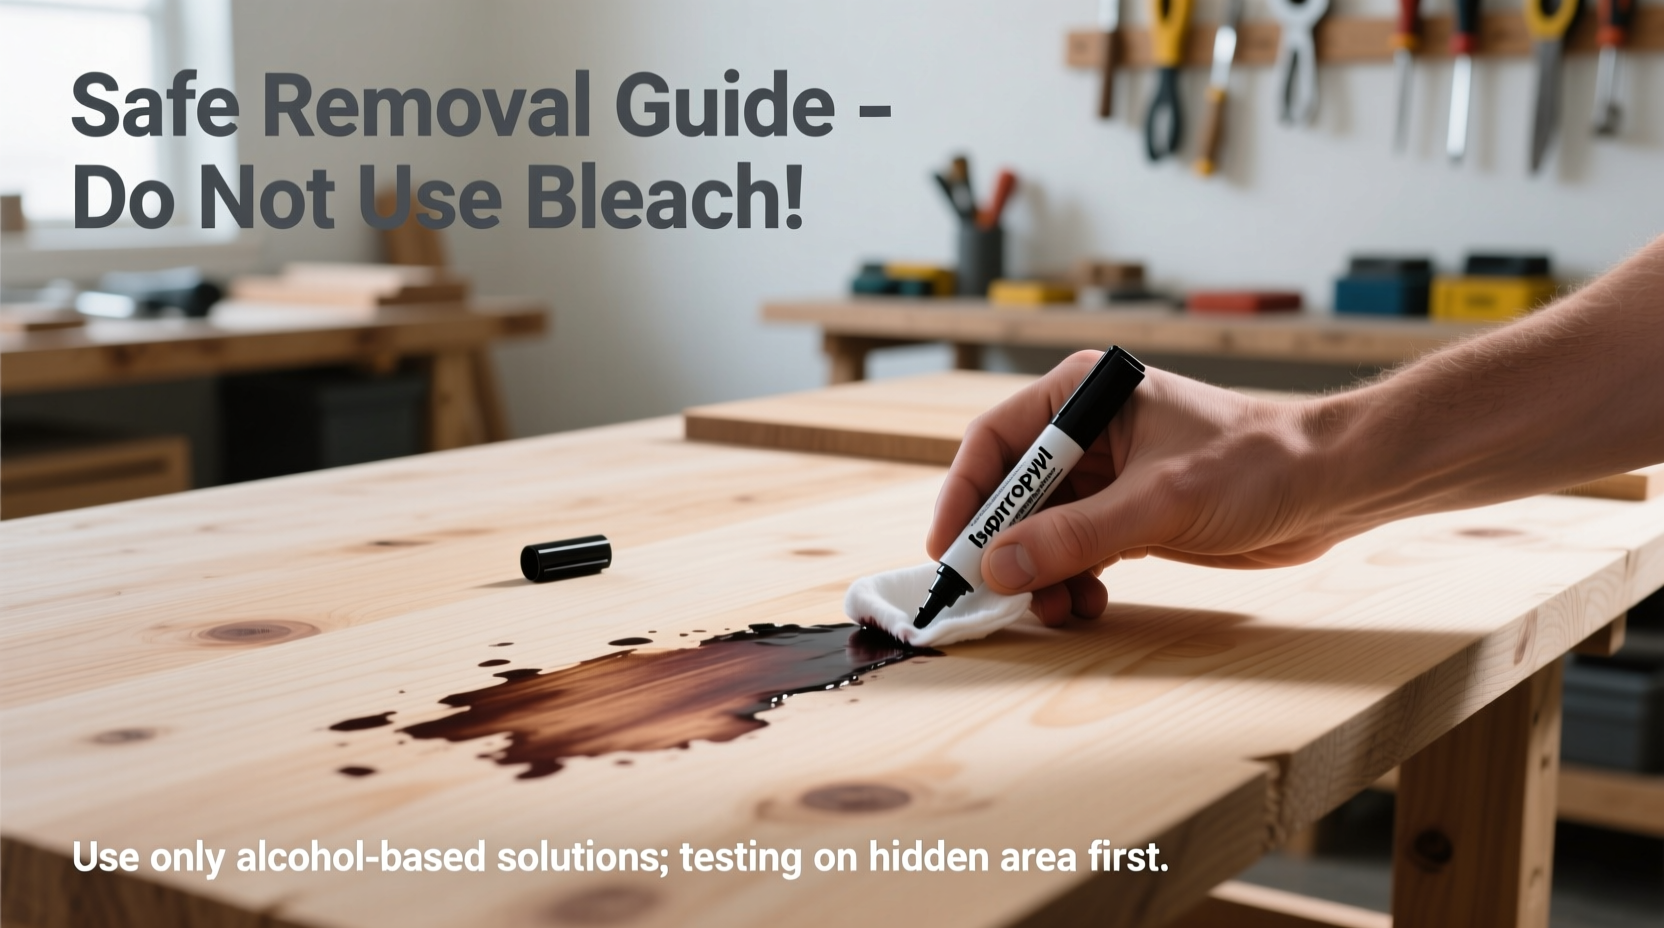
“Always test any cleaning solution on a hidden area first. A patch test can prevent irreversible damage.” — James Ralston, Restoration Specialist at Heritage Woodcare
Safe Removal Methods Step by Step
The following step-by-step process outlines how to remove permanent marker from wood while minimizing risk to the surface. Start with the gentlest method and progress only if needed.
- Assess the surface: Determine whether the wood is finished or unfinished, and identify the type of finish if possible. Look for sheen level and manufacturer labels.
- Blot excess ink: If the mark is fresh, gently blot with a dry paper towel to absorb as much ink as possible without spreading it.
- Test in an inconspicuous area: Apply your chosen solution to a hidden spot (like the back or underside) and wait 5–10 minutes. Check for discoloration or finish lifting.
- Apply the cleaning agent: Use a cotton swab or soft cloth to work the solution over the stain using small circular motions.
- Rinse and dry: Wipe the area with a damp cloth to remove residue, then dry immediately with a clean towel.
- Restore finish if needed: If the area appears dull, apply a small amount of wood polish or conditioner to blend it with the surrounding surface.
Method 1: Rubbing Alcohol (Isopropyl Alcohol)
Rubbing alcohol is one of the most effective solvents for breaking down permanent marker ink. It evaporates quickly and typically doesn't leave residue.
Steps:
- Dampen a cotton ball or soft cloth with 70% isopropyl alcohol.
- Gently rub the stained area in a circular motion.
- Change the cloth frequently to avoid reapplying ink.
- Once the stain lifts, wipe with a slightly damp cloth and dry thoroughly.
Caution: Avoid using on shellac or lacquer finishes, as alcohol can dissolve or cloud these coatings.
Method 2: Baking Soda and Water Paste
A non-chemical alternative uses baking soda, which acts as a mild abrasive. This method is ideal for delicate or antique wood where harsh chemicals are too risky.
Mix two parts baking soda with one part water to form a thick paste. Apply it to the stain using a soft cloth, then gently rub in small circles. Rinse with a damp cloth and dry immediately. This method may require multiple applications for stubborn marks.
Method 3: Magic Eraser (Melamine Foam)
Magic Erasers work through micro-abrasion rather than chemical action. They’re highly effective on surface-level stains but can dull glossy finishes if used aggressively.
How to use:
- Dampen the eraser slightly with water.
- Gently buff the stained area using light pressure.
- Wipe clean with a dry cloth.
Note: Always follow up with a wood polish to restore shine, especially on high-gloss surfaces.
Method 4: Commercial Wood Cleaners or Degreasers
Products like Murphy Oil Soap, Pledge Restore & Shine, or specialized ink removers can lift stains while conditioning the wood. These are best suited for finished surfaces and should be used according to label instructions.
Apply a small amount to a cloth—not directly onto the wood—and rub gently over the stain. Avoid over-wetting. Rinse with a damp cloth and dry promptly.
Do’s and Don’ts When Removing Permanent Marker
| Do’s | Don’ts |
|---|---|
| Test any solution on a hidden area first | Use undiluted bleach or acetone on finished wood |
| Use soft cloths or cotton swabs to avoid scratching | Scrub aggressively—this can spread ink or damage finish |
| Work in small, circular motions | Soak the wood with liquid; moisture causes warping |
| Dry the area thoroughly after cleaning | Use nail polish remover containing acetone on lacquered surfaces |
| Follow up with wood conditioner if needed | Ignore manufacturer care instructions for specialty finishes |
Real Example: Removing Marker from a Dining Table
Sarah noticed a bold black Sharpie line across her oak dining table after her nephew visited. The table had a polyurethane finish and was regularly polished. She started by testing rubbing alcohol on the underside of the table edge. After confirming no damage occurred, she applied a small amount to a cotton pad and gently rubbed the stain.
Within 30 seconds, the ink began to lift. She switched to a clean section of the pad every few seconds to prevent redepositing ink. After the mark disappeared, she wiped the area with a damp cloth and dried it with a soft towel. To restore luster, she applied a thin coat of beeswax furniture polish. The table looked untouched within minutes.
This case illustrates how a simple, controlled approach with household items can resolve what initially seemed like a permanent problem.
When to Seek Professional Help
Some situations go beyond DIY remedies. If the ink has deeply penetrated unfinished wood, or if the surface is antique or historically valuable, professional restoration may be necessary. Experts use techniques such as:
- Controlled solvent gels that target ink without spreading
- Low-abrasion polishing systems
- Color-matching touch-up pens after cleaning
In cases involving veneer or inlaid wood, improper handling can lead to delamination or irreversible finish loss. For heirloom pieces, consulting a certified furniture restorer is always the safest path.
“On antiques, I never recommend alcohol or melamine foam. Even slight finish erosion can reduce value significantly.” — Dr. Lena Cho, Conservator at National Museum of Wood Artifacts
Frequently Asked Questions
Can vinegar remove permanent marker from wood?
Vinegar alone is generally ineffective against permanent marker ink due to its weak acidity. While it may help clean residue after using another method, it lacks the solvent strength to break down alcohol-based dyes. Combining vinegar with baking soda offers minimal improvement and isn’t recommended for finished wood, as prolonged exposure to acid can degrade certain sealants.
Will toothpaste work on permanent marker stains?
Some people report success using white, non-gel toothpaste because it contains mild abrasives and surfactants. However, results vary widely. Fluoride and flavoring agents in toothpaste may leave residues or interact poorly with wood finishes. It’s safer to stick with baking soda paste or rubbing alcohol, which offer more predictable outcomes.
What if the stain remains after trying multiple methods?
If the ink persists, it may have penetrated below the finish. In such cases, light sanding with 220-grit sandpaper followed by refinishing might be required. Always sand in the direction of the grain and only as much as necessary. After sanding, apply a matching stain and protective topcoat. For large or visible areas, consider hiring a professional to ensure consistent results.
Prevention Tips for Future Protection
Once the stain is gone, take steps to prevent recurrence:
- Keep permanent markers stored securely away from wooden surfaces.
- Use placemats or tablecloths in high-traffic dining or study areas.
- Apply a fresh coat of protective wax or sealant annually to maintain a barrier.
- Educate children about appropriate writing surfaces and provide alternatives like chalkboards or whiteboards.
Conclusion: Act Quickly and Carefully
Removing permanent marker from wood doesn’t require expensive tools or drastic measures. With patience and the right approach, most stains can be eliminated safely. The earlier you act, the better your chances—fresh ink hasn’t fully bonded and is easier to lift. Always prioritize the wood’s finish and test before treating.
By combining practical methods like rubbing alcohol or baking soda paste with proper aftercare, you can preserve both the appearance and longevity of your wooden furnishings. Whether it’s a quick fix on a side table or a careful restoration of a family heirloom, the right knowledge makes all the difference.


 浙公网安备
33010002000092号
浙公网安备
33010002000092号 浙B2-20120091-4
Comments
No comments yet. Why don't you start the discussion?