
Whiteboards are essential tools in classrooms, offices, and homes—offering a clean, reusable surface for brainstorming, teaching, and planning. But when permanent marker finds its way onto one, panic often follows. Unlike dry-erase ink, permanent marker is designed to bond strongly with surfaces, making it notoriously difficult to remove. The good news? With the right techniques, even stubborn permanent marker can be erased safely—without scratching, staining, or degrading your whiteboard.
The key lies in understanding the chemistry behind the ink and choosing cleaning agents that break down the pigment without harming the glossy melamine or porcelain coating of the board. This guide walks through proven methods, backed by practical experience and expert insight, to restore your whiteboard to pristine condition—safely and effectively.
Understanding the Problem: Why Permanent Marker Sticks
Permanent markers use alcohol-based solvents and pigments that penetrate porous surfaces and adhere tightly to non-porous ones. While whiteboards are non-porous, their smooth finish can still trap ink molecules, especially if left unattended. Over time, exposure to air causes the solvent to evaporate, leaving behind a hardened film of dye that resists standard erasing.
Dry-erase markers, by contrast, use non-polar solvents and rely on a silicone oil release agent that prevents deep bonding. This allows them to be wiped away easily. When permanent marker is applied instead, it bypasses this release mechanism and bonds directly to the surface.
“Many people make the mistake of scrubbing aggressively when they see permanent marker on a whiteboard. That’s the fastest way to cause micro-scratches, which then trap future ink and create ghosting.” — Dr. Alan Reeves, Materials Scientist at EduSurface Labs
Avoiding damage means using chemical dissolution rather than mechanical force. Gentle, solvent-based solutions are far more effective—and safer—than abrasive pads or excessive pressure.
Safe and Effective Removal Methods
Below are five reliable methods for removing permanent marker from whiteboards. Each uses common household or office supplies and prioritizes surface preservation. Start with the mildest option and escalate only if necessary.
1. Dry-Erase Marker Overlap Technique
This surprisingly effective method leverages the chemistry of dry-erase ink to lift permanent marker. By covering the stain with a fresh layer of dry-erase ink, you introduce the silicone release agent beneath the permanent ink. When erased, the entire layer—including the permanent marker—lifts off together.
- Cover the stained area completely with a dry-erase marker.
- Wait 15–30 seconds to allow the solvent to interact with the permanent ink.
- Erase normally with a soft eraser or microfiber cloth.
- Repeat once if residue remains.
This method works best on newer stains and should be tried first—it requires no additional chemicals and poses zero risk to the board.
2. Isopropyl Alcohol (Rubbing Alcohol)
Isopropyl alcohol (70% or higher) is a powerful solvent that breaks down the resin and dye in permanent markers. It evaporates quickly and leaves no residue, making it ideal for sensitive surfaces.
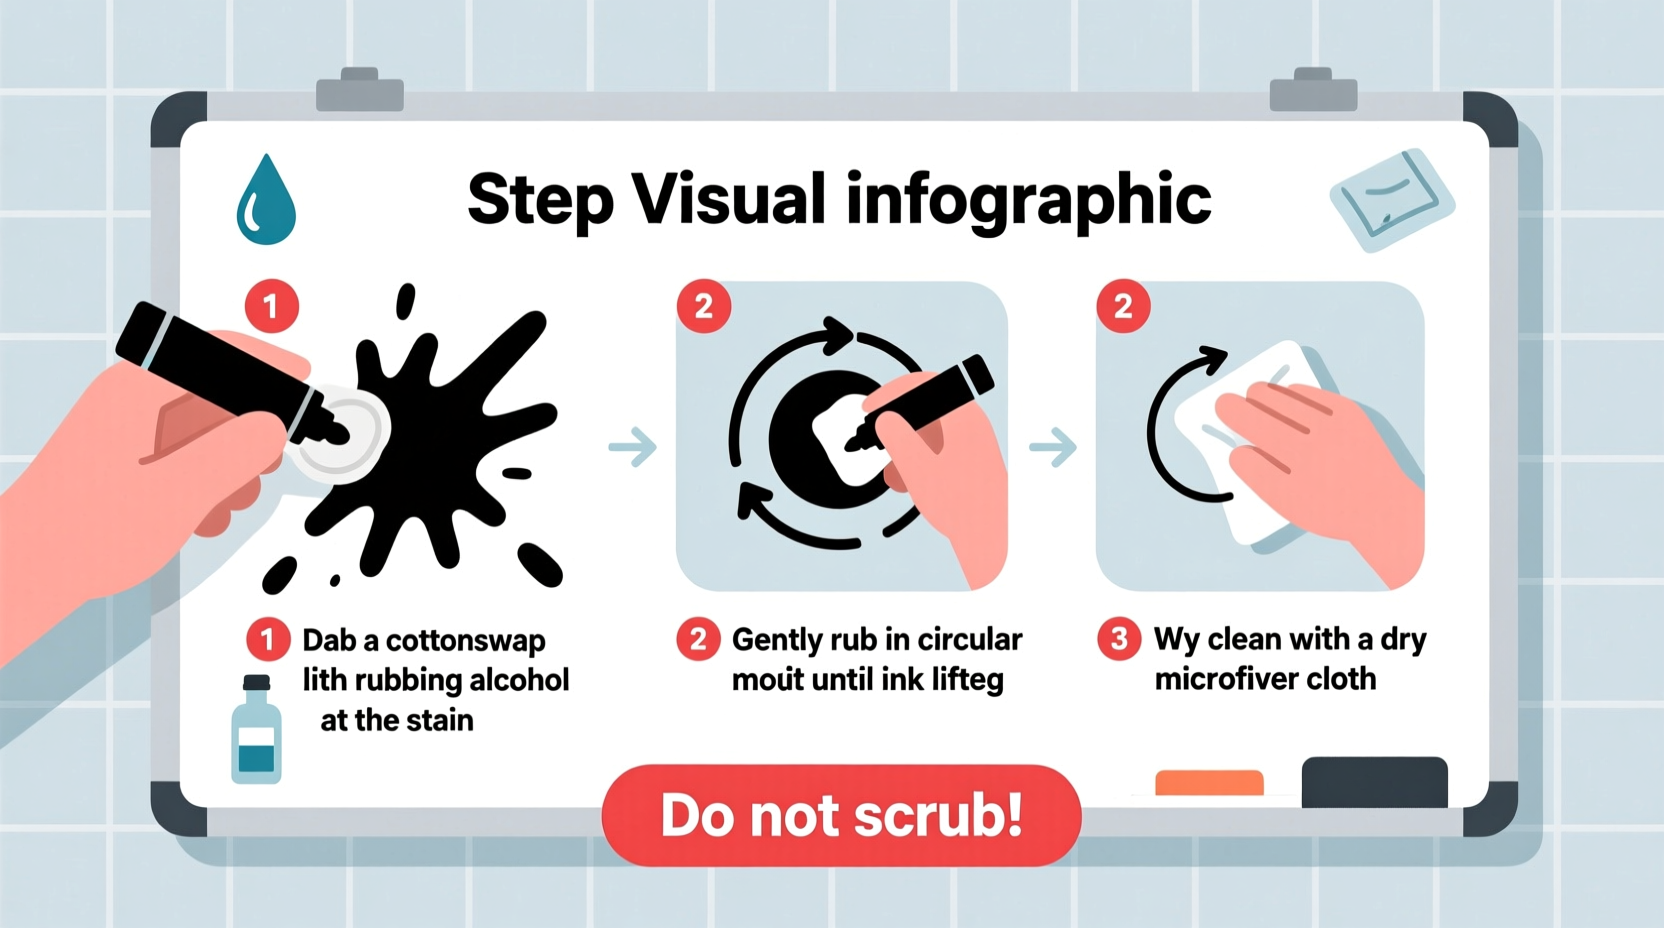
- Dampen a cotton ball or soft cloth with rubbing alcohol—do not soak it.
- Gently dab the stained area, allowing the alcohol to sit for 20–30 seconds.
- Wipe in circular motions with light pressure.
- Follow up with a dry microfiber cloth to remove any moisture.
Test on a small corner first if your board has a matte or specialty coating. While generally safe for melamine and porcelain boards, repeated heavy use may dull the surface over time.
3. Whiteboard Cleaner with Alcohol Base
Commercial whiteboard cleaners often contain isopropyl alcohol and surfactants specifically formulated for ink removal. They’re less harsh than pure solvents and include ingredients that protect the board’s finish.
- Spray a small amount directly onto a microfiber cloth (never spray directly on the board to avoid seepage into edges).
- Wipe the stained area gently.
- Rinse the area with a water-dampened cloth if streaks remain.
- Dry thoroughly.
Brands like Expo 2, Quartet, and Staples offer refillable sprays that are convenient for regular maintenance. Keep one on hand to prevent long-term staining.
4. Hand Sanitizer (Alcohol-Based)
In a pinch, alcohol-based hand sanitizer works well due to its high isopropyl alcohol content (usually 60–70%) and gel consistency, which clings to vertical surfaces.
- Apply a pea-sized amount to a cloth or fingertip.
- Smear gently over the stain.
- Let sit for 30 seconds.
- Wipe clean with a dry or slightly damp cloth.
Avoid sanitizers with added moisturizers or fragrances—they may leave oily residues. Stick to clear, alcohol-dominant formulas.
5. Magic Eraser (Melamine Foam)
Magic Erasers work via micro-abrasion and capillary action, lifting stains at a microscopic level. While effective, they carry a higher risk of surface damage if misused.
- Soak a small corner of the eraser in water and squeeze out excess.
- Gently glide over the stain using only finger pressure—no scrubbing.
- Wipe the area with a damp cloth afterward to remove residue.
- Dry with a lint-free towel.
Use this as a last resort. Repeated use can wear down the glossy coating, increasing the likelihood of future ghosting and staining.
Do’s and Don’ts: Protecting Your Whiteboard
| Do’s | Don’ts |
|---|---|
| Use a microfiber cloth for wiping—lint-free and non-abrasive. | Never use paper towels or rough sponges—they scratch the surface. |
| Clean spills immediately before they set. | Leave permanent marker unattended for days. |
| Store markers horizontally to prevent drying. | Allow caps to stay off dry-erase markers. |
| Inspect cleaner labels for alcohol or acetone content. | Use acetone, nail polish remover, or bleach—they strip protective layers. |
| Rotate cleaning methods to avoid chemical buildup. | Apply excessive pressure when erasing or cleaning. |
Real-World Example: Classroom Recovery
In a middle school science classroom in Portland, a substitute teacher accidentally used a black Sharpie during a lesson. By the end of the day, the entire periodic table was permanently marked across two large whiteboards. The next morning, the science department head, Ms. Linda Tran, faced a crisis—replacement boards would cost over $800.
Instead, she followed the dry-erase marker method first. After tracing over the stains and erasing, about 60% of the ink lifted. She then applied isopropyl alcohol with a soft cloth, working in sections. Within 20 minutes, both boards were fully restored. “I couldn’t believe it,” she said later. “We saved hundreds and avoided disruption. Now we keep a bottle of rubbing alcohol under the board ledge.”
This case illustrates how combining simple techniques can solve seemingly irreversible problems—without professional help or replacement costs.
Step-by-Step Action Plan
Follow this sequence to maximize effectiveness while minimizing risk:
- Act quickly. The sooner you address the stain, the easier it is to remove.
- Try the dry-erase marker trick. Cover the stain and erase after 30 seconds.
- If residue remains, use isopropyl alcohol. Dab gently with a cloth—avoid soaking.
- For persistent spots, try commercial whiteboard cleaner. Spray on cloth, not board.
- As a last resort, use a Magic Eraser. Wet it, use minimal pressure, and rinse after.
- Finish with a dry microfiber wipe. Ensure no moisture remains at the edges.
- Prevent recurrence. Label permanent markers clearly or store separately.
This tiered approach ensures safety first, escalation only when needed, and long-term board health.
Frequently Asked Questions
Can I use Windex to remove permanent marker from a whiteboard?
Yes, but with caution. Many Windex formulas contain ammonia, which can degrade the surface over time. If used, spray it on a cloth—not directly on the board—and wipe gently. Rinse with water afterward and dry completely. Safer alternatives like isopropyl alcohol are preferred.
Will vinegar remove permanent marker from a whiteboard?
Vinegar alone is usually ineffective. Its acidity doesn’t break down the polymerized resins in permanent ink. While mixing vinegar with baking soda creates a mild abrasive paste, this increases the risk of scratching. Stick to alcohol-based solutions for better results.
How can I prevent permanent marker accidents in shared spaces?
Color-code storage bins—red lids for dry-erase, black for permanent. Use labeled trays or magnetic caddies. In classrooms, teach students the difference early. Some schools use only dry-erase markers with color-coded caps to eliminate confusion.
Expert Prevention Strategy
Dr. Alan Reeves recommends proactive measures: “The best way to protect whiteboards is to establish clear marker protocols. In corporate and educational settings, designate a ‘board check’ step before meetings or classes. A quick glance for wrong markers can save hours of cleanup later.”
“The cost of a single replacement whiteboard could fund an entire year of proper markers and cleaning supplies. Prevention is always cheaper and more effective.” — Facility Management Weekly, Industry Report 2023
Conclusion: Restore and Protect with Confidence
Removing permanent marker from a whiteboard doesn’t require expensive products or risky scrubbing. With the right knowledge, even the most stubborn stains can be dissolved safely using everyday items. The dry-erase marker trick, isopropyl alcohol, and proper wiping technique form a powerful trio for maintaining a clean, functional board.
Beyond cleanup, consistent habits—like immediate attention to stains, proper storage of markers, and routine cleaning—can extend your whiteboard’s life by years. Whether in a classroom, conference room, or home office, a well-maintained whiteboard supports clearer communication, better collaboration, and a more professional environment.


 浙公网安备
33010002000092号
浙公网安备
33010002000092号 浙B2-20120091-4
Comments
No comments yet. Why don't you start the discussion?