
Laptop lids are often made of delicate materials like aluminum, plastic, or magnesium alloy—surfaces that can be easily marred by improper cleaning techniques. When you peel off a brand logo, warranty sticker, or promotional decal, what’s left behind is often a stubborn layer of adhesive. This sticky residue not only looks unappealing but can attract dust and grime over time. The challenge lies in removing it safely, without introducing scratches, swirl marks, or chemical damage. Fortunately, with the right tools and approach, you can restore your laptop lid to a clean, smooth finish using household items and proven methods.
Understanding Laptop Lid Materials and Risks
Before attempting any cleaning method, it's crucial to identify the material of your laptop lid. Most modern laptops fall into one of three categories:
- Aluminum (e.g., MacBook Pro, Dell XPS): Durable but prone to fine scratches if rubbed with abrasive cloths.
- Plastic/Polycarbonate (e.g., budget laptops): More susceptible to chemical damage from solvents like acetone.
- Magnesium Alloy (e.g., Lenovo ThinkPad X1 Carbon): Lightweight and strong, but finishes can degrade under harsh cleaners.
The protective coating on these surfaces—especially matte or anodized finishes—is designed to resist fingerprints and wear. However, aggressive scrubbing or inappropriate solvents can compromise this layer, leading to permanent dullness or discoloration.
“Many users unknowingly damage their laptop’s finish by using rubbing alcohol or paper towels. A gentle approach with the right solvent and microfiber is key.” — Dr. Lena Park, Materials Scientist at TechSurface Labs
Safe Methods to Remove Sticker Residue: Step-by-Step Guide
Removing adhesive residue doesn’t require industrial chemicals. With patience and precision, you can achieve excellent results using common household items. Below is a detailed timeline of actions to follow for optimal safety and effectiveness.
- Power down and disconnect: Turn off your laptop and unplug it. If possible, remove the battery (not applicable for most modern ultrabooks).
- Clean initial debris: Wipe the area with a dry microfiber cloth to remove dust or loose particles that could scratch during cleaning.
- Apply heat gently: Use a hairdryer on low heat, held 6–8 inches away, to warm the residue for 30–60 seconds. Heat softens the adhesive, making it easier to lift without force.
- Lift edge with plastic tool: Use a plastic spudger, old credit card, or guitar pick to gently lift a corner of the residue. Slide it slowly under the film—never use metal.
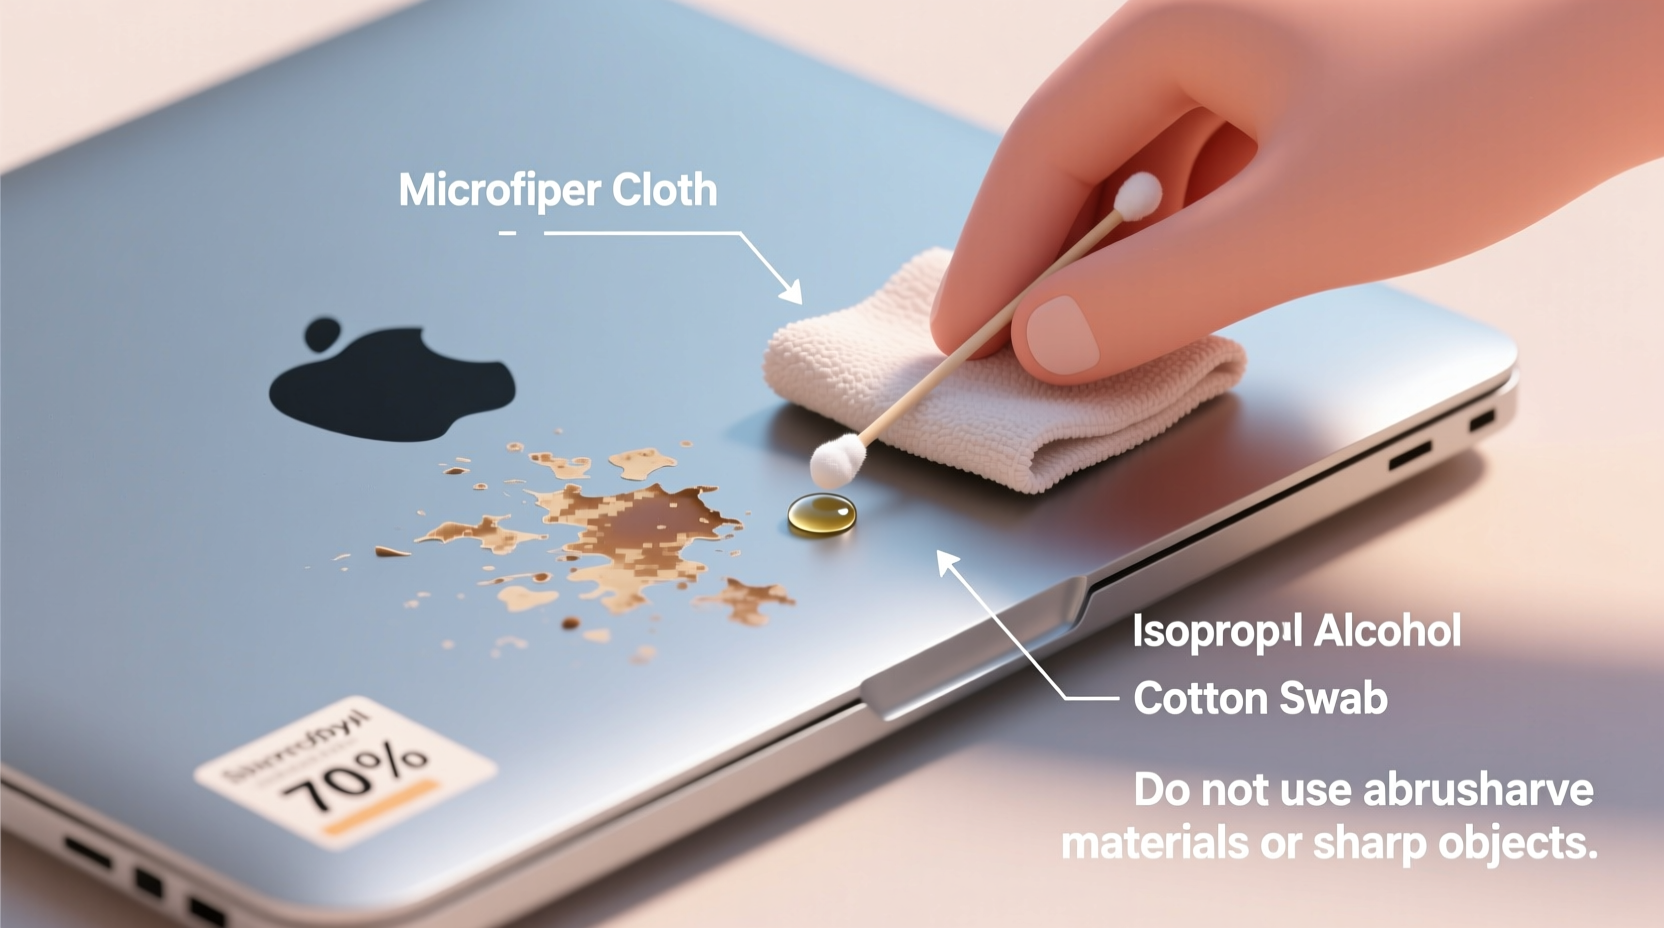
- Choose a safe solvent: Apply a small amount of one of the following to a microfiber cloth (never directly on the laptop):
- Isopropyl alcohol (70% or less)
- Commercial adhesive remover (e.g., Goo Gone Original – non-wiping formula)
- Diluted dish soap (a drop in water)
- White vinegar (5% acetic acid)
- Wipe in straight lines: Using light pressure, wipe the area in one direction—not circular motions—to minimize micro-scratches.
- Rinse and dry: Dampen a second clean cloth with water, wipe lightly to remove solvent traces, then dry immediately with a dry microfiber cloth.
- Inspect and repeat if needed: If residue remains, repeat the process after waiting 10 minutes to avoid oversaturating the surface.
Do’s and Don’ts: Solvent and Tool Comparison
| Method | Do’s | Don’ts |
|---|---|---|
| Isopropyl Alcohol (70%) | Effective on most adhesives; evaporates quickly; widely available | Avoid on matte plastic; never use above 70% concentration |
| Goo Gone (Original) | Breaks down sticky residue fast; citrus-based and biodegradable | Use sparingly; may leave oily film—requires thorough wiping |
| White Vinegar | Natural, non-toxic; safe on metals and some plastics | Less effective on heavy residue; strong odor |
| Acetone / Nail Polish Remover | Powers through tough adhesives instantly | Never use on plastic or painted surfaces—it will melt or haze the finish |
| WD-40 | Penetrates deep into adhesive layers | Leaves greasy residue; risky near electronics; not recommended |
Note: For premium devices like MacBooks, Apple advises against using any third-party solvents. In such cases, diluted isopropyl alcohol (50%) applied minimally is the safest option.
Real-World Example: Removing a Gaming Laptop Decal
Mark, a college student and part-time streamer, purchased a new gaming laptop with a large glossy logo sticker on the lid. After peeling it off, he was left with a cloudy patch of adhesive that attracted lint and looked unprofessional during live streams. He tried wiping it with a tissue and hand sanitizer, which only smeared the residue.
Following online advice, he used a hairdryer to warm the area for 45 seconds, then gently scraped the edge with a plastic gift card. He dampened a microfiber cloth with 70% isopropyl alcohol and wiped in straight strokes. After two passes, the residue lifted cleanly. He finished by wiping with a damp water cloth and drying thoroughly. The lid looked nearly factory-fresh, and Mark reported no scratches or finish damage after six months of daily use.
This case illustrates how combining heat, mechanical lifting, and a mild solvent—applied correctly—can resolve even thick adhesive buildup without risk.
Checklist: Safe Residue Removal Process
Follow this concise checklist before and during your cleaning session:
- ✅ Power off and unplug the laptop
- ✅ Identify the lid material (metal, plastic, coated alloy)
- ✅ Gather supplies: microfiber cloths, plastic scraper, chosen solvent
- ✅ Test solvent on a hidden area (e.g., near hinge)
- ✅ Warm residue with hairdryer (low setting, 30–60 sec)
- ✅ Lift edge gently with plastic tool
- ✅ Apply solvent to cloth—not directly to device
- ✅ Wipe in straight lines with minimal pressure
- ✅ Clean with damp cloth, then dry completely
- ✅ Inspect result; repeat if necessary after 10-minute interval
Frequently Asked Questions
Can I use baby wipes to remove sticker residue?
No. Most baby wipes contain alcohol, fragrances, and surfactants that can degrade coatings on laptop lids. They also often leave behind a filmy residue. While convenient, they are not suitable for sensitive electronic surfaces.
Will rubbing alcohol damage my MacBook lid?
Apple recommends avoiding alcohol-based cleaners, but many users safely use 70% isopropyl alcohol with caution. Use it sparingly on a microfiber cloth, apply in one direction, and dry immediately. Avoid repeated applications in the same spot to prevent finish dulling over time.
What should I do if the residue is still sticky after cleaning?
If the area feels tacky, it may indicate incomplete removal or solvent residue. Try a second pass with a drop of mild dish soap mixed in water, followed by a clean water wipe and thorough drying. Persistent stickiness could mean the adhesive has oxidized—repeat the heat-and-lift method before reapplying solvent.
Final Tips for Long-Term Surface Care
Once the residue is gone, maintaining the cleanliness and integrity of your laptop lid is essential. Consider applying a clear vinyl skin or protective decal if you plan to switch stickers frequently. These skins act as a sacrificial layer, absorbing adhesive damage instead of your original finish.
Regular maintenance includes weekly dusting with a dry microfiber cloth and monthly inspections for buildup. Avoid placing your laptop in direct sunlight for extended periods, as UV exposure can harden adhesives and degrade surface coatings, making future cleanup more difficult.
Conclusion: Restore Your Laptop’s Look Safely and Confidently
Removing sticker residue from a laptop lid doesn’t have to be a risky gamble with your device’s appearance. By understanding your laptop’s surface material, choosing the right tools, and following a careful, step-by-step process, you can eliminate sticky remnants without scratches or chemical damage. Whether you're prepping your laptop for resale, personal customization, or simply a cleaner look, the methods outlined here offer reliable, tested solutions.
Take action today: assess your laptop’s current condition, gather the appropriate supplies, and apply these techniques with patience and precision. Your device deserves to look as good as it performs.


 浙公网安备
33010002000092号
浙公网安备
33010002000092号 浙B2-20120091-4
Comments
No comments yet. Why don't you start the discussion?