
Stickers are a convenient way to label, decorate, or identify items around the house, office, or vehicle. But when it’s time to remove them, they often leave behind a stubborn, sticky residue that can be both unsightly and difficult to clean. The challenge intensifies when dealing with delicate surfaces—painted walls, car finishes, wood furniture, or electronic screens—where harsh chemicals or abrasive tools could cause permanent damage. Fortunately, there are safe, proven methods to dissolve adhesive residue without harming the underlying material. This guide provides detailed, surface-specific strategies backed by practical experience and expert insight.
Understanding Adhesive Residue and Surface Sensitivity
Adhesives used in stickers are typically pressure-sensitive polymers designed to bond quickly and last over time. When removed, especially after prolonged exposure to heat, sunlight, or moisture, these adhesives don’t fully detach. Instead, they leave behind a thin, gummy film that attracts dust and resists water. The key to successful removal lies in understanding two variables: the type of adhesive and the sensitivity of the surface.
Common adhesive types include acrylic, rubber-based, and silicone. Acrylic is often found on outdoor stickers and is more resistant to UV light and temperature changes. Rubber-based adhesives are common in household labels and tend to degrade faster but leave more residue. Silicone adhesives are used in high-temperature applications and require specialized solvents.
Surface sensitivity varies widely. For example, glossy painted walls may tolerate mild solvents, while matte finishes can lose sheen if scrubbed too hard. Car paint, particularly modern clear-coated finishes, is vulnerable to abrasives and petroleum distillates. Glass and metal are generally durable, but coated or anodized versions need gentler care.
“Adhesive removal isn’t one-size-fits-all. Matching the solvent to the surface prevents costly mistakes.” — Dr. Lena Pruitt, Materials Scientist at EcoSurface Labs
Safe and Effective Removal Methods by Surface Type
The best approach combines gentle mechanical action with targeted chemical dissolution. Below are proven techniques categorized by surface material. Always test any method on a small, inconspicuous area first.
1. Painted Walls and Trim
Latex-painted walls are common in homes but can be easily damaged by solvents that strip finish or dull the paint. Start with the mildest option.
- Use a hairdryer to gently warm the residue. Heat softens adhesive, making it easier to lift.
- Peel away softened goo with a plastic scraper or credit card edge.
- If residue remains, dampen a microfiber cloth with warm soapy water (a few drops of dish soap in water) and rub in circular motions.
- For persistent spots, apply a small amount of rubbing alcohol (isopropyl alcohol, 70%) with a cotton ball. Blot—do not rub—to avoid spreading.
2. Automotive Surfaces (Paint, Windows, Trim)
Car stickers, such as dealership decals or window banners, often leave heavy residue due to sun exposure. Modern vehicles have multi-layer paint systems that can be ruined by improper cleaning.
- Begin with heat application using a hairdryer or heat gun on low setting. Keep the nozzle 6 inches from the surface to prevent blistering.
- Use a plastic razor blade or squeegee to gently scrape off softened adhesive.
- Apply automotive detailing clay or a dedicated adhesive remover like Goo Gone Automotive (formulated to be safe on clear coats).
- Wipe with a clean microfiber towel, then wash the area with car shampoo to remove any solvent traces.
Avoid WD-40 on painted surfaces—it contains oils that can attract dirt and degrade wax coatings over time.
3. Glass and Mirrors
Glass is non-porous and generally resilient, but some stickers (especially frosted or decorative ones) may contain dyes that stain if harshly treated.
- Heat the sticker area with a hairdryer until tacky.
- Lift the edge and peel slowly.
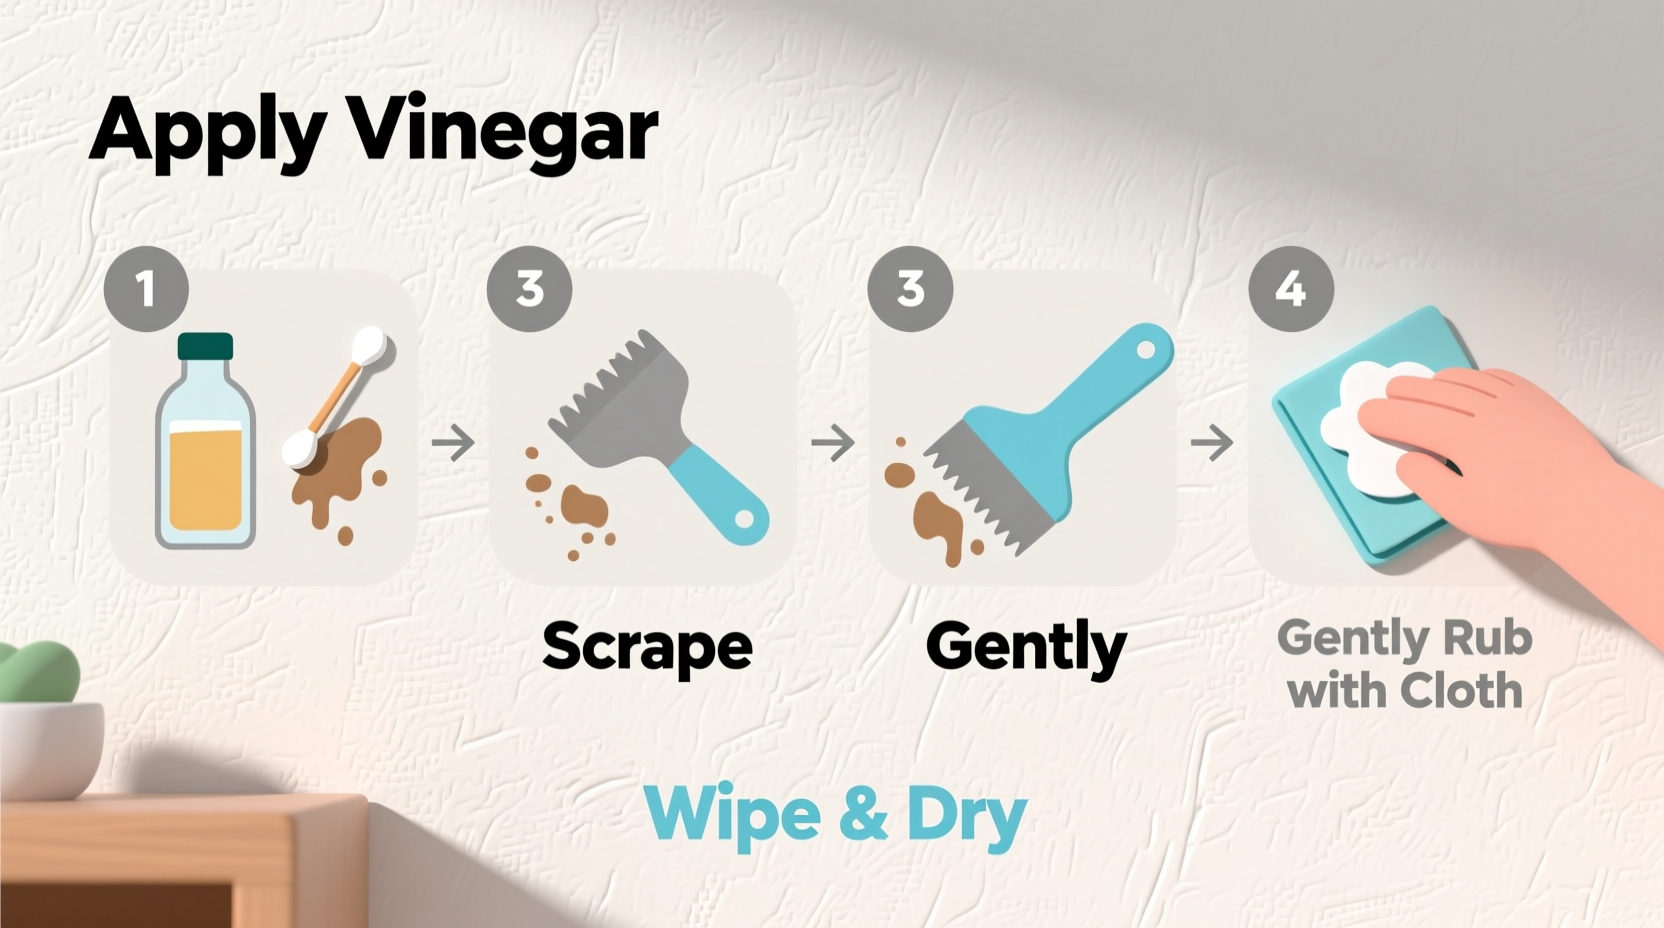
- Apply white vinegar or a 50/50 mix of vinegar and water to the residue.
- Let sit for 5–10 minutes, then wipe with a lint-free cloth.
- For thicker buildup, use rubbing alcohol or a commercial degreaser, followed by a glass cleaner for final shine.
4. Wood Furniture and Cabinets
Finished wood requires extra caution. Solvents can strip varnish or darken stains, especially on antique pieces.
Start with mechanical removal: warm the area and use a wooden or plastic tool to lift residue. Follow with a cloth dampened with mineral oil or olive oil. Let it sit for 5 minutes—the oil breaks down the adhesive. Wipe clean with a dry cloth. Finish by polishing with a wood-safe conditioner to restore luster.
For unfinished wood, avoid liquids entirely. Use a soft eraser (like a Magic Eraser, sparingly) or fine steel wool (0000 grade) lightly rubbed in the direction of the grain.
5. Electronics and Screens
Phones, tablets, and laptops often accumulate sticker residue from warranty labels or branding. These surfaces have anti-glare or oleophobic coatings that solvents can degrade.
Power off the device. Dampen a corner of a microfiber cloth with distilled water and gently rub the area. If ineffective, try a tiny drop of isopropyl alcohol (90%+ concentration evaporates faster and leaves less residue). Do not spray directly onto the device. Never use window cleaners containing ammonia.
Step-by-Step Guide: Universal Residue Removal Process
Regardless of surface, this six-step process maximizes effectiveness while minimizing risk:
- Assess the surface: Identify the material and its finish. Is it painted? Glossy? Coated?
- Test in an inconspicuous spot: Apply your chosen method to a hidden area to check for discoloration or damage.
- Apply heat: Use a hairdryer on medium heat for 30–60 seconds to soften the adhesive.
- Mechanically remove bulk residue: Use a plastic scraper, credit card, or soft cloth to lift the loosened goo.
- Apply solvent: Choose based on surface: soapy water (safe), vinegar (moderate), rubbing alcohol (effective), or commercial removers (targeted).
- Clean and protect: Wipe with a damp cloth, then dry thoroughly. Reapply protective finishes if needed (e.g., wax on cars, conditioner on wood).
Do’s and Don’ts: Surface-Specific Guidelines
| Surface | Do’s | Don’ts |
|---|---|---|
| Painted Walls | Use warm soapy water, rubbing alcohol, plastic scraper | Avoid acetone, scrubbing pads, excessive moisture |
| Car Paint | Use heat, auto clay, Goo Gone Automotive | Avoid WD-40, gasoline, steel wool |
| Glass | Try vinegar, alcohol, razor blade (on flat glass) | Avoid ammonia-based cleaners on tinted windows |
| Wood | Use mineral oil, gentle wiping, fine steel wool | Avoid water saturation, harsh solvents |
| Electronics | Use microfiber cloth, minimal alcohol, power off first | Avoid sprays, paper towels, abrasive cloths |
Real-World Example: Removing a Decal from a Vintage Guitar
Mark, a guitar collector, purchased a vintage electric guitar with a faded brand decal near the bridge. After removal, a thick, amber-colored residue remained, marring the lacquered finish. He avoided acetone, which could dissolve the lacquer, and instead warmed the area with a hairdryer. Using a plastic spatula, he lifted most of the bulk. He then applied a small amount of citrus-based adhesive remover with a cotton swab, letting it dwell for two minutes before wiping with a soft cloth. A final buff with a guitar polish restored the shine without harming the instrument’s value. This case highlights the importance of patience and surface-appropriate products.
Frequently Asked Questions
Can I use cooking oil to remove sticker residue?
Yes, plant-based oils like olive or canola oil can break down adhesive through prolonged contact. Apply a few drops, let sit for 10–15 minutes, then wipe with a cloth. However, oils can leave a greasy film or go rancid on porous surfaces, so follow up with a mild detergent wash if possible.
Is Goo Gone safe on all surfaces?
No. While Goo Gone Original is effective, it contains petroleum distillates that can damage plastics, painted surfaces, and certain finishes. Use Goo Gone Pro-Power or their foam-safe variants for sensitive materials. Always check the label and test first.
What should I do if the residue turns black when I rub it?
Black residue is usually a sign of degraded adhesive mixed with dirt. It doesn’t mean you’re damaging the surface. Continue gentle wiping with a fresh cloth. If it persists, switch to a different solvent like isopropyl alcohol, which can dissolve oxidized adhesives more effectively.
Essential Checklist for Safe Residue Removal
- Identify the surface material and finish
- Test your method on a hidden area
- Gather tools: hairdryer, plastic scraper, microfiber cloths
- Choose a safe solvent (soapy water, vinegar, alcohol, etc.)
- Apply heat to soften the adhesive
- Remove bulk residue mechanically
- Apply solvent and allow dwell time
- Wipe clean and dry thoroughly
- Restore protective coating if necessary
- Dispose of residues and cloths properly
Expert-Recommended Products
While household items work well, specialized products offer consistency and safety. Experts recommend:
- 3M Adhesive Remover: Fast-acting and safe on most automotive and industrial surfaces.
- Weiman Sticky Residue Remover: Designed for home use, effective on glass, metal, and sealed wood.
- Denatured Alcohol: Stronger than rubbing alcohol, ideal for heavy buildup on non-porous surfaces.
- Citrus-based cleaners: Biodegradable and less toxic, suitable for kitchens and children’s items.
“Investing in the right remover saves time and prevents irreversible damage. It’s cheaper than repainting or refinishing.” — Carlos Mendez, Auto Detailing Specialist, 15 years’ experience
Conclusion
Removing sticky residue from stickers doesn’t have to mean sacrificing the integrity of your surfaces. With the right combination of heat, gentle solvents, and careful technique, you can restore clean, smooth finishes to walls, vehicles, furniture, and electronics. The key is respecting material limitations and proceeding methodically. Whether you're refreshing a child’s toy, restoring a classic car, or preparing a room for new décor, these strategies ensure professional results without risk.


 浙公网安备
33010002000092号
浙公网安备
33010002000092号 浙B2-20120091-4
Comments
No comments yet. Why don't you start the discussion?