
Thrift shopping offers a treasure trove of unique, affordable, and sustainable finds—from vintage furniture to retro kitchenware and timeless décor. But one common challenge stands between you and your perfect secondhand gem: stubborn adhesive residue. Whether it’s leftover price tags, old labels, or glue from protective films, sticky gunk can mar an otherwise pristine item. The key is removing it safely, without scratching, staining, or weakening the material. This guide walks through proven techniques, material-specific strategies, and expert-backed tips to clean residue effectively while preserving the integrity of your thrifted treasures.
Understanding Sticky Residue Types
Before reaching for solvents or scrubbing tools, identify what you're dealing with. Not all adhesives behave the same way. Common types include:
- Pressure-sensitive adhesives: Found on stickers, tape, and labels—these are usually rubber- or acrylic-based and respond well to oils or heat.
- Water-activated glues: Often used in paper labels; these can sometimes be lifted with moisture alone.
- Epoxy or industrial adhesives: Rare on typical thrift items but possible on older electronics or hardware—require stronger solvents.
The composition of the residue affects which removal method works best—and which could cause damage. For example, using acetone on plastic may dissolve the surface, while water on unfinished wood can warp the grain. Always test any solution on a small, inconspicuous area first.
Safe Removal Methods by Material Type
Different materials react differently to cleaning agents. Using the wrong method can leave scratches, etching, or discoloration. Below is a breakdown of effective, low-risk techniques based on common thrift store materials.
Wood (Finished and Unfinished)
Wood surfaces—especially antiques or mid-century furniture—are prized in thrift stores. However, they’re vulnerable to moisture and harsh chemicals.
For finished wood, start with gentle options:
- Apply a few drops of olive or coconut oil to a microfiber cloth.
- Rub in circular motions over the residue until it lifts.
- Wipe clean with a dry section of the cloth.
- If needed, follow with a wood-safe cleaner to remove oily film.
Avoid soaking unfinished wood. Instead, use minimal moisture and immediately dry the area. Never use alcohol or ammonia-based cleaners—they strip natural oils and dull the finish.
Glass and Ceramics
These non-porous surfaces are forgiving but can scratch if abraded improperly. Ideal for solvent use—but cautiously.
Try this approach:
- Soak a cotton ball in rubbing alcohol (70% isopropyl) and press it onto the residue for 30–60 seconds.
- Gently wipe with a soft cloth. Repeat if necessary.
- For baked-on residue, mix baking soda and water into a paste, apply with a sponge, and buff lightly.
Never use steel wool or abrasive pads—even on tough residue. They leave microscopic scratches that trap dirt over time.
Plastic and Acrylic
Many thrifted containers, electronics, or toys are made from various plastics. These can cloud or crack when exposed to strong solvents.
Start with the mildest option:
- Warm soapy water and a soft sponge.
- If residue persists, try a dab of cooking oil on a cloth—let sit for 5 minutes, then wipe.
- For stubborn spots, use a 1:1 mix of white vinegar and water. Avoid full-strength vinegar.
Do not use acetone, nail polish remover, or bleach. These can degrade plastic polymers, causing brittleness or hazing.
Metal (Stainless Steel, Brass, Aluminum)
Metal items like utensils, picture frames, or appliances often carry label glue. Most metals tolerate moderate solvents, but finishes vary.
For stainless steel:
- Use a drop of dish soap and warm water with a non-scratch sponge.
- Follow with a cloth dampened with mineral spirits for remaining stickiness.
- Buff dry to prevent water spots.
For brass or copper, avoid acidic solutions like vinegar unless intentional tarnish removal is desired. Instead, use lemon oil or commercial brass polish, which often cut through residue while protecting the patina.
Fabric and Upholstery
Residue on clothing or furniture typically comes from iron-on patches or tape. Aggressive solvents can stain or weaken fibers.
Treat fabric carefully:
- Place the item in the freezer for 1–2 hours to harden the adhesive.
- Scrape gently with a butter knife or credit card edge.
- Apply a small amount of rubbing alcohol with a cotton swab to remaining residue.
- Blot with a clean cloth—do not rub, to avoid spreading.
- Wash according to care instructions afterward.
Test alcohol in an inside seam first. Delicate fabrics like silk or rayon may require professional cleaning.
| Material | Safe Solvents | Avoid |
|---|---|---|
| Wood (finished) | Olive oil, mineral oil | Water, alcohol, ammonia |
| Glass/Ceramic | Rubbing alcohol, vinegar-water mix | Steel wool, undiluted bleach |
| Plastic | Cooking oil, mild soap | Acetone, nail polish remover |
| Stainless Steel | Dish soap, mineral spirits | Chlorine-based cleaners |
| Fabric | Rubbing alcohol (spot test), freezing | Bleach, hot water on set glue |
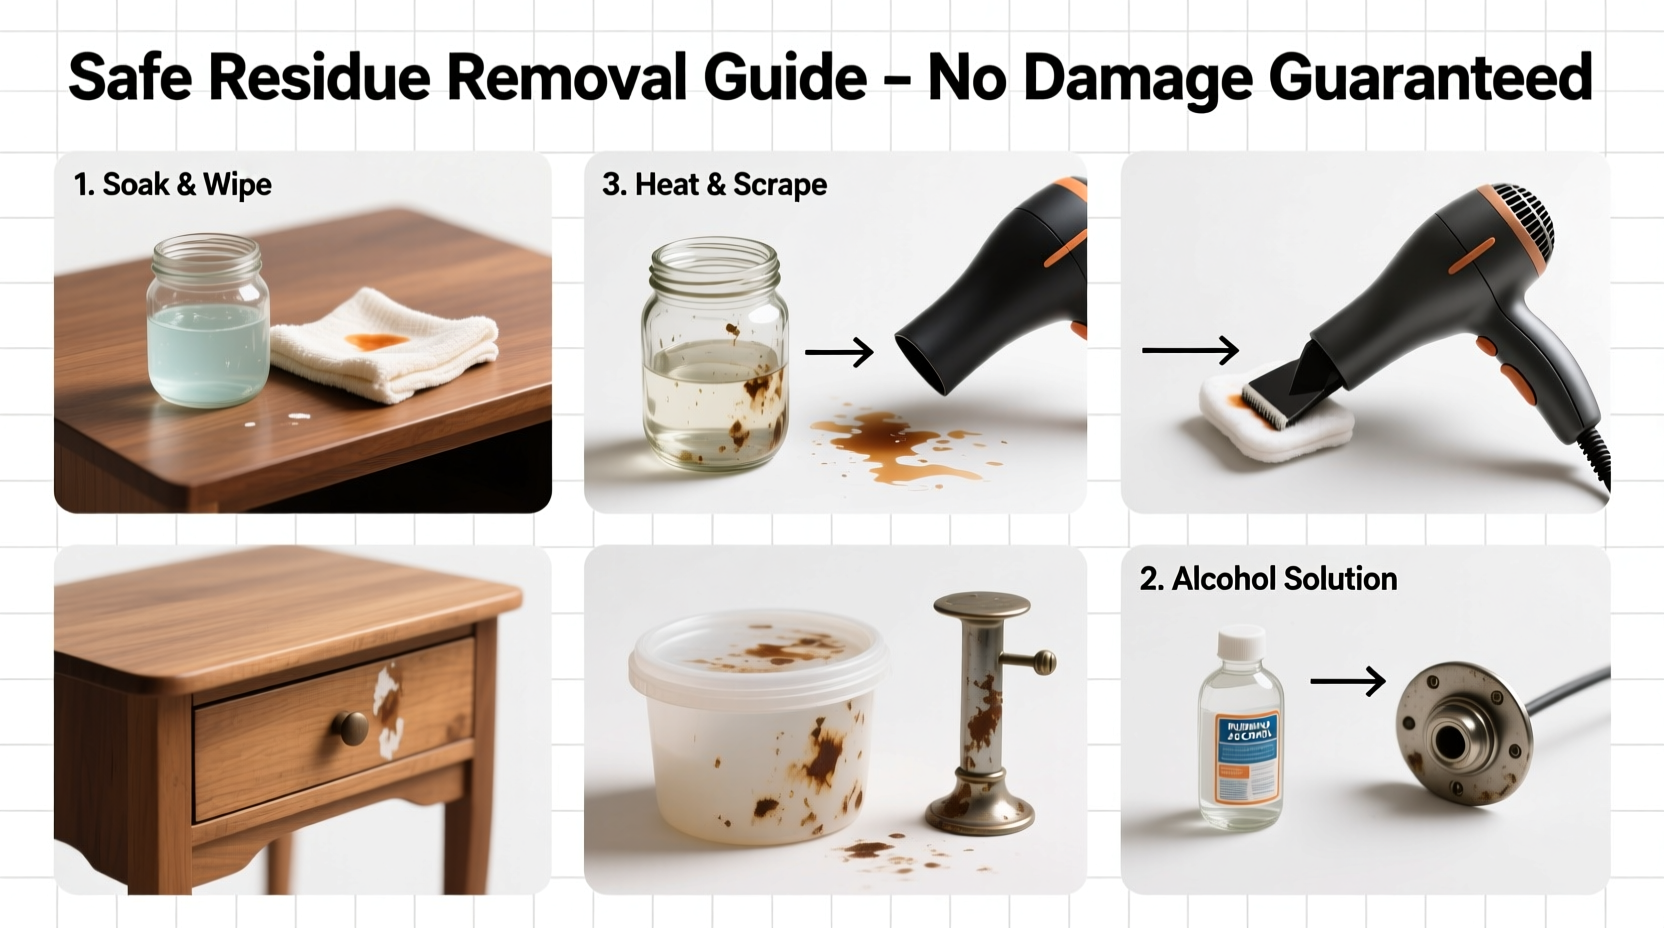
Step-by-Step Guide: Removing Residue Without Damage
Follow this universal process to maximize effectiveness while minimizing risk:
- Assess the surface: Identify the material and its finish. Look for manufacturer labels or use visual/tactile clues (e.g., grain pattern for wood, weight for metal).
- Test in an inconspicuous spot: Apply your chosen method to a hidden area—like the back or underside—for 1 minute. Check for discoloration, softening, or texture change.
- Start gentle: Begin with the least aggressive option—warm soapy water, oil, or ice. Escalate only if needed.
- Apply treatment: Soak a cloth or cotton ball and let it sit on the residue for 30 seconds to 2 minutes. Do not scrub aggressively.
- Wipe or scrape softly: Use a plastic scraper, credit card, or soft sponge to lift residue. Metal tools increase scratch risk.
- Clean and dry: Remove any oily or soapy residue with a damp cloth, then dry thoroughly.
- Restore if necessary: Reapply wood conditioner, metal polish, or fabric protector as appropriate.
This method ensures you preserve value and aesthetics while achieving a clean result.
Real Example: Reviving a Vintage Wooden Record Player
A Portland-based thrifter, Maya R., found a 1970s record player at a local charity shop. It was in excellent condition except for a large, sticky price tag on the walnut veneer. She resisted peeling it off, knowing it would leave behind a gooey mess.
Instead, she applied coconut oil to a cotton pad and covered the residue. After letting it sit for 8 minutes, she gently rubbed in small circles. The glue softened and rolled away cleanly. She wiped the area with a dry cloth and applied a small amount of beeswax furniture polish to restore luster. No damage, no streaks—just a beautifully restored piece ready for her living room.
\"I’ve ruined two vintage boxes before learning this,\" she said. \"Now I always go slow and oil-first.\"
“Adhesive removal isn’t about force—it’s about patience and compatibility. Match the solvent to the surface, and you’ll preserve decades of craftsmanship.” — Dr. Lena Torres, Conservation Scientist, Museum of Applied Arts
Common Mistakes That Cause Damage
Even well-intentioned cleaning can backfire. Here are frequent errors to avoid:
- Using razor blades on painted or glossy surfaces: Leaves permanent scratches and removes finish.
- Applying too much solvent: Can seep under edges, especially on laminates or veneers, causing delamination.
- Skipping the patch test: What works on one item may ruin another, even within the same material category.
- Over-wetting porous materials: Wood, stone, and unglazed ceramics absorb liquids, leading to swelling or mold.
- Using household cleaners indiscriminately: Products like Windex or Lysol contain alcohols and surfactants that degrade certain plastics and finishes.
When in doubt, delay the cleanup. Research the material or consult a restoration forum. A few extra minutes of caution can save a valuable item.
Checklist: Safe Residue Removal at a Glance
- ✅ Identify the material and finish
- ✅ Test cleaning method on a hidden area
- ✅ Start with gentle solutions (oil, soapy water, ice)
- ✅ Use soft cloths or plastic scrapers—not metal
- ✅ Apply solvent and wait—don’t rush
- ✅ Wipe clean and dry thoroughly
- ✅ Restore surface protection if needed (polish, wax)
Frequently Asked Questions
Can I use Goo Gone on painted surfaces?
Yes, but with caution. Original Goo Gone contains citrus oil and petroleum distillates, which can dull or soften some paints. Use sparingly, wipe quickly, and rinse with water. For delicate finishes, opt for “Goo Gone Original” instead of the “Foam” or “Pro-Power” versions, which are stronger. Always patch test first.
What if the residue turns black when I rub it?
This often happens with rubber-based adhesives reacting to friction or oil. It doesn’t mean damage has occurred. Stop rubbing, reapply a fresh cloth with more solvent, and lift gently. Black particles are usually just agglomerated glue and will wipe away with continued careful cleaning.
Is vinegar safe for removing sticker residue?
Vinegar is generally safe on non-porous surfaces like glass, metal, or sealed countertops when diluted (50% vinegar, 50% water). However, it should not be used on natural stone (marble, limestone), waxed wood, or cast iron, as acidity can etch or corrode these materials.
Final Thoughts: Care Preserves Value
Thrifted items carry history, character, and sustainability. Cleaning them properly honors that legacy. Removing sticky residue doesn’t require harsh chemicals or aggressive tools—just knowledge, patience, and the right technique. By matching your method to the material, you protect both appearance and longevity. Whether it’s a $3 mug or a $300 dresser, thoughtful cleaning enhances its worth and usability.
Every thrift find deserves a second life, not a second scratch. Treat each item with care, document what works, and share your successes. The more we learn about gentle restoration, the more we preserve not just objects, but stories.


 浙公网安备
33010002000092号
浙公网安备
33010002000092号 浙B2-20120091-4
Comments
No comments yet. Why don't you start the discussion?