
Stripped screws are a common frustration in electronics repair. Whether you're working on a smartphone, laptop, or gaming console, encountering a screw with a worn-out head can bring your progress to a halt. Drilling may seem like the obvious solution, but it carries significant risks—damaging internal components, cracking casings, or rendering the device unusable. The good news is that drilling isn't your only option. With the right tools and techniques, you can extract stripped screws safely and effectively without compromising the integrity of your device.
Understanding Stripped Screws in Electronics
A stripped screw occurs when the recess in the screw head—typically Phillips, Pentalobe, or Torx—is damaged due to improper tool fit, excessive torque, or worn bits. In compact electronics, where screws are small and often made of softer metals, this damage happens easily. Once the driver slips inside the screw head, traditional removal becomes nearly impossible.
The challenge is compounded by the delicate nature of electronic devices. Unlike larger appliances or furniture, electronics contain tightly packed circuitry, thin plastic housings, and sensitive connectors. Applying force incorrectly can lead to irreversible damage. This makes non-invasive extraction methods not just preferable—they’re essential.
“Over 60% of DIY repair failures involving screws stem from improper extraction techniques, not the initial damage.” — Rafael Nguyen, Senior Technician at iFix Electronics Lab
Essential Tools for Non-Drill Extraction
Before attempting any method, gather the right tools. Using proper equipment increases success rates and reduces the risk of further damage.
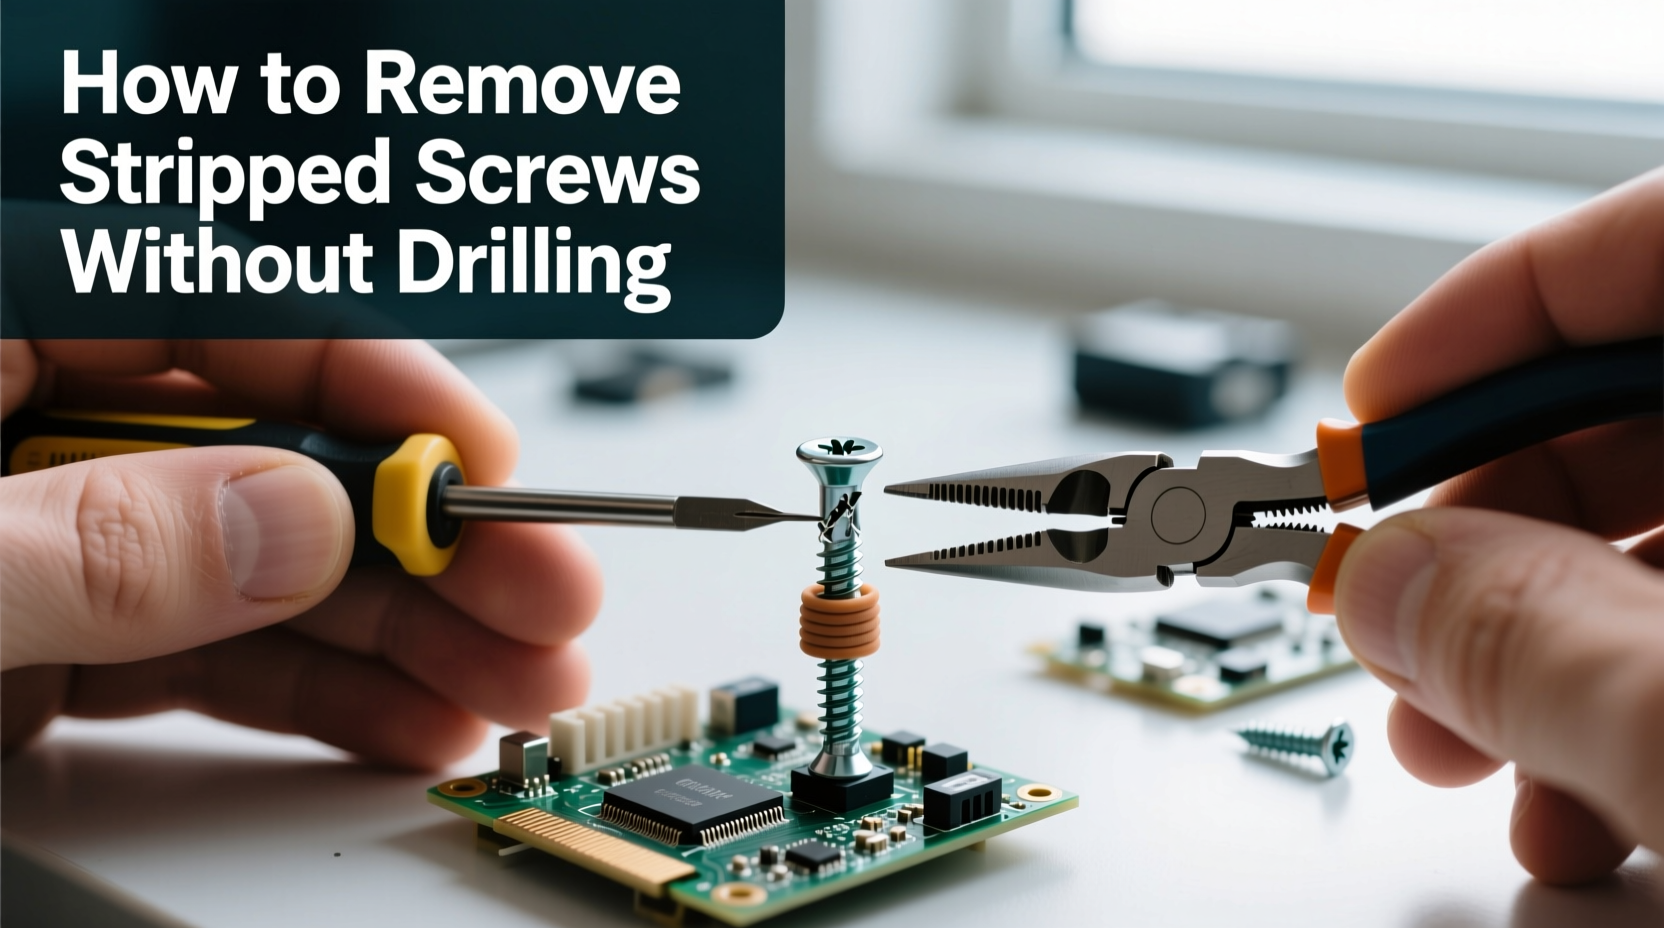
- Precision Screwdriver Set: Invest in high-quality drivers with clean, undamaged tips. Magnetic tips help retrieve extracted screws.
- Rubber Band: A simple household item that can provide extra grip between the screw and driver.
- Needle-Nose Pliers: Ideal for gripping protruding screw heads or broken shafts.
- Heat Source (Hairdryer or Heat Gun): Used carefully to expand metal slightly and break adhesive bonds.
- Super Glue (Cyanoacrylate): Bonds the screw head to a tool for controlled turning.
- Screw Extractor Kit (Non-Drill Type): Reverse-threaded extractors that bite into the screw when turned counterclockwise.
- Magnifying Glass or Headlamp: Essential for seeing tiny components clearly.
Step-by-Step Methods to Remove Stripped Screws Safely
Below are proven techniques, ordered from least invasive to more advanced, all designed to avoid drilling while maximizing success.
1. Rubber Band Technique
This low-risk method works best when the screw head is slightly stripped but still has some usable surface.
- Cut a small piece of rubber band (about 1 cm wide).
- Place it over the damaged screw head.
- Press the screwdriver firmly through the rubber into the screw.
- Apply steady downward pressure while turning counterclockwise.
The rubber fills gaps in the damaged head, increasing friction and grip. Success rates improve with thicker rubber bands and precise alignment.
2. Use a Stronger Grip Tool: Pliers or Tweezers
If the screw head protrudes even slightly above the surface:
- Inspect under magnification to confirm there’s enough exposed metal.
- Use fine-tip needle-nose pliers or locking tweezers to grip the edge of the screw head.
- Turn slowly and steadily counterclockwise.
Avoid applying sideways pressure, which can snap the screw or damage surrounding housing.
3. Apply Controlled Heat
Many electronics use thread-locking adhesives to prevent screws from loosening due to vibration. Heat softens these compounds.
- Use a hairdryer on medium heat or a precision heat gun set below 150°C.
- Warm the screw area for 20–30 seconds.
- Immediately attempt removal with a properly fitting bit and firm pressure.
Be cautious: prolonged heat can warp plastic or damage nearby batteries. Never apply heat directly to lithium-ion cells.
4. Super Glue Method (Precision Bonding)
When the screw head is flush or slightly recessed:
- Clean the screw head with isopropyl alcohol to remove grease.
- Apply a tiny drop of super glue into the screw recess.
- Press the screwdriver tip straight down and hold for 60 seconds.
- Once cured, turn counterclockwise with gentle, steady force.
This method requires patience. If the glue bonds to the housing, you may need to pause and dissolve excess with acetone later.
5. Non-Drill Screw Extractor Tools
Specialized extractors like the Wiha SoftFinish or iFixit Pro Tech Toolkit include reverse-threaded bits designed for stripped screws.
- Select the appropriate extractor size for the screw head.
- Tap it gently with a hammer (if allowed by device design) to seat it.
- Turn counterclockwise—the reverse threads dig in and pull the screw out.
These tools work best on screws with moderate stripping and sufficient material for the extractor to grip.
Do’s and Don’ts: Best Practices Table
| Action | Do | Don’t |
|---|---|---|
| Tool Selection | Use precision bits matched exactly to screw type (e.g., P2 Pentalobe) | Use worn or ill-fitting drivers that slip easily |
| Pressure Application | Apply firm, downward pressure while turning | Angle the driver or apply lateral force |
| Heat Use | Warm briefly to loosen adhesive | Apply prolonged heat near batteries or plastic |
| Adhesives | Use minimal super glue and allow full cure time | Flood the area with glue, risking component damage |
| Extraction Attempts | Work slowly and reevaluate after each failed attempt | Force turns that could break the screw shaft |
Real-World Example: Fixing a Stripped Pentalobe Screw on an iPhone
Consider a common scenario: a technician attempts to open an iPhone 13 for battery replacement. One of the two Pentalobe screws at the base is stripped due to a previous owner using a cheap third-party tool. The head is now smooth, and no standard bit gains traction.
Instead of drilling, the technician uses the rubber band method first. After placing a cut piece of rubber band over the screw and pressing a fresh P2 bit through it with firm hand pressure, the screw begins to turn after three slow attempts. It’s removed without damaging the aluminum chassis or nearby charging port.
In a follow-up case, a different iPhone had a completely flush stripped screw. Here, the rubber band failed, so the technician applied a micro-drop of super glue to a spare P2 bit, held it in place for 70 seconds, and carefully reversed the screw out. The glue bond held perfectly, and no residue affected internal components.
These cases illustrate that persistence and correct technique often trump aggressive solutions.
Checklist: How to Approach a Stripped Screw
Follow this sequence before considering drilling:
- ✅ Assess the level of stripping under magnification.
- ✅ Confirm you’re using the correct screwdriver type and size.
- ✅ Try the rubber band method with firm downward pressure.
- ✅ Warm the screw area gently if adhesive is suspected.
- ✅ Attempt removal with precision pliers if the head protrudes.
- ✅ Use a super glue bonding method for flush or recessed screws.
- ✅ Employ a non-drill screw extractor as a last resort.
- ❌ Avoid drilling unless absolutely necessary and only if you have experience.
“The key to successful screw extraction is patience. Rushing leads to broken shafts and costly mistakes.” — Maria Chen, Lead Repair Trainer at FixForward Academy
Frequently Asked Questions
Can I use a metal file to create a new slot for a flathead screwdriver?
While technically possible, filing a new slot on a tiny electronics screw is extremely risky. The force required can damage the housing or break the screw. It’s better suited for larger appliances. In phones or tablets, this method is discouraged unless no other options remain and you have micro-engraving tools.
What if the screw breaks during extraction?
If the shaft snaps, stop immediately. Use fine-tipped tweezers or a micro drill bit (only if experienced) to carefully remove the fragment. In most consumer electronics, however, a broken screw embedded in plastic may be left in place if it doesn’t interfere with reassembly. Document its location for future reference.
Are there preventive steps to avoid stripping screws?
Yes. Always use high-quality, clean bits. Replace them regularly. Apply steady downward pressure while turning—never “wobble” the driver. If resistance increases, stop and reassess. Pre-treating stubborn screws with a drop of lubricant like DeoxIT can also reduce friction and prevent damage.
Conclusion: Preserve Your Devices with Smart Techniques
Removing stripped screws from electronics doesn’t require drilling or destruction. With careful assessment, the right tools, and methodical application of non-invasive techniques, most stuck screws can be freed safely. The goal of any repair should be restoration—not just access. Every avoided drill hole means a stronger, more reliable device after reassembly.
Whether you're a hobbyist or a professional, mastering these skills enhances your capability and confidence. Next time you face a stubborn screw, take a breath, review your options, and choose precision over force.


 浙公网安备
33010002000092号
浙公网安备
33010002000092号 浙B2-20120091-4
Comments
No comments yet. Why don't you start the discussion?