
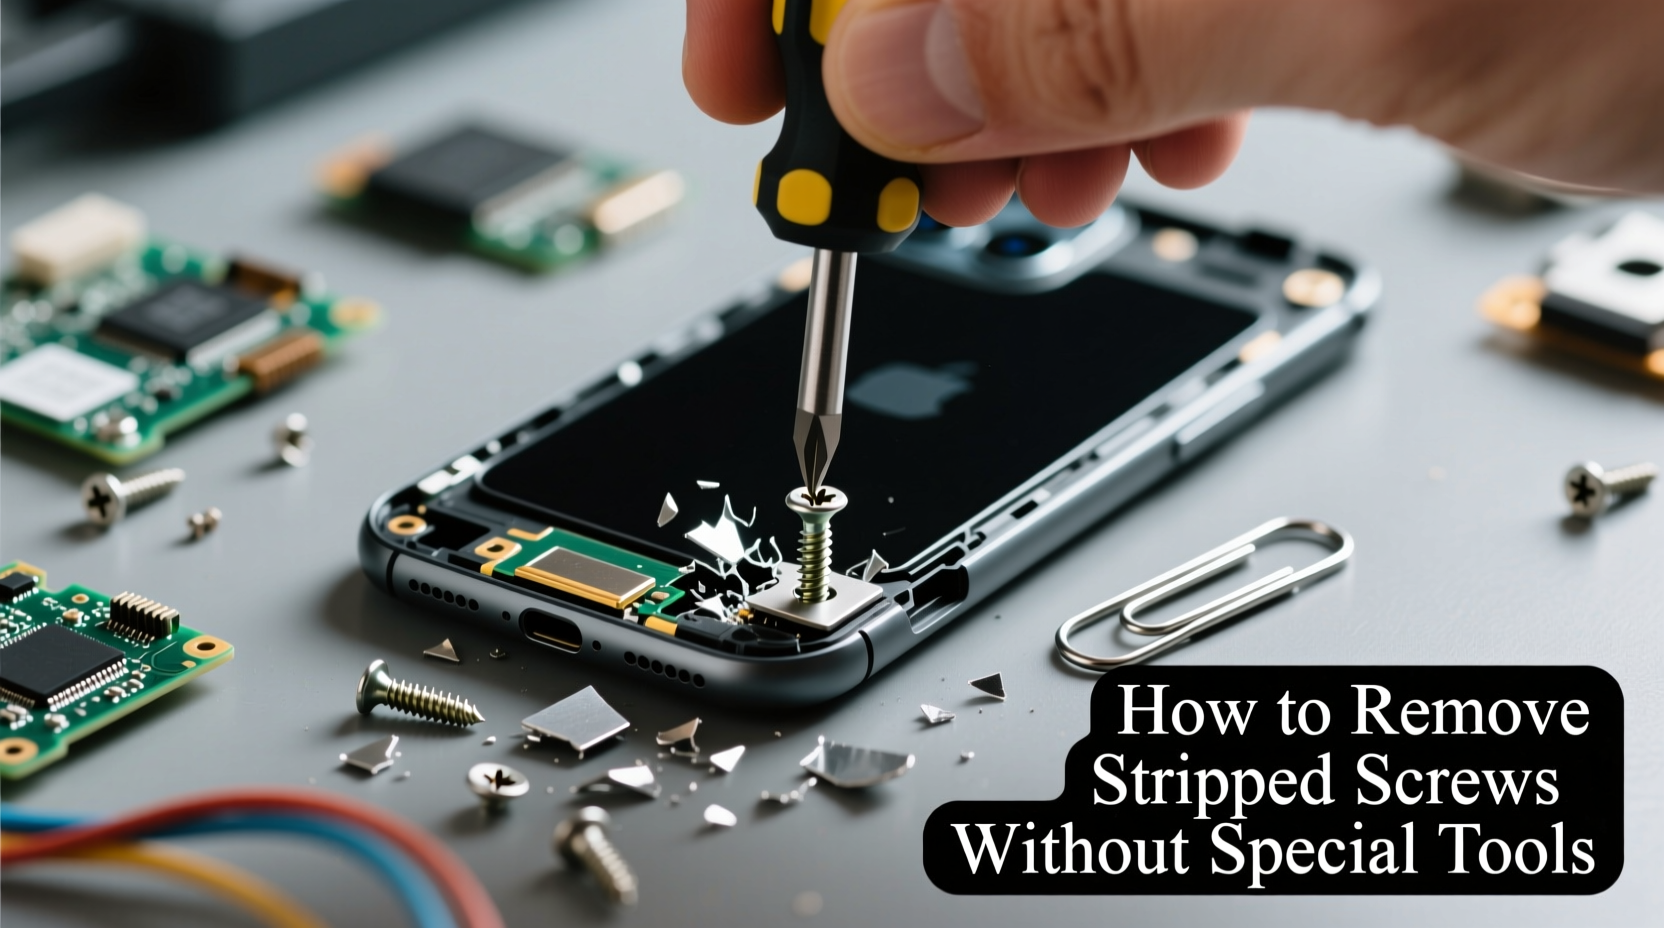
Stripped screws are a common frustration when repairing or disassembling electronic devices like smartphones, laptops, gaming consoles, or tablets. The small size of these screws, combined with delicate components, makes the task even more challenging—especially when you don’t have access to specialized tools. However, many effective methods exist that rely on everyday household items and clever mechanical principles. With patience and the right approach, it’s entirely possible to extract a damaged screw safely, preserving both the device and your peace of mind.
The key lies in understanding why screws strip and how to work around the loss of grip. Most commonly, this happens due to over-tightening, using the wrong screwdriver size, or applying uneven pressure. Once the cross-head (Phillips) or star-shaped (Pentalobe, Torx) indentation is worn down, standard drivers simply spin without catching. But all is not lost. Through friction enhancement, grip restoration, and alternative leverage techniques, you can regain control—even with minimal equipment.
Why Stripped Screws Happen in Electronics
Electronics use miniature screws designed for precision, often made from softer metals to prevent damage to internal components. This very softness, however, makes them prone to stripping when excessive force is applied. Common culprits include:
- Using an ill-fitting driver: Even a slight mismatch between screw head and tool can cause slippage.
- Applying too much torque: Small screws aren’t meant to withstand heavy twisting force.
- Worn-out screw heads: Previous repairs may have already compromised the screw’s integrity.
- Corrosion or debris buildup: Dirt or oxidation can jam the screw head, making turning difficult.
Understanding the root cause helps inform your removal strategy. For instance, if the screw is corroded, cleaning it first may make extraction easier than forcing it out immediately.
Step-by-Step Guide to Removing Stripped Screws Without Special Tools
Follow this logical sequence to maximize your chances of success while minimizing risk to the device.
- Assess the Damage: Use a flashlight or phone camera zoom to examine the screw. Is the cross groove completely flattened? Is the screw head recessed or protruding?
- Clean the Area: Gently brush away dust or grime with a dry toothbrush. If corrosion is visible, apply a tiny drop of isopropyl alcohol and let it sit for 30 seconds before wiping clean.
- Apply Downward Pressure: Use firm, steady pressure while turning counterclockwise. Sometimes, re-engaging the remaining ridges inside the screw head is enough.
- Try Alternative Grip Methods: If the screw won’t budge, proceed to one of the techniques below.
- Remove Debris After Extraction: Once the screw is out, clean the threaded hole to ensure smooth reassembly later.
Proven Household Techniques That Work
You don’t need a $50 extraction kit to solve this problem. Many reliable solutions come from items already in your home.
1. Rubber Band Trick
Place a wide rubber band flat over the stripped screw head. Press your screwdriver firmly through the band into the screw. The rubber fills gaps and adds friction, helping the driver grip the worn edges.
This works best with Phillips screws where some groove remains. Apply strong downward pressure and turn slowly.
2. Toothbrush or Plastic Fork Method
Cut a piece from an old plastic toothbrush or fork. Press the tine or bristle cluster into the screw head to create new purchase points. Then insert your screwdriver on top and twist carefully.
The semi-rigid plastic conforms slightly to the shape, acting as a filler that restores grip. Avoid using metal objects like paperclips unless absolutely necessary—they can scratch surrounding surfaces.
3. Super Glue (Cyanoacrylate) Lock Technique
Dab a tiny amount of super glue into the screw head. Insert the screwdriver tip and hold it perfectly still for 2–3 minutes until the glue sets. Slowly attempt to turn the screw counterclockwise.
This creates a temporary bond between tool and screw, allowing torque transfer. Be cautious: too much glue can seep into threads or nearby circuits. Use only a pinhead-sized drop.
“Sometimes the simplest fix involves creating just enough adhesion to break initial resistance. A drop of glue can do what brute force cannot.” — Daniel Ruiz, Electronics Repair Technician with 12 years of field experience
4. Tapping with a Center Punch Substitute
If you lack a center punch, use a nail set, thumbtack, or even a sturdy needle. Place the point in the center of the screw and tap gently with a hammer or hard object (like a wrench). This creates a divot that helps realign the screwdriver tip.
Be extremely careful not to slip—the surrounding circuit board or housing can be easily damaged. Perform this on a stable surface with the device secured.
5. Dremel-Free Slot Cutting with a Utility Knife
Using a sharp utility knife or box cutter, carefully carve a single straight groove across the screw head. This turns it into a flat-head screw compatible with a small flatblade screwdriver.
Work slowly and keep the blade perpendicular to avoid slipping. One deep, clean cut is better than multiple shallow ones. Once the slot is made, apply steady pressure while turning.
Comparison Table: Methods by Effectiveness and Risk Level
| Method | Tools Needed | Success Rate | Risk Level | Best For |
|---|---|---|---|---|
| Rubber Band | Rubber band, screwdriver | Moderate | Low | Slightly stripped Phillips screws |
| Plastic Fork/Toothbrush | Plastic item, screwdriver | High | Low | Screws with partial groove loss |
| Super Glue Bond | Glue, screwdriver | High | Moderate | Stubborn screws in accessible areas |
| Tapping Center | Nail, hammer, screwdriver | Moderate | High | Deeply seated screws with no grip |
| Slot Cutting | Utility knife, flat screwdriver | Very High | Moderate | Flat-head conversion when other methods fail |
Mini Case Study: Recovering a Stripped Battery Screw in a Smartphone
A technician in Portland was tasked with replacing the battery in an older iPhone model. Two of the five bottom screws were severely stripped during a previous DIY repair attempt. No Pentalobe bit could gain traction, and the rubber band trick failed due to complete groove erosion.
The technician opted for the super glue method. After cleaning the screw heads with isopropyl alcohol, a microscopic drop of cyanoacrylate was applied. A precision Pentalobe driver was inserted and held motionless for three minutes. Upon attempting to turn, the screw broke free cleanly. The second screw required a shallow slot cut with a hobby knife, after which a flatblade driver removed it without damaging the aluminum chassis.
The entire process took 18 minutes, avoiding the need for drill-based extraction that could have compromised the battery compartment. This case illustrates how combining low-risk methods leads to successful outcomes even in tight spaces.
Checklist: What to Do Before and After Removal
- ✅ Power off and disconnect the device (remove battery if possible)
- ✅ Work in a well-lit area with magnification if needed
- ✅ Clean the screw head and surrounding area
- ✅ Test each method gently before applying full force
- ✅ Label and organize removed screws to avoid mix-ups
- ✅ Inspect threads in the hole; clean with a dry brush if necessary
- ✅ Replace stripped screws with new ones if available
Frequently Asked Questions
Can I use pliers to remove a stripped screw?
Pliers can work only if the screw head protrudes above the surface. In most electronics, screws are flush or recessed, making pliers impractical. Attempting to clamp down can also damage nearby components or crack plastic housings. Reserve pliers for last-resort situations where the screw is exposed and other methods have failed.
What should I do if the screw breaks during removal?
If the shaft snaps, stop immediately. Extracting a broken screw fragment requires more advanced tools like a drill or extractor bit. In electronics, this risks damaging internal layers or power traces. At that point, professional repair is advisable unless you have micro-soldering and precision drilling experience.
Are there preventive measures for future repairs?
Yes. Always use the correct screwdriver size and type. Apply steady, even pressure rather than rapid twisting motions. Consider replacing frequently accessed screws with higher-quality stainless steel versions. Also, avoid over-tightening during reassembly—finger-tight plus a quarter-turn is usually sufficient.
Conclusion
Removing stripped screws from electronics without special tools is a test of patience, creativity, and attention to detail. While modern devices are built with precision, they’re not immune to wear—and neither are our repair attempts. The techniques outlined here prove that resourcefulness often trumps expensive gear. From rubber bands to super glue, everyday items can become powerful allies in reclaiming control over seemingly hopeless situations.
Every technician, amateur or professional, will face a stripped screw eventually. The difference between success and damage lies in knowing which method to try first and when to step back. By mastering these accessible strategies, you extend not just the life of your devices, but your own confidence in maintaining them.


 浙公网安备
33010002000092号
浙公网安备
33010002000092号 浙B2-20120091-4
Comments
No comments yet. Why don't you start the discussion?